I remember when I was just starting out and I posted a session with the photos below. Someone, who was attending photography school, e-mailed me and asked how I got that blurry background. I was a bit shocked that someone studying photography would ask me, since I felt like a total newbie at the time. But I can understand why someone would ask this question, because the blurred background isn’t something you can easily achieve with a point-and-shoot or phone camera. It seems like it requires either expensive equipment or special knowledge. It doesn’t. Ok, maybe a little bit of knowledge, which is what this post is for. And a DSLR or camera with manual controls is helpful too.
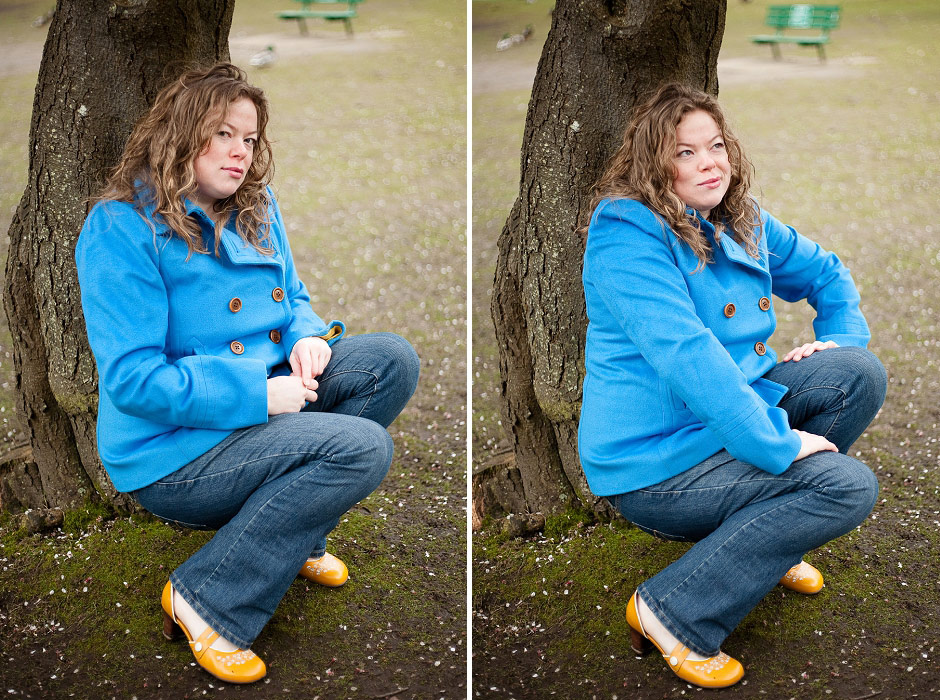
The above photos were taken with the Canon 50mm f1.8 lens, which is currently $134 on Amazon.ca (updated April 2020). I highly recommend that new photographers get a basic 50mm f1.8 lens if they’re interested in shooting portraits. The Nikon equivalent is the AF-S version, which is $249 on Amazon. There’s a cheaper version for $159, but it only works in manual focus with most inexpensive Nikon DSLRs. So, for $250 or less, you can take the photos above. I did use the Canon 5D body, which is a pro body, but it’s also really old (circa 2005). You can probably pick a used one up for less than $500.
There are two main things that affect the blurriness of the background. These are depth of field and lens compression.
Depth of Field
Usually when people talk about how blurry or sharp the background is, they’re talking about the depth of field. The above images have a shallow depth of field. A deep depth of field would have the trees/grass in the background in focus, or at least more in focus.
What affects depth of field?
1. Aperture
This is the thing that most people focus on when trying to achieve shallow depth of field, and it’s probably the easiest to implement and understand. I think I shot the entire above session on f1.8, because I knew that a low aperture would give me that cool blurry background effect.
With all other factors remaining the same, a wider/lower aperture will give you less depth of field (i.e. more blur) and a higher aperture will give you more depth of field. That’s why the 50mm 1.8 is great, because its lowest aperture is f1.8. For most kit lenses (that come with the camera), the lowest aperture is f3.5 (and f5.6 when zoomed in).
Hint: if you look at your lens, it will have the focal length and lowest aperture marked on it (ex: 50mm 1:1.8 or 18-55mm 1:3.5-5.6 – the latter meaning the lowest aperture is 3.5 at 18mm zoom and 5.6 at 55mm zoom).
Below is an animated GIF that shows the same camera/lens in the same position, with only the aperture changing (and shutter speed/ISO to keep the exposure the same). I kept my focus point on the front figure for all of the photos. See the difference between f1.8 and f4? And f4 and f8? You can even see the depth of field changing in the grain of the table. It’s a distinct line on the 1.8 image and spreads to include the entire table.
Therefore, to make your background blurrier, use a lower aperture.
2. Distance between Camera & Subject and Subject & Background
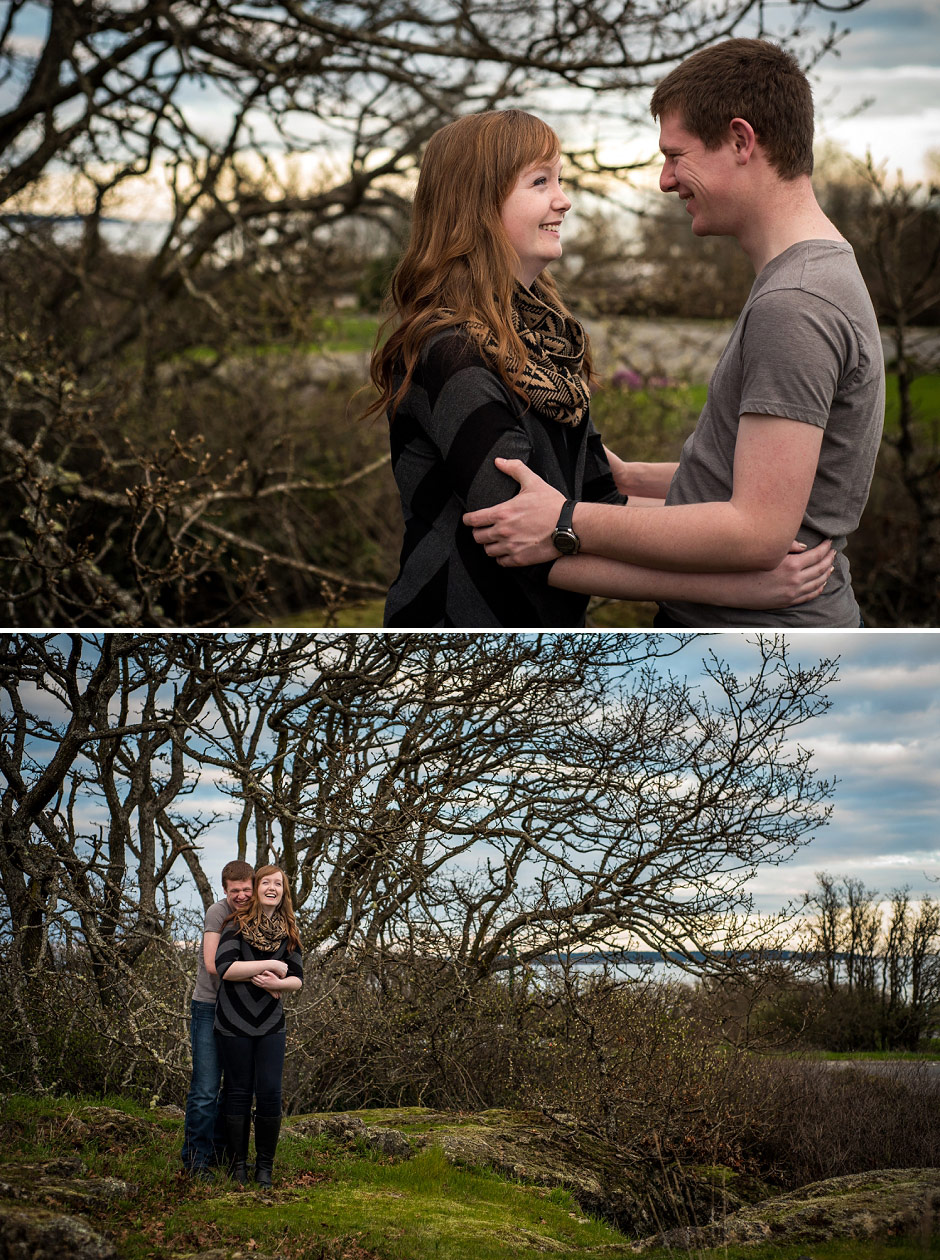
In the below example, the aperture is fairly low (f2.8) on a 50mm lens. The couple is in the same position and their distance to the background is always the same, but I moved closer to them in the second photo. Notice how much more blurry the background looks?
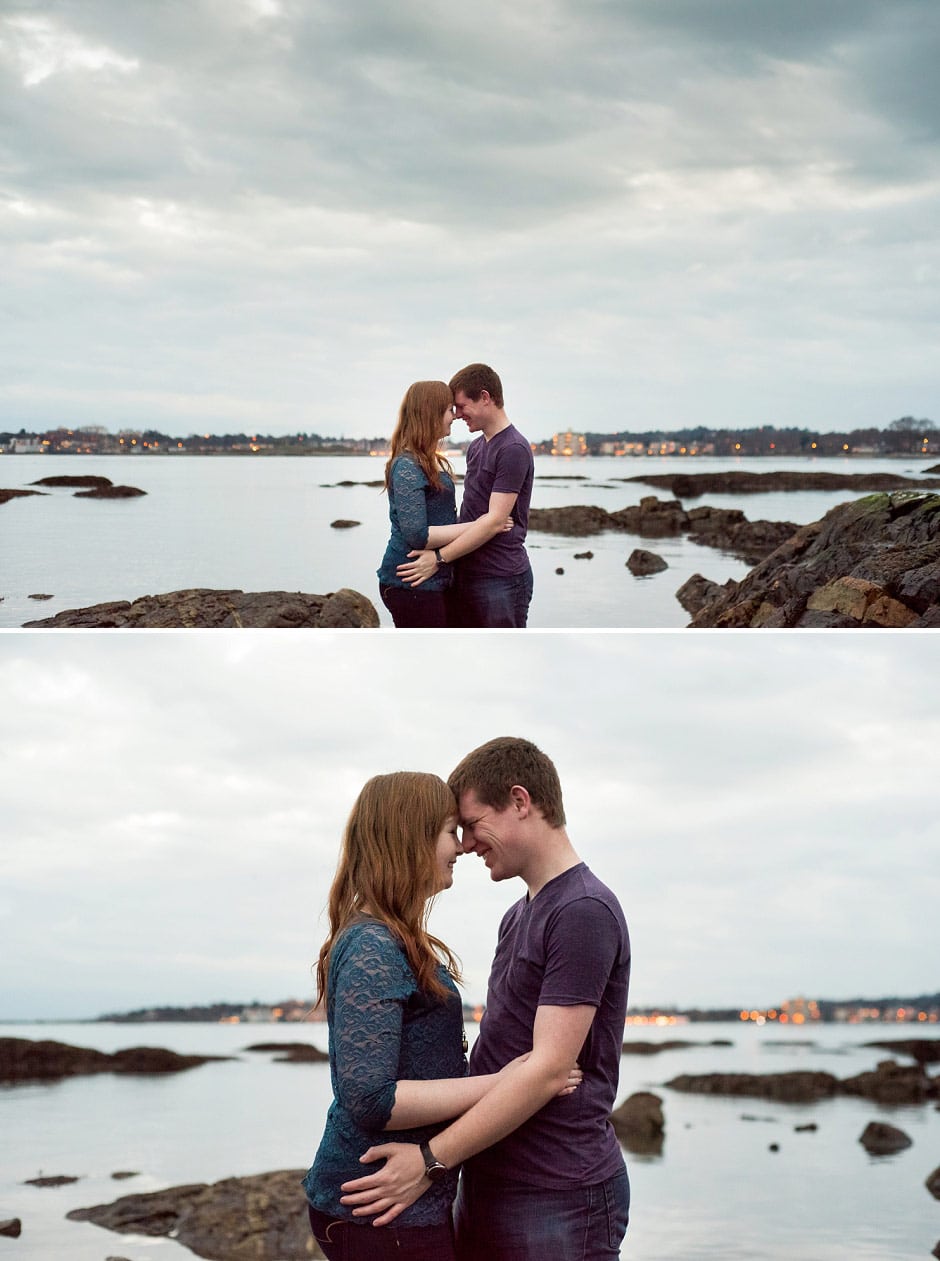
The closer you are to your subject, the smaller the depth of field. This means that you should be careful when shooting portraits very close to your subject with a wide aperture. Focus on the eye that’s closest to the camera, because one of the eyes may go out of focus. If you just try to get your focal point anywhere on their face, you may end up with just their nose in focus.
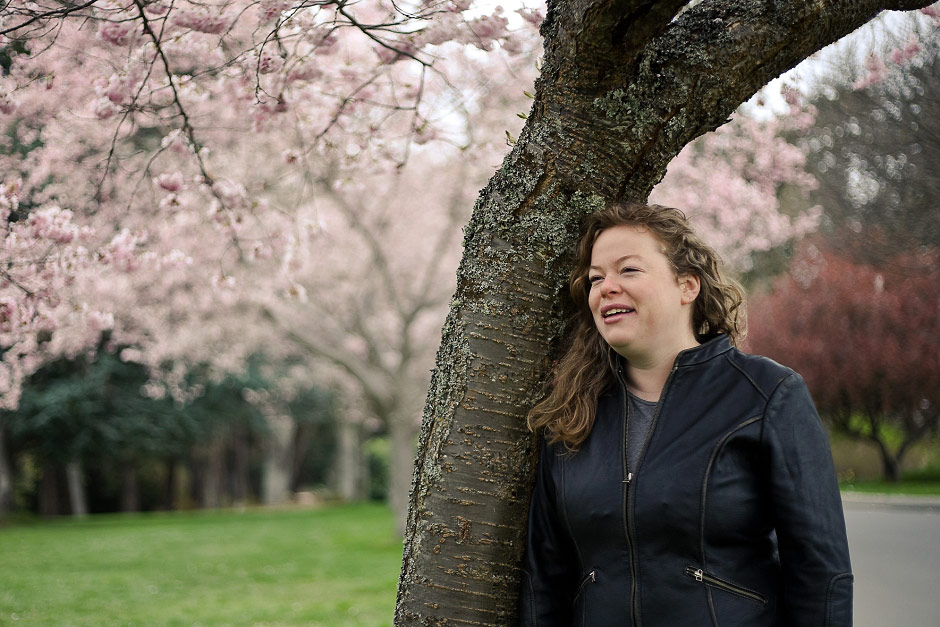
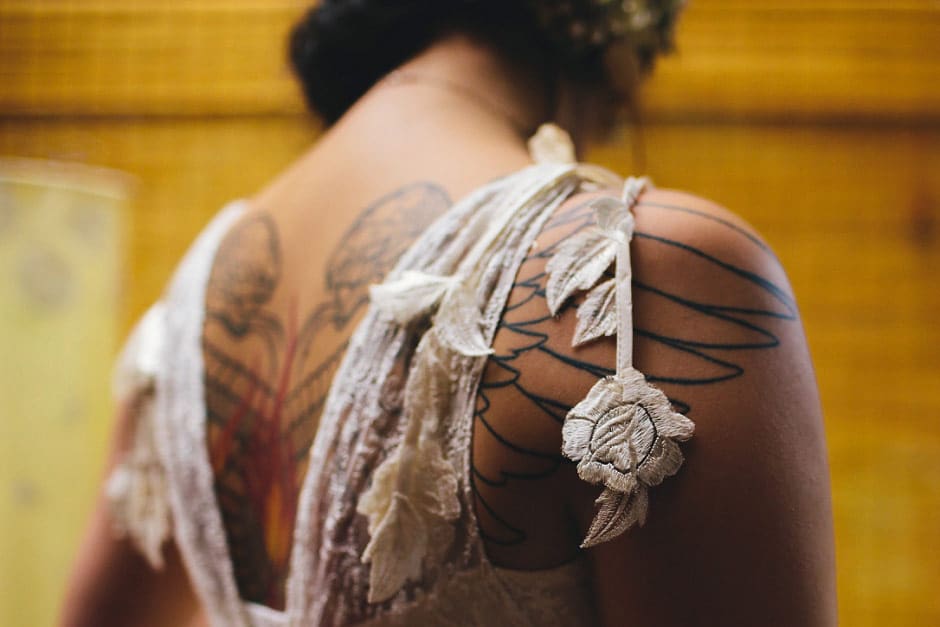
Below is an example of a photo taken very close to my subject. I focused on the flower hanging from the shoulder of her dress. Notice how the focus starts to drop off right away behind the focal point? If I’d been standing five feet away instead of right next to her, her entire body would be more or less in focus, like in the above examples
In the below example, the aperture is again f2.8 on a 50mm lens. The couple is in the same position, but I rotated my position slightly, causing the background to be closer to them, and moved myself farther from the subjects. The closer the subjects are to the background, the sharper the background will be (if all other settings are the same). The depth of field stays the same, but the background moves into the sharp area.
Therefore, if you want the background to be blurry, move the camera closer to the subjects and/or the subjects farther from the background.
3. Sensor Type
If you’re just learning photography with a DSLR, chances are you have a crop-sensor camera. Pro-level cameras are usually full-frame. A crop-sensor effectively multiplies focal length by the crop factor (usually 1.4 or 1.6), so a 50mm lens becomes 70mm or 80mm instead. It doesn’t behave exactly like a 70-80mm lens though. It’s a bit too complicated for me to go into here, but generally the same lens on a full frame camera will have shallower depth-of-field than on a crop-sensor, therefore a blurrier background.
I don’t have a crop-sensor camera to take some comparison shots for you, so here’s a great article with examples from Neil van Niekerk.
Lens Compression
Lens compression is similar to depth of field in effect, but it’s caused by different things. It’s seen when you use a different focal length.
We’ve discussed focal length a bit. On a 50mm lens, the focal length is 50mm. On the typical 18-55mm kit lens, the focal length zooms from 18mm to 55mm. With distance to subject and settings remaining the same, the background will be blurrier with a longer focal length. This is primarily due to lens compression.
Here’s an example where I tried to kept the camera the same distance from the subject and the aperture at f2.8, but changed from a 35mm to 50mm lens. I cropped the below image down to show about the same area (of course, the 35mm originally captured a larger area). You can see that the background is blurrier with the 50mm lens and the lens also compresses the background towards the subject (makes it seem closer) while the 35mm lens brings more of the edges in. There’s more to be said about compression, but for this lesson, we’ll just say that longer lenses will cause your background to be blurrier if all other settings remain the same.
Summary
In summary, to get a blurrier background, you can try the following:
- Use a lower aperture (smaller f-stop number, like 1.4 vs. 5.6)
- Move the camera closer to the subjects
- Move the subjects farther from the background
- Use a full frame camera vs. a crop sensor camera
- Use a longer lens or focal length (i.e. 85mm vs 35mm) – zoom in
DISCLOSURE: I may receive compensation for links to products on this website.