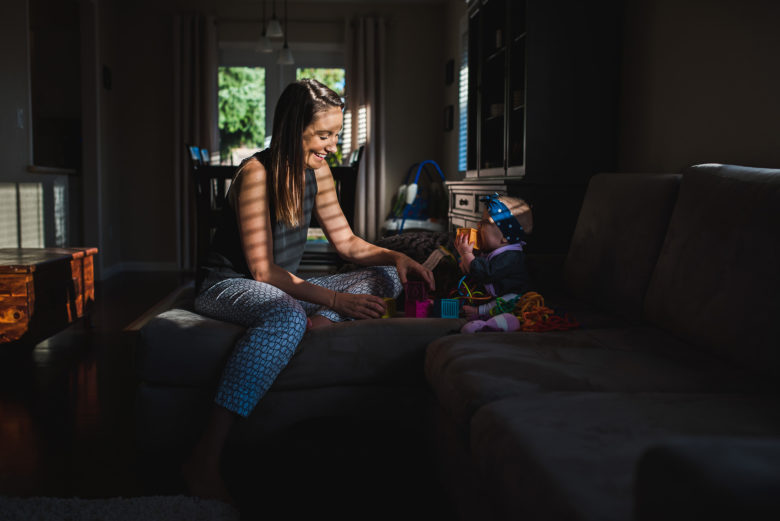
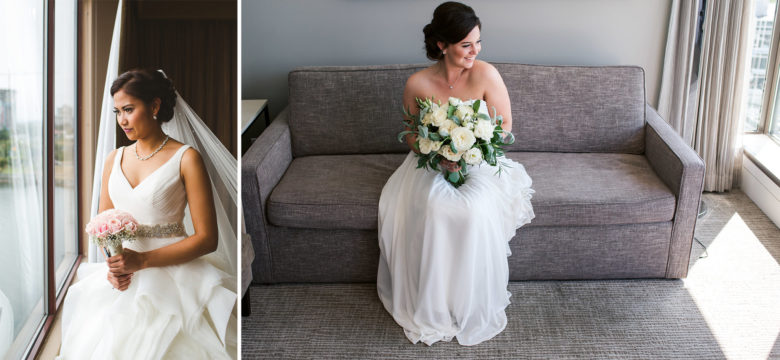
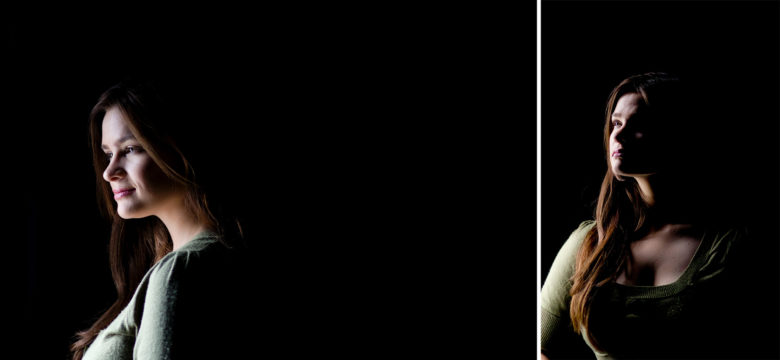
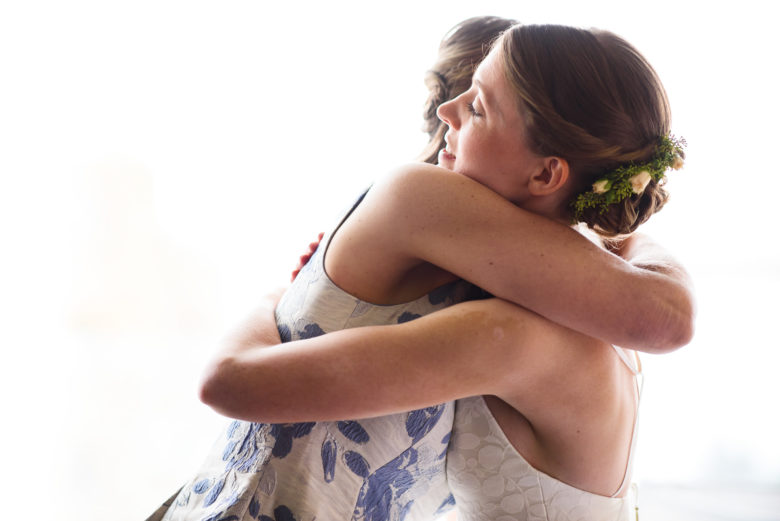
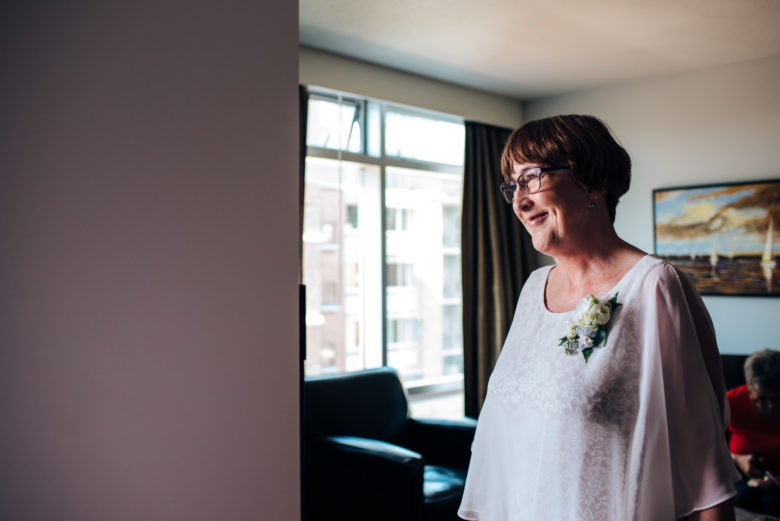
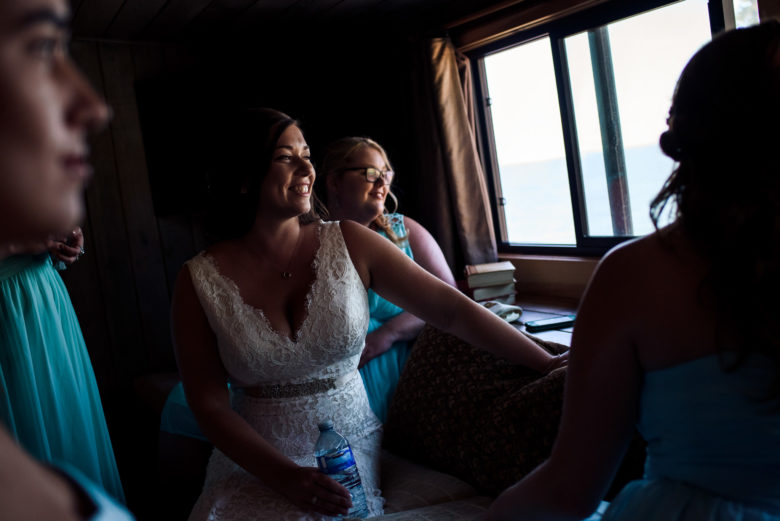
This week’s theme is window light. Window light can actually create various dramatically different looks, but I find it’s mostly flattering or interesting (and sometimes both). Below are some examples of different ways to use it, followed by some tips.

Here are some tips on using window light:
- Watch out for mixed white balance. That basically means light coming from two different kinds of sources, like window light (which is usually kind of blue) plus overhead lighting (which is usually more orange). When you have two different colours of light, they can create some really ugly skin tones and colours in your image. This may not be as crucial if there are no people in your photo.
- Using more dramatic, directional window light can emphasize texture and create shadows you may not want in a photo of a person. If someone has very rough skin or a lot of wrinkles, and doesn’t like those things, then I suggest avoiding side light. Having them face towards or away from the window will give you a more even, universally flattering look.
- If you’re struggling with getting enough light on your subject without cranking your ISO way up, move your subject closer to the window, which will make them brighter. Also avoid having the window behind your subject, since they’ll be in the shade of their own body. Same thing goes for inanimate objects, of course.
If you have any questions, join us in the community. I’ll be checking in there daily to see your work and help you achieve the best results.
If you’re just finding this now, you can check out the full list and more information on the challenge here. You can follow me on Instagram at @documentyourdaytoday and use the hashtag #dtd52weeks so others doing the challenge can see your work.