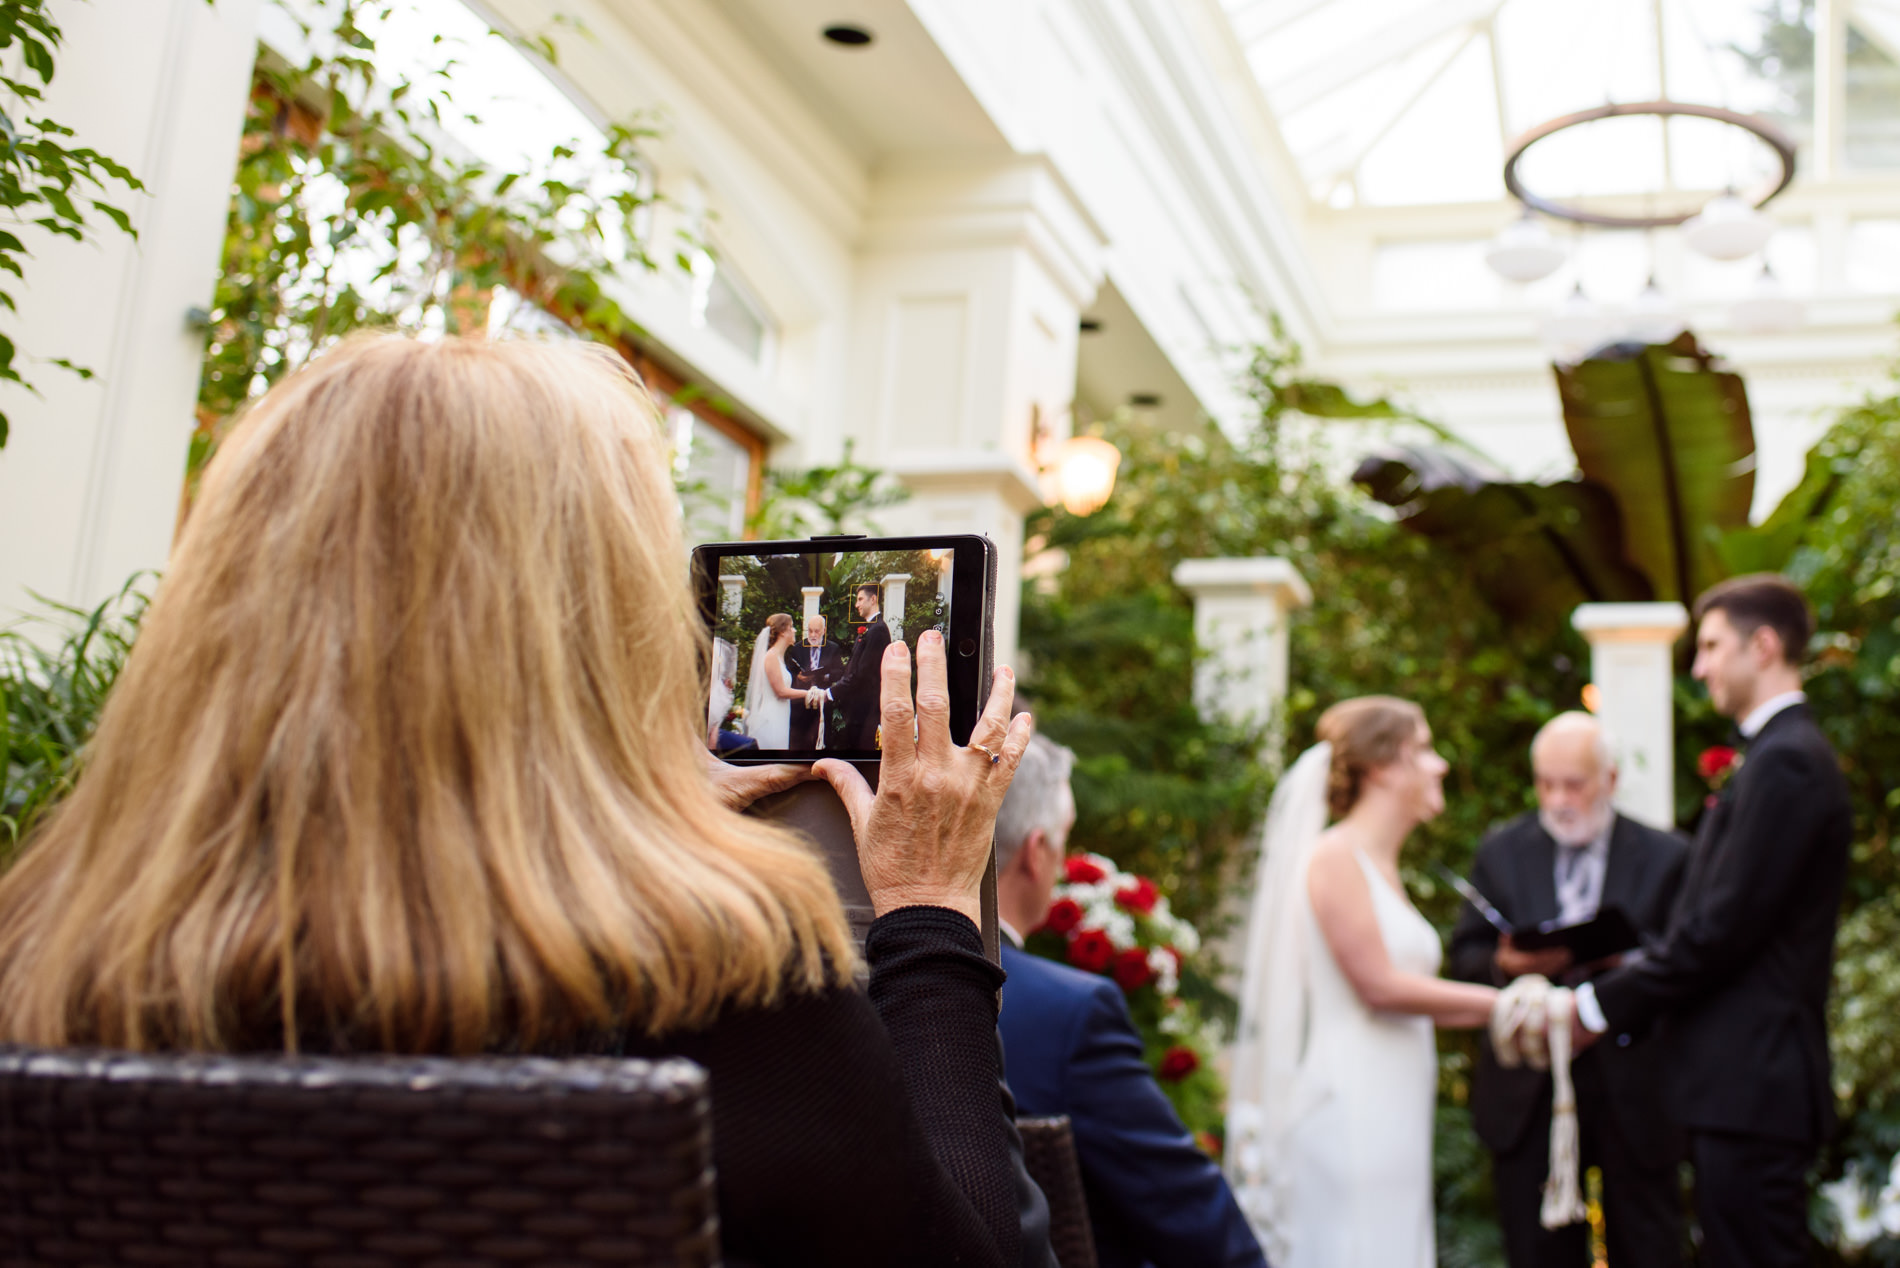
This week’s theme is foreground focus. What I mean by that is focusing on something that isn’t the main subject of the image or story. Or focusing on one of two subjects/elements of your image while the other is blurred. This could also work with the foreground element blurred and there’s an example of this at the end.
I actually don’t have a lot of examples of this (or at least couldn’t find many because I didn’t have time to go through hundreds of thousands of photos to find more). I’m going to do my best to explain it with a few examples. Below is a good example of one thing happening while another closely-related thing happens in the background. The story of the image is this relative taking photos of the wedding ceremony and the focus is on that. The couple in the background provides balance to the composition and a mirror image of her LCD.
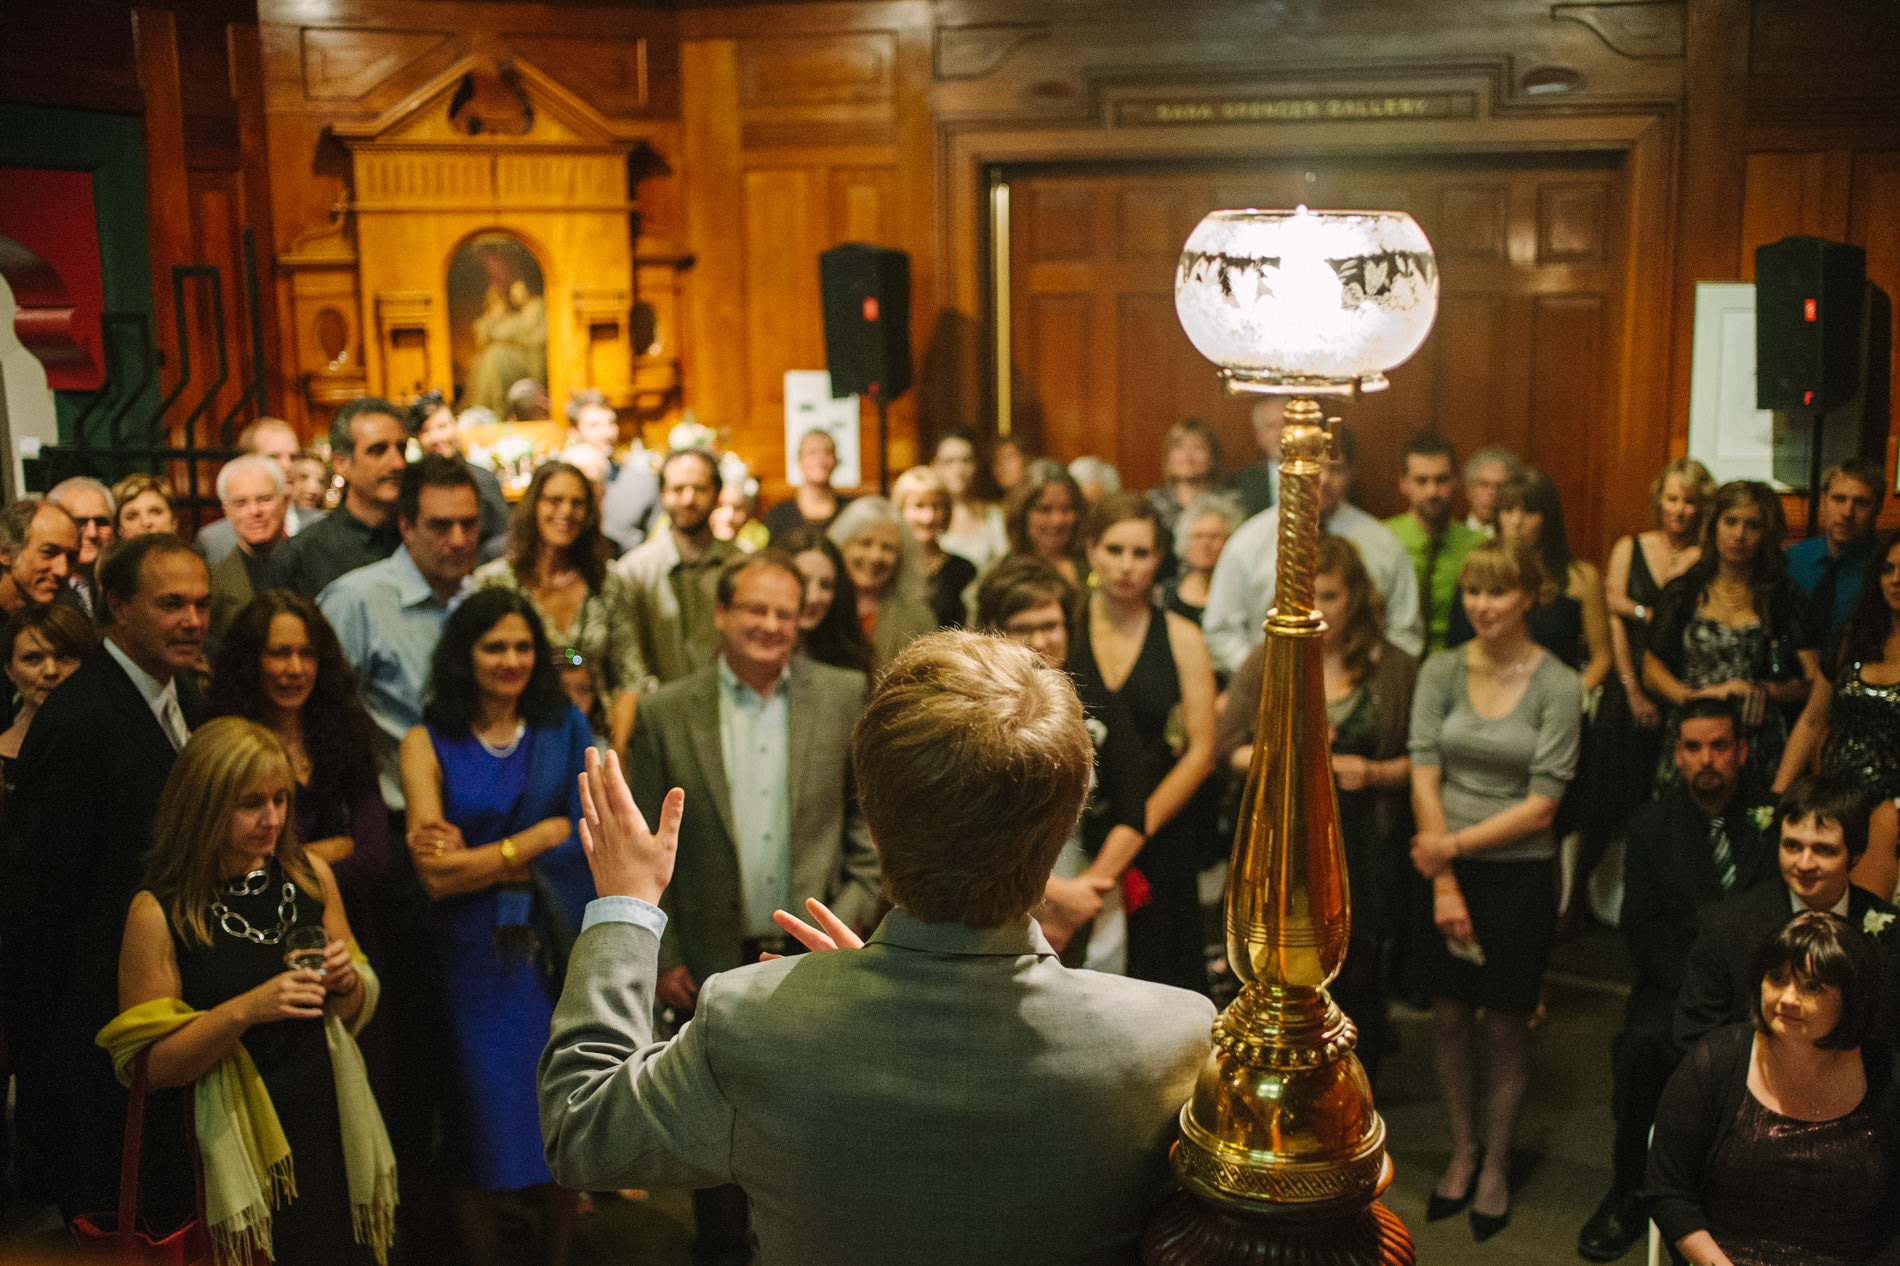
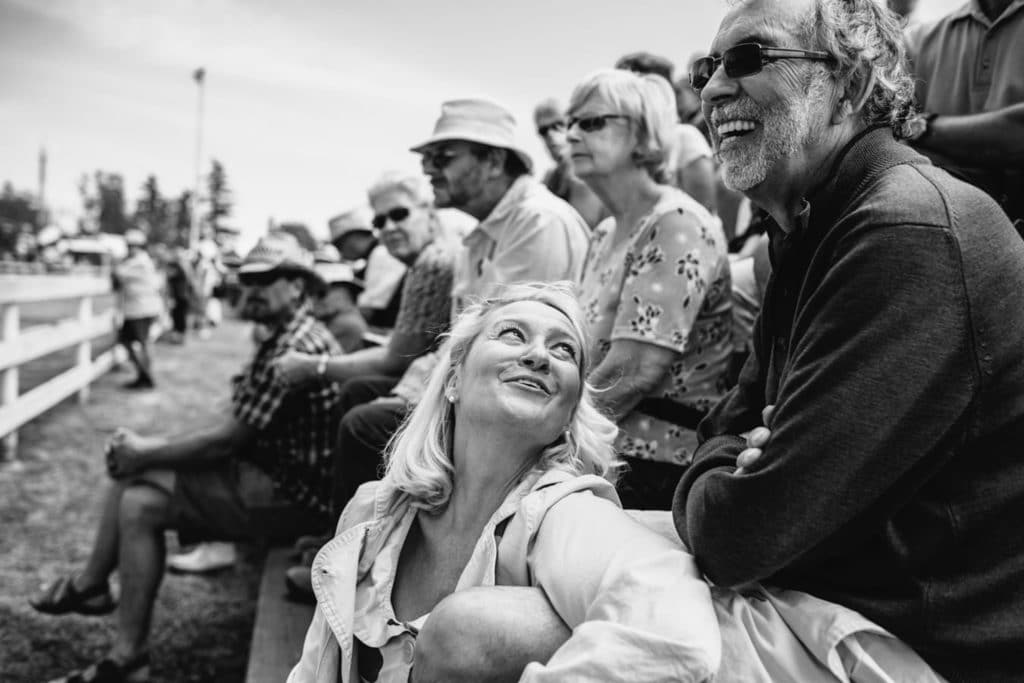
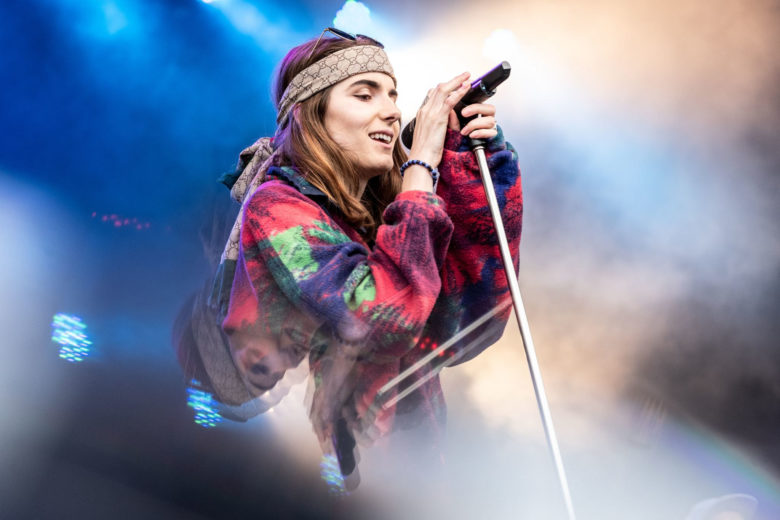
The below image is focused on the speaker, whose face you can’t see. He becomes the most important thing here because he’s the most in focus, but the crowd listening is also a part of the story.
The below image is a bit different because it’s the same group of subjects in focus and out of focus, but putting the focus on the child’s feet creates a more visually interesting image than the reverse. You can also get a clearer idea of what they’re reading with this focus and angle than you would if I tried to get their faces sharp and in full view. Plus, her toes are super cute.
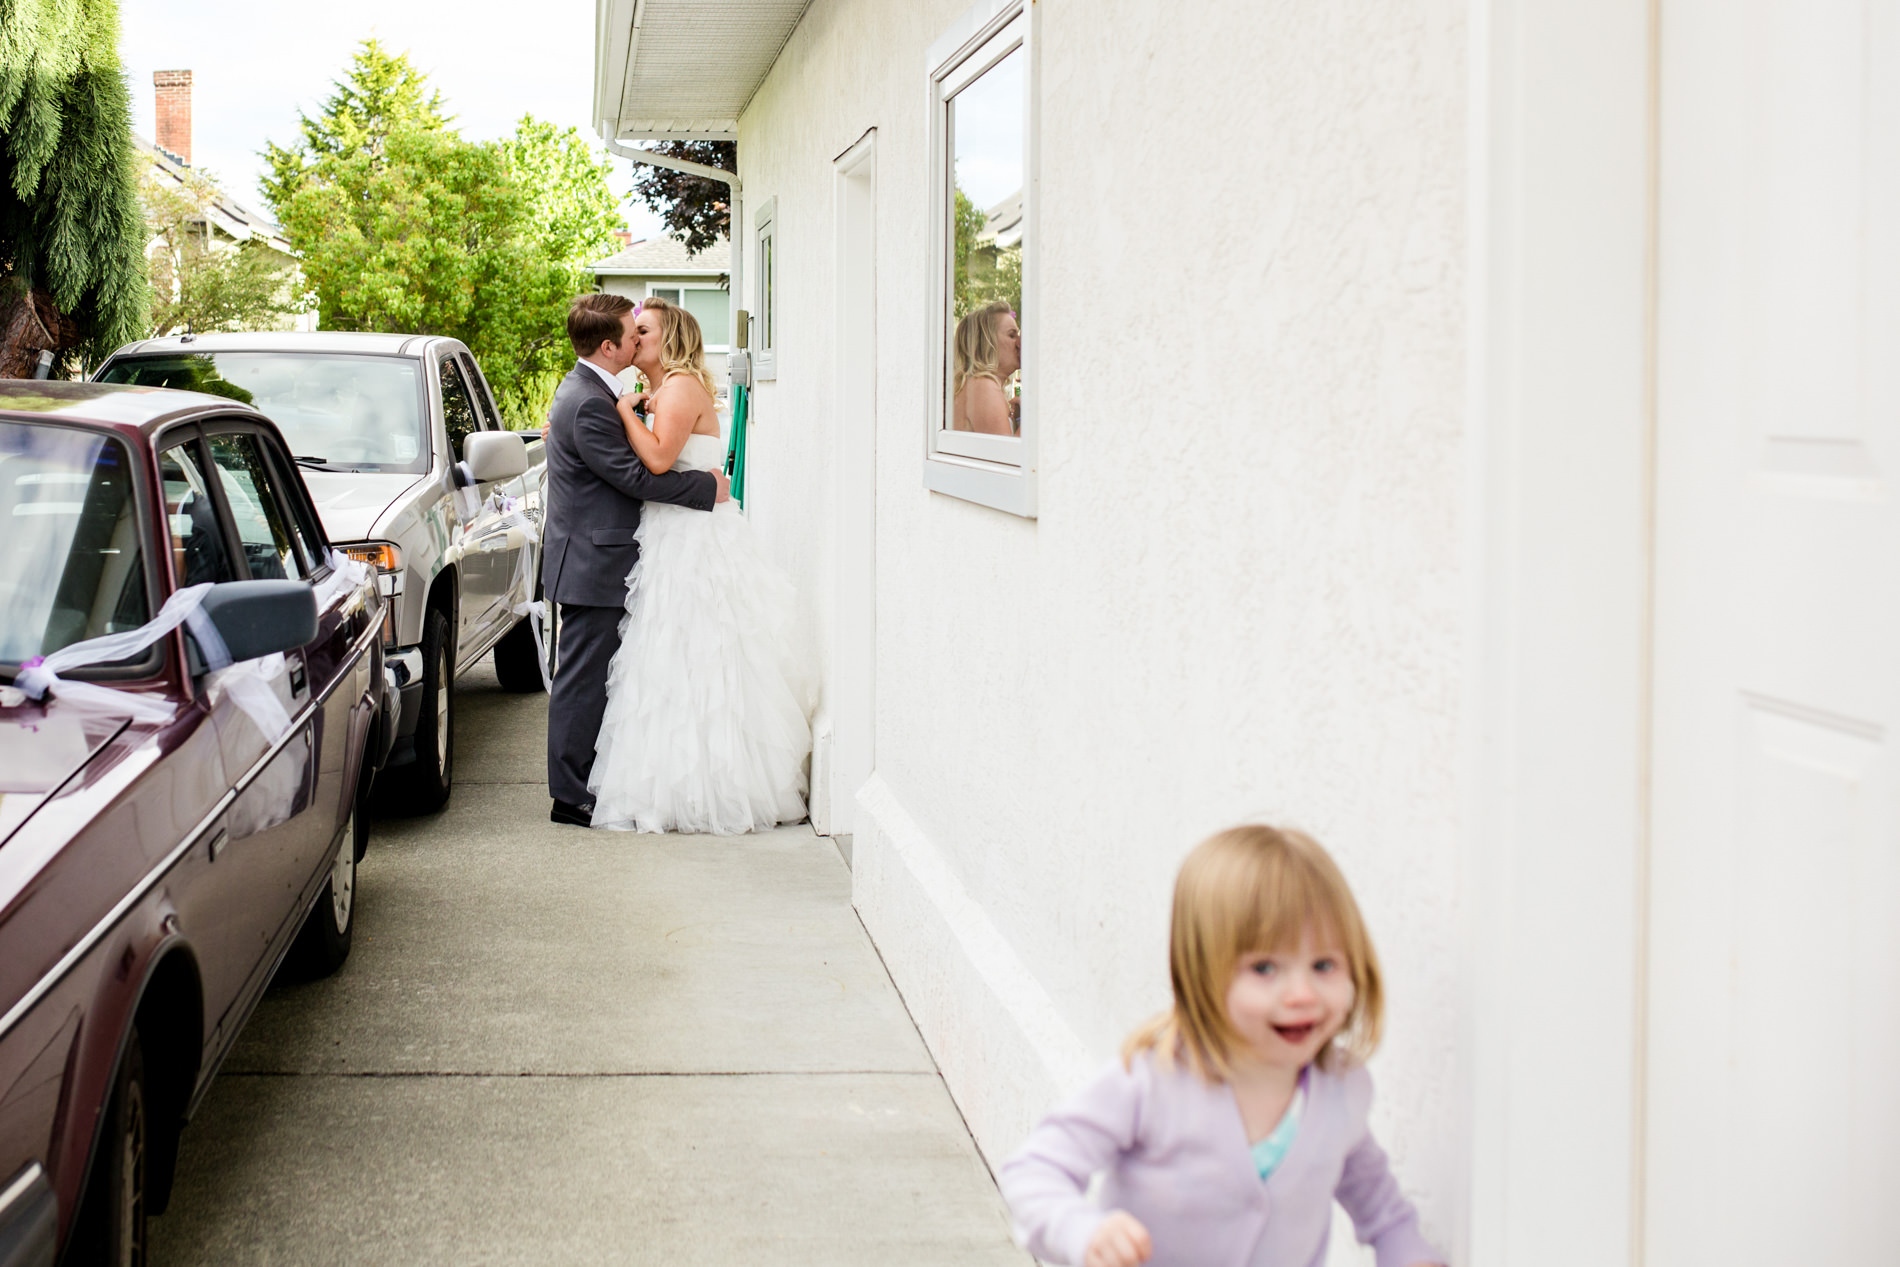
Here’s an example where in hindsight, I think focusing on the foreground would have been better. I just wasn’t quick enough. This kid ran by the couple and past me as we were taking some portraits. You can still make out her expression, but I kind of wish she was the focus of the photo.
So the main idea is to start telling stories with multiple components. Try photographing a scene where you could get a good photo by focusing on the background instead, but changing the focus changes what the viewer sees as important.
If you have any questions, join us in the Facebook group. I’ll be checking in there daily to see your work and help you achieve the best results.
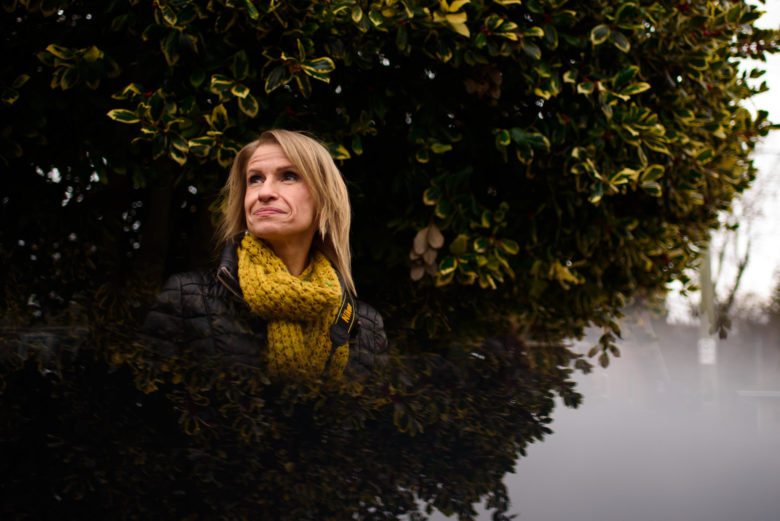
This week’s theme is blurry foreground. A blurry foreground is actually even easier to get, technique-wise, than a blurry background. Depth of field (or what’s in focus in your photo) tends to be more behind your subject than in front, meaning that things in the foreground have a bigger tendency to go out of focus than things in the background. You just have to make an effort to put something interesting in the foreground.
Here are some tips on getting a blurry foreground and making it look interesting:
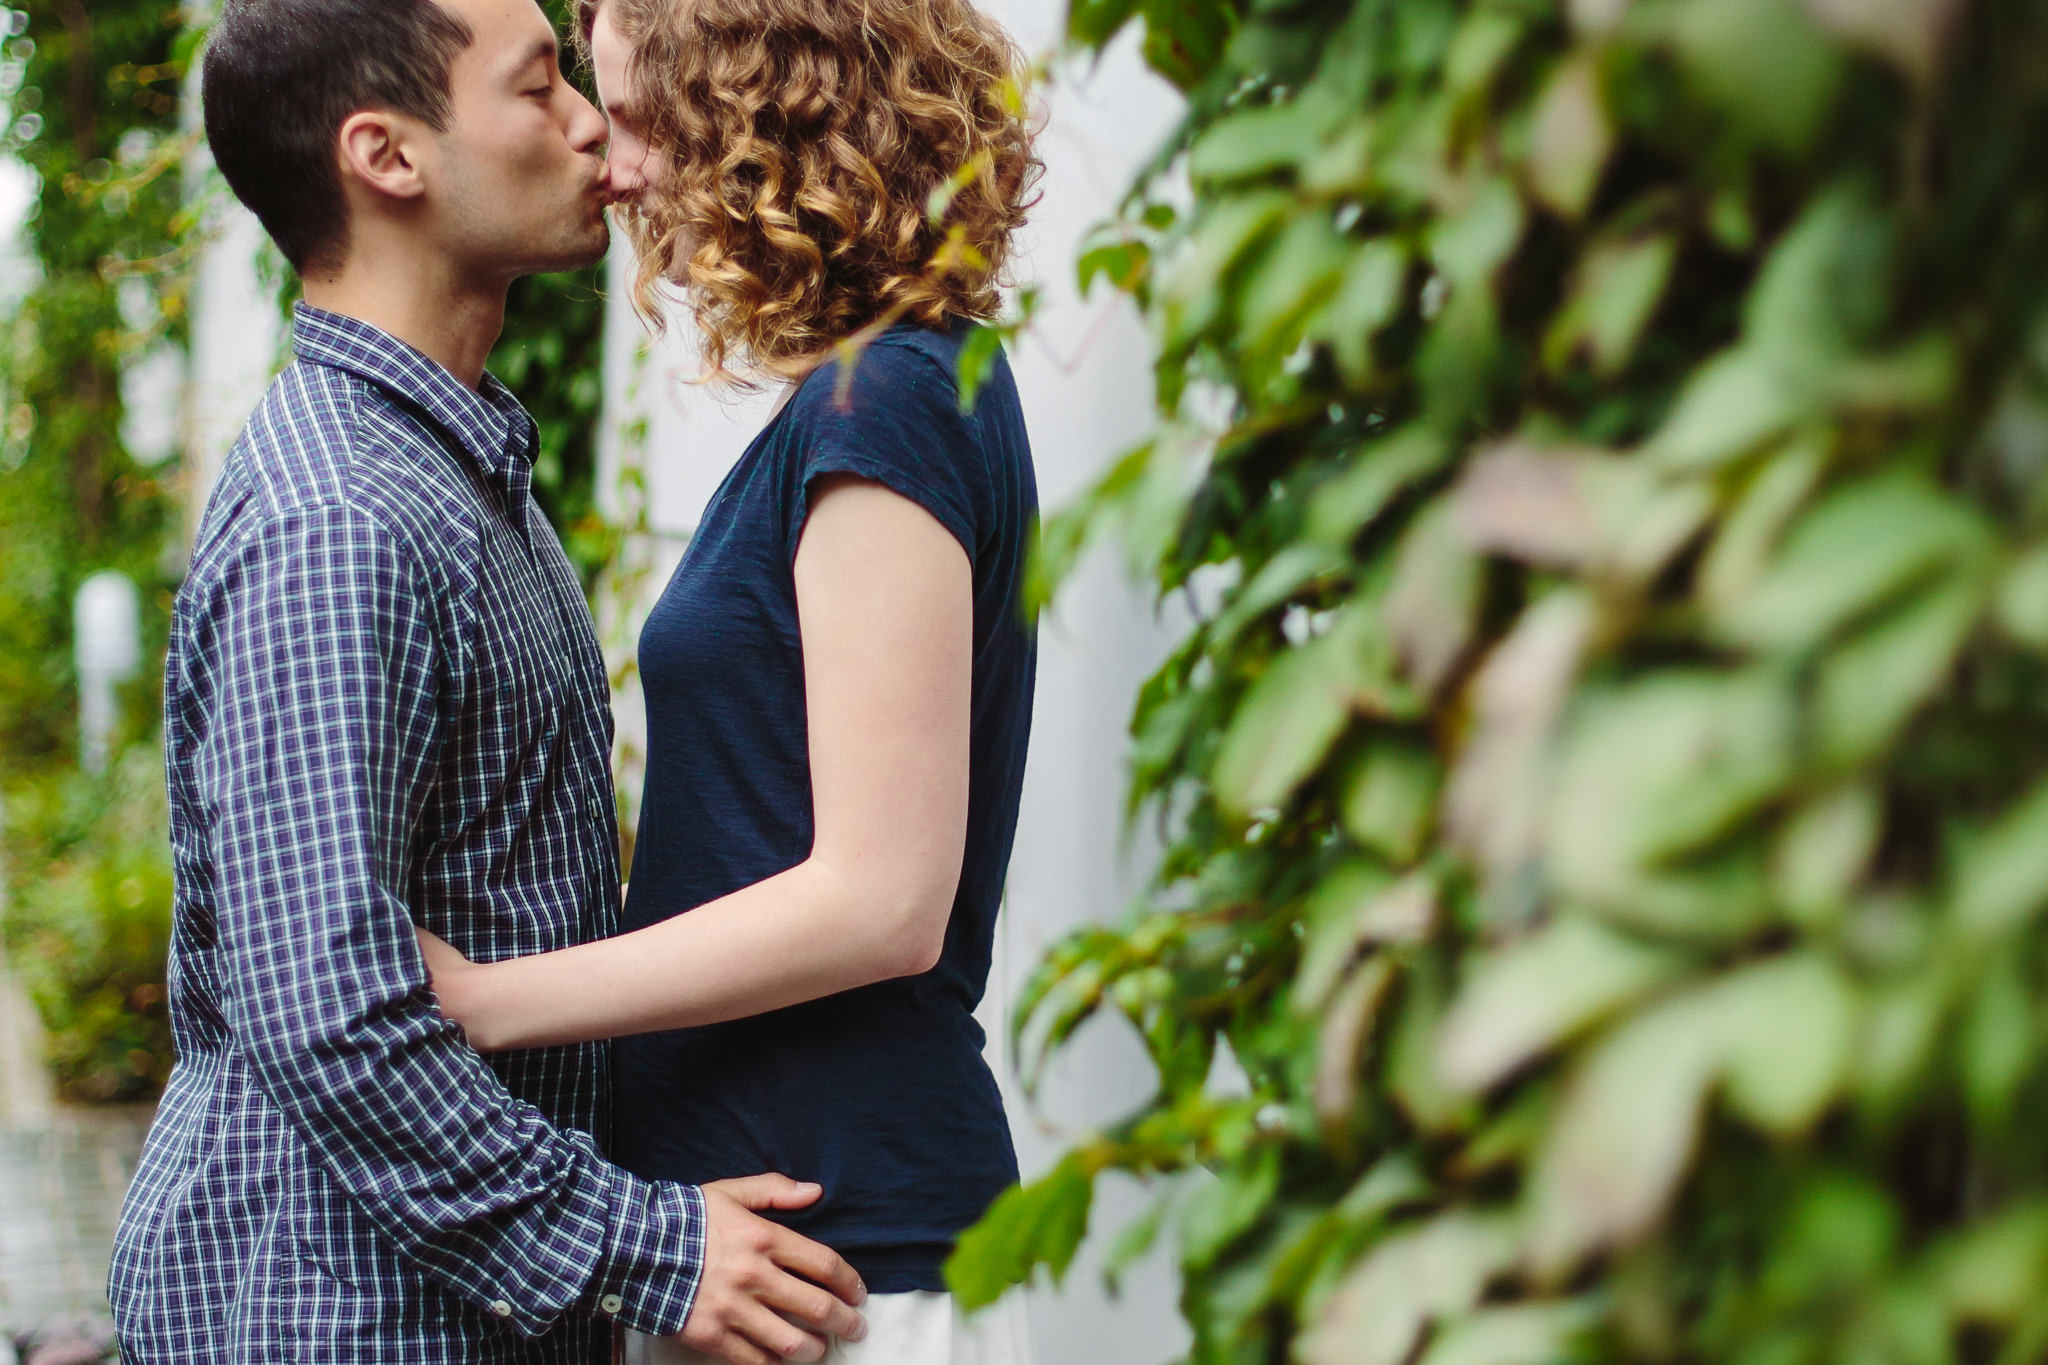
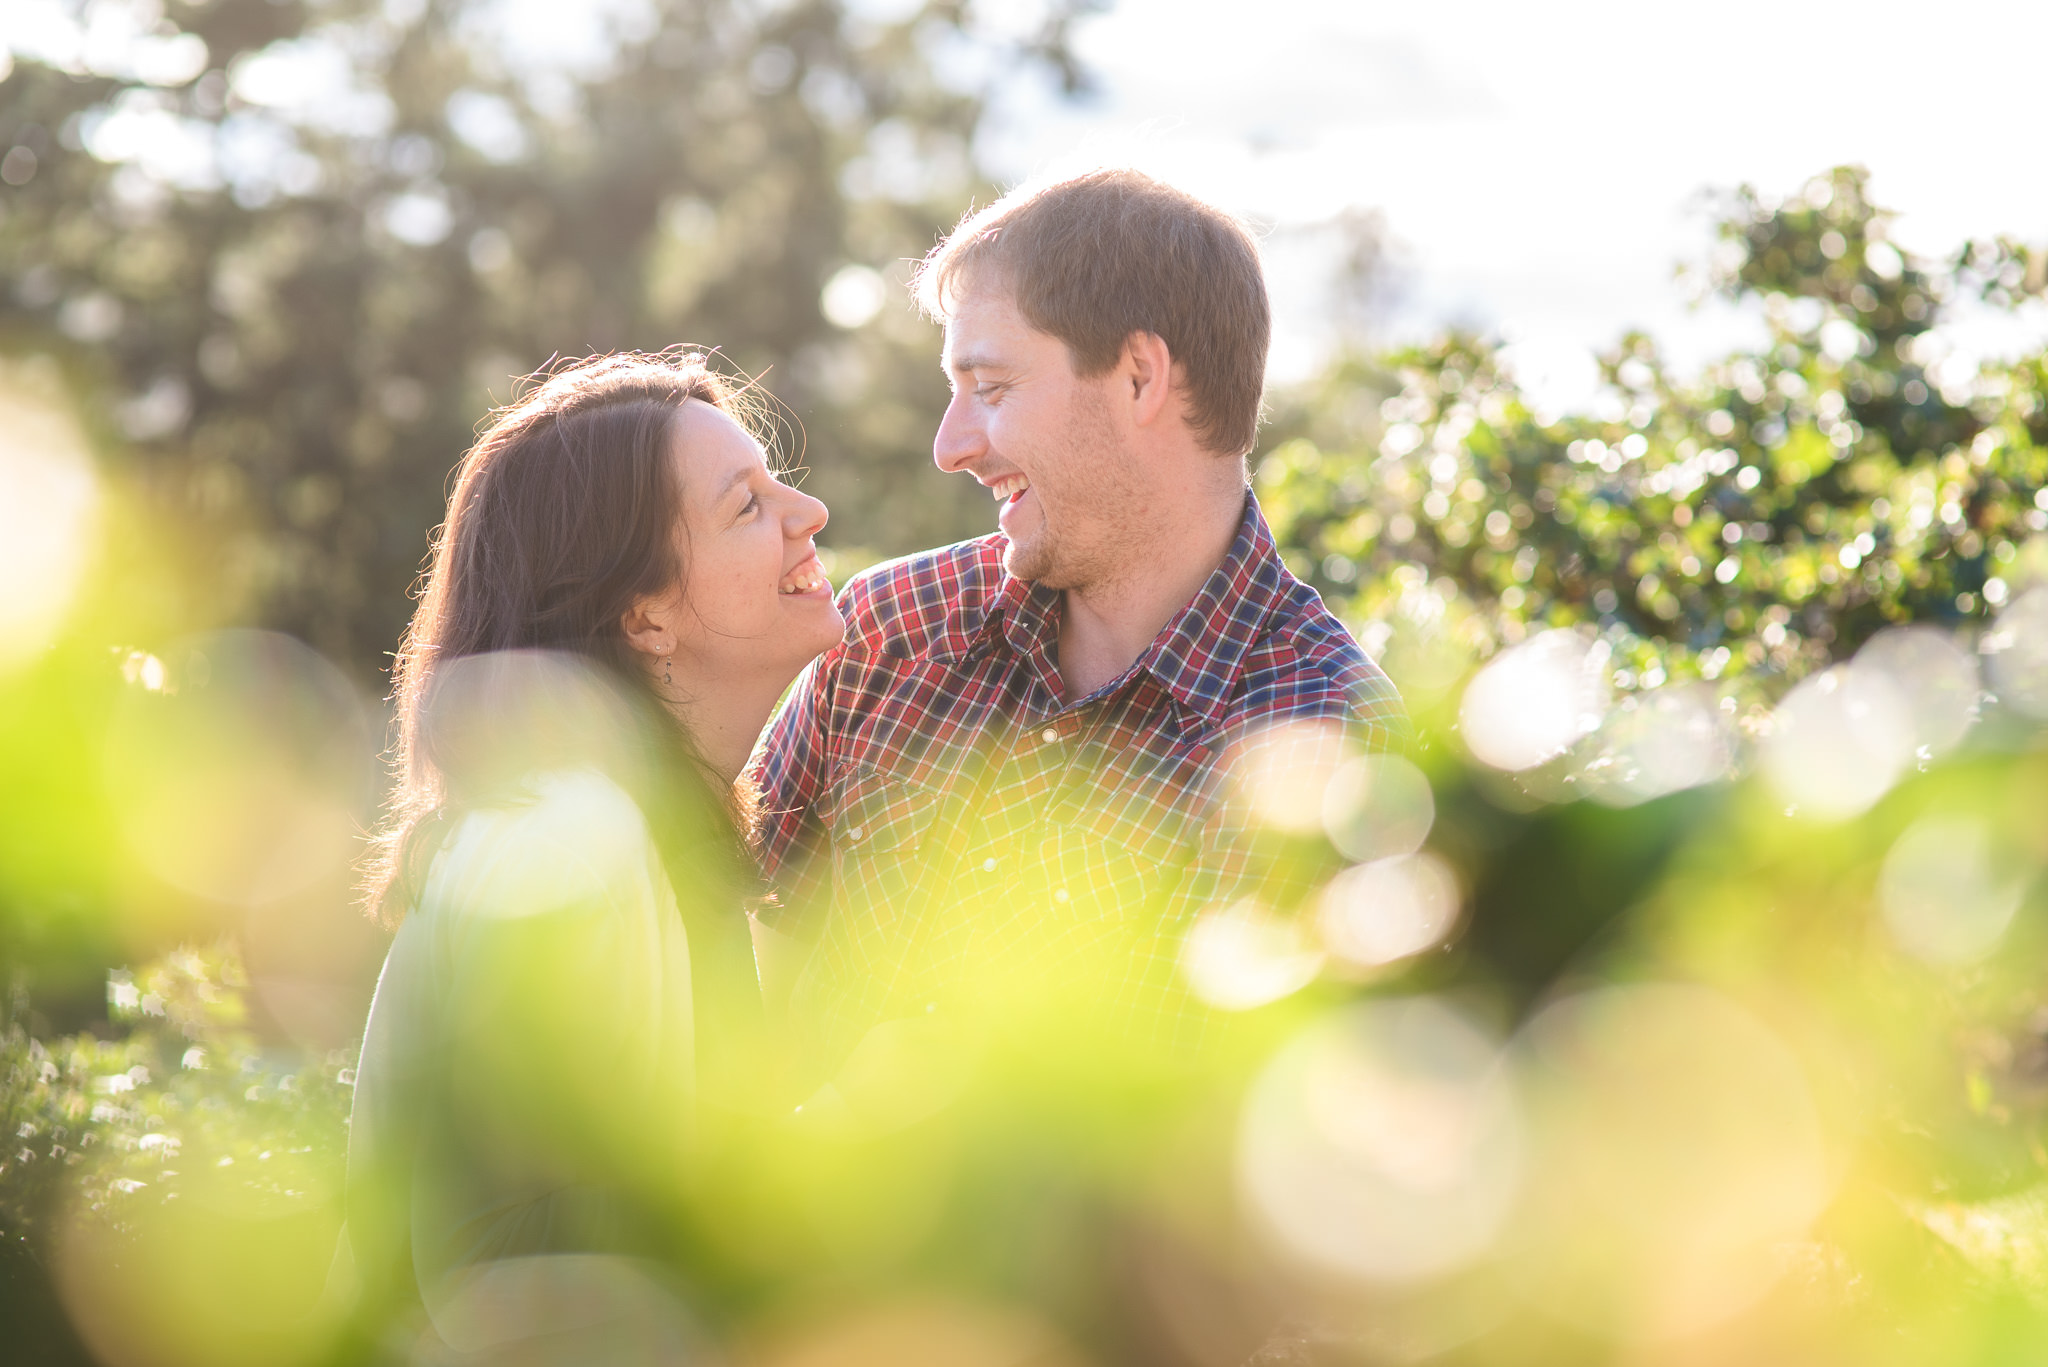
The closer the foreground element is to your lens, the blurrier it’ll be. I’ll often stand behind or right inside a bush to get some leaves or flowers framing my shot. Also, try using a low aperture to get a shallow depth of field.
Make sure you’re focusing on your subject. If you’re really close to the foreground element, the camera probably won’t focus on it anyway because lenses can only focus so close. But if your camera actually tries to focus on the foreground, you’ll want to move your focal point onto your subject. With a cell phone, and some newer cameras, this is as easy as tapping on your subject to get focus. With DSLRs and similar, you may need to change your camera to use a single focal point. The search terms that can help you figure out how might be “changing focus points” or “how to change focal point” along with your camera model.
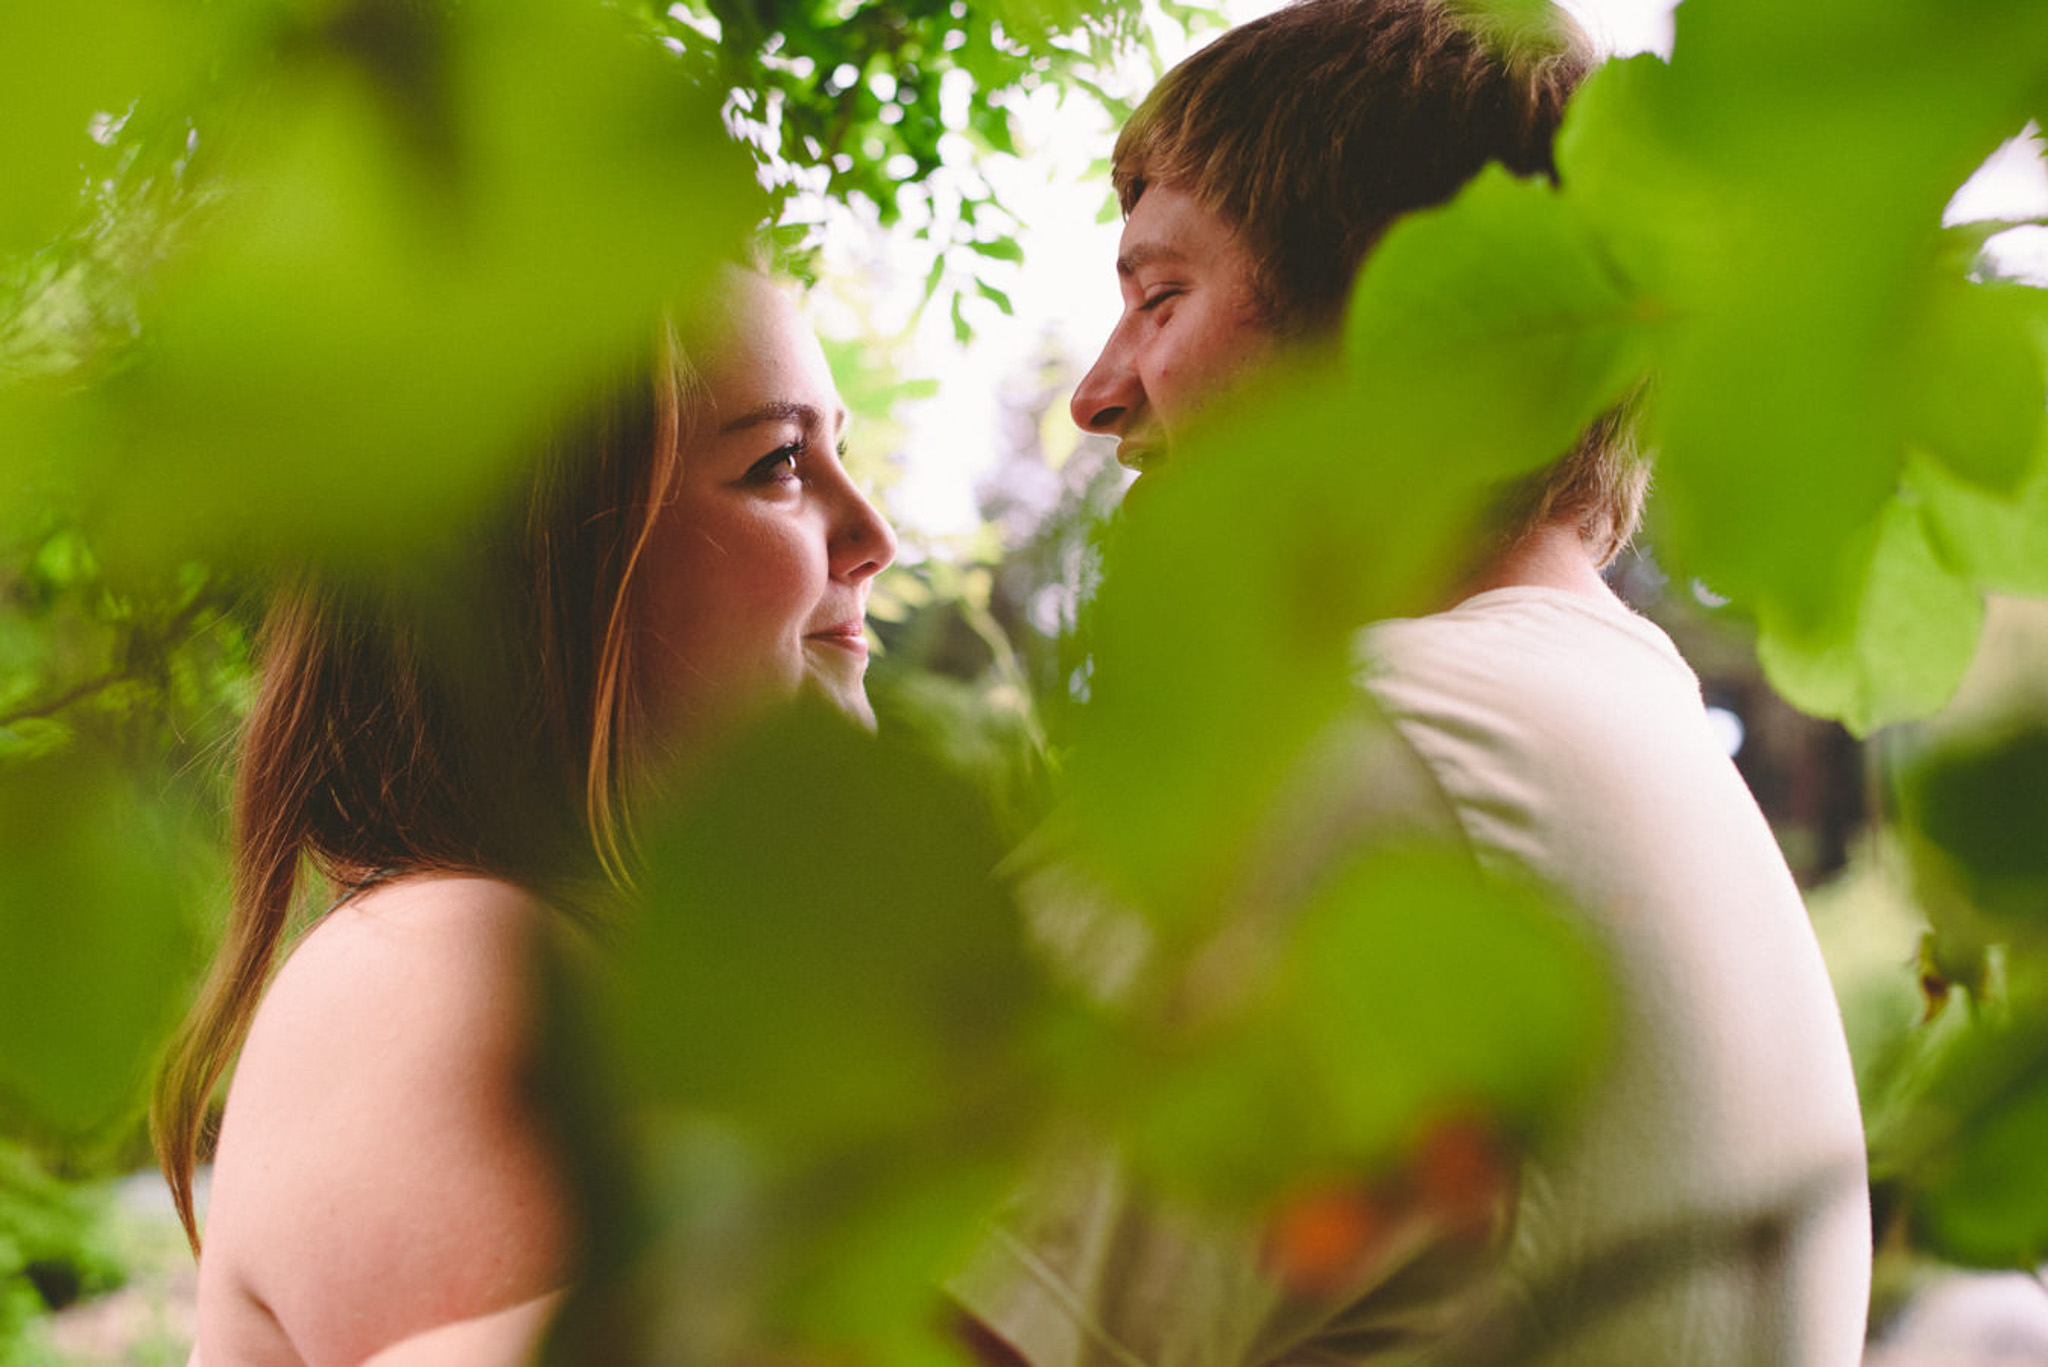
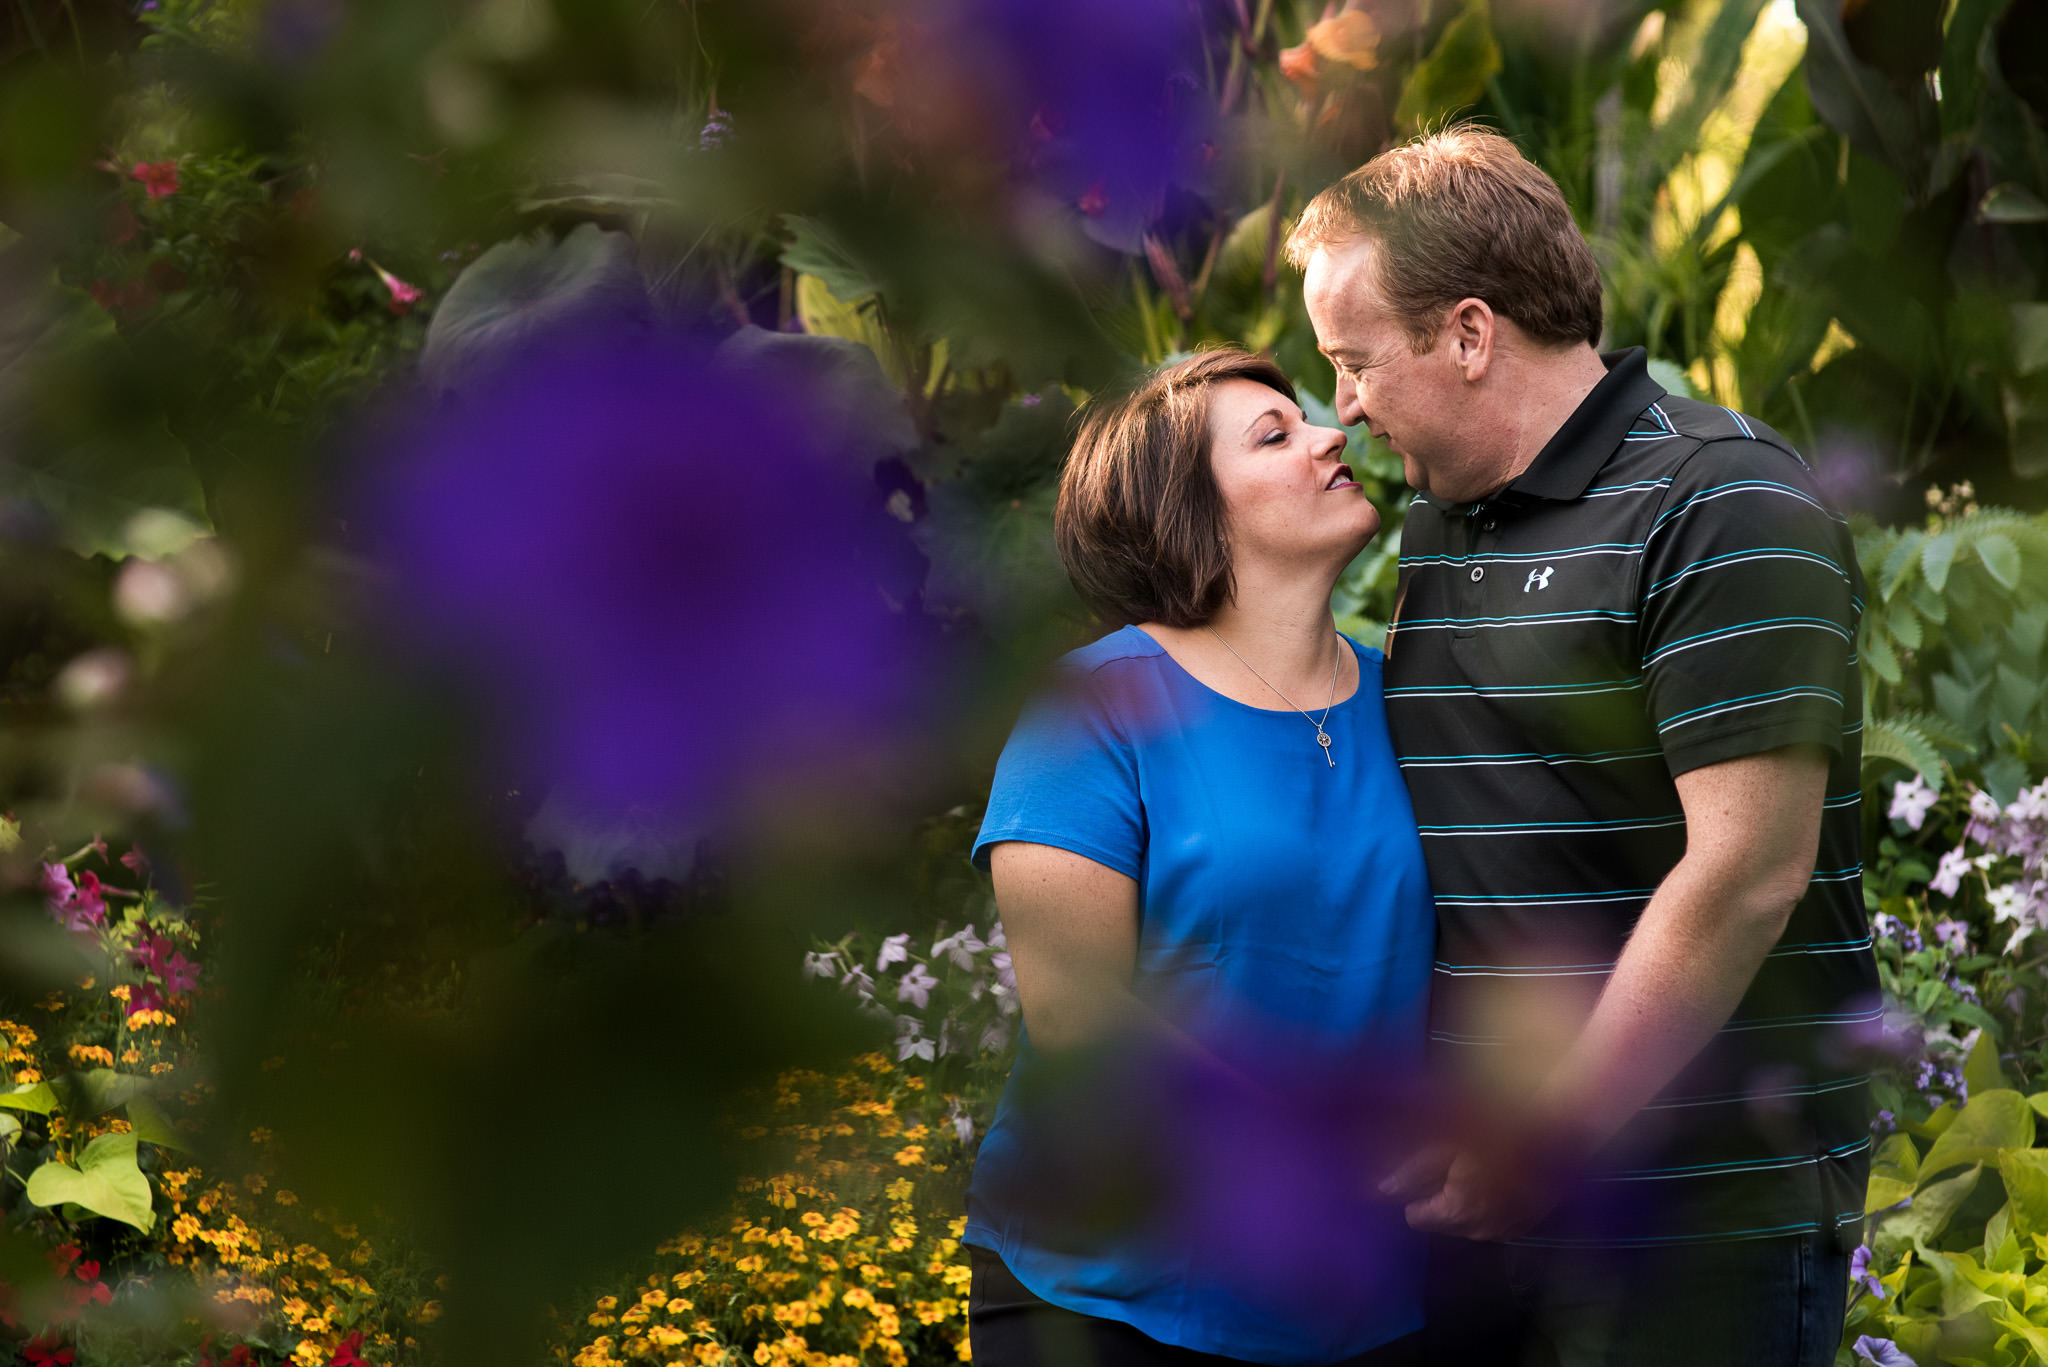
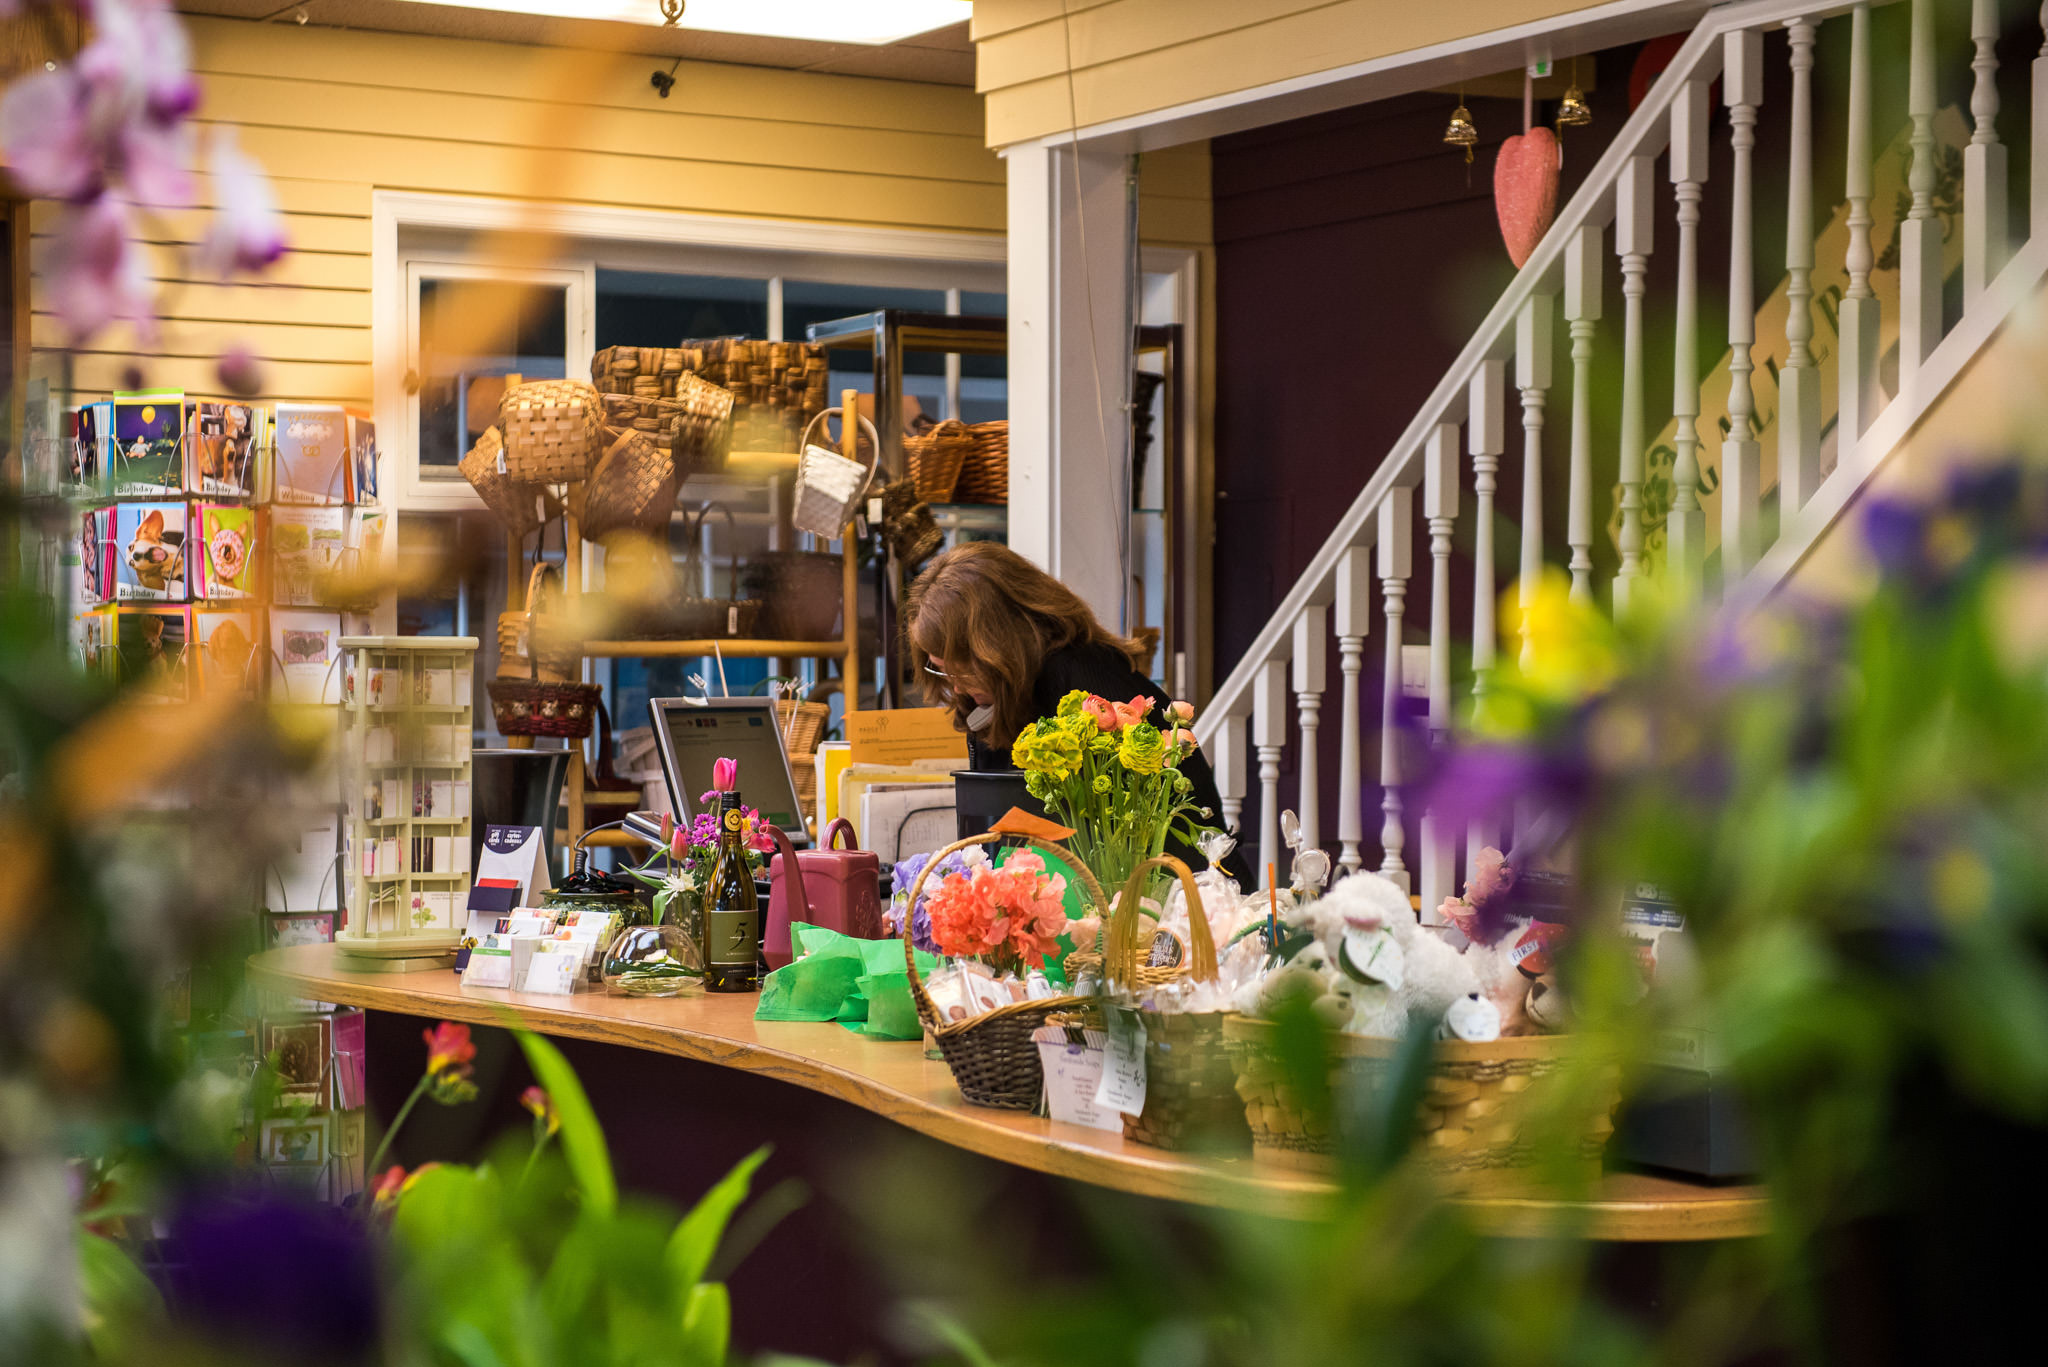
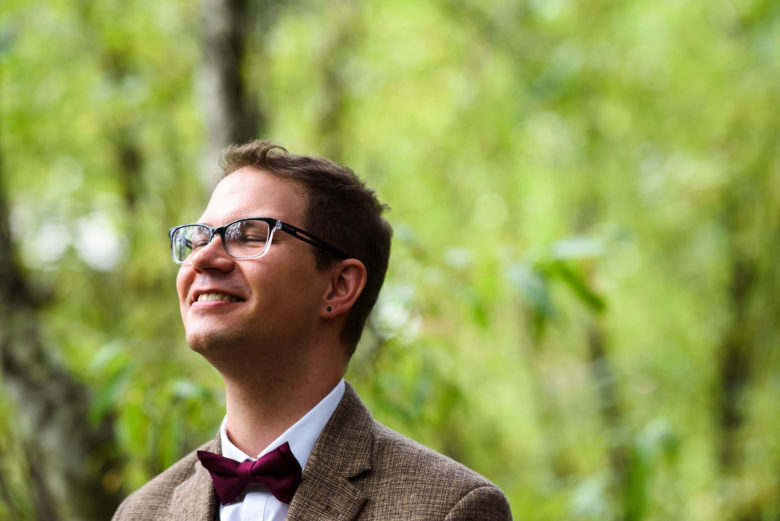
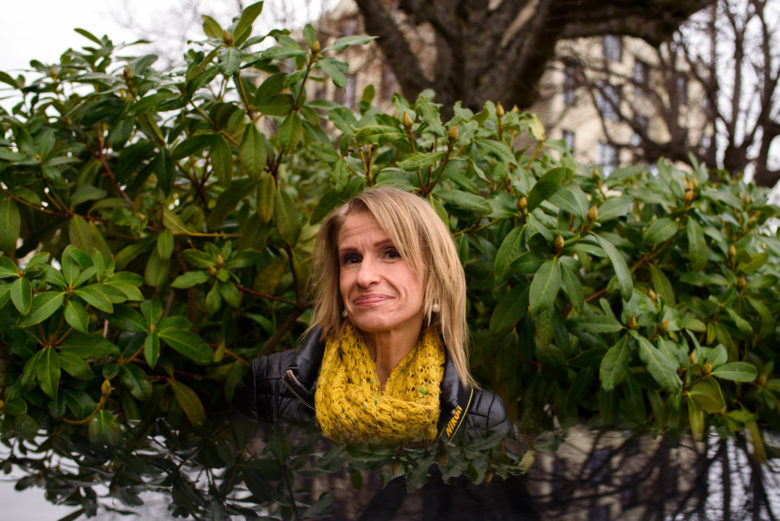
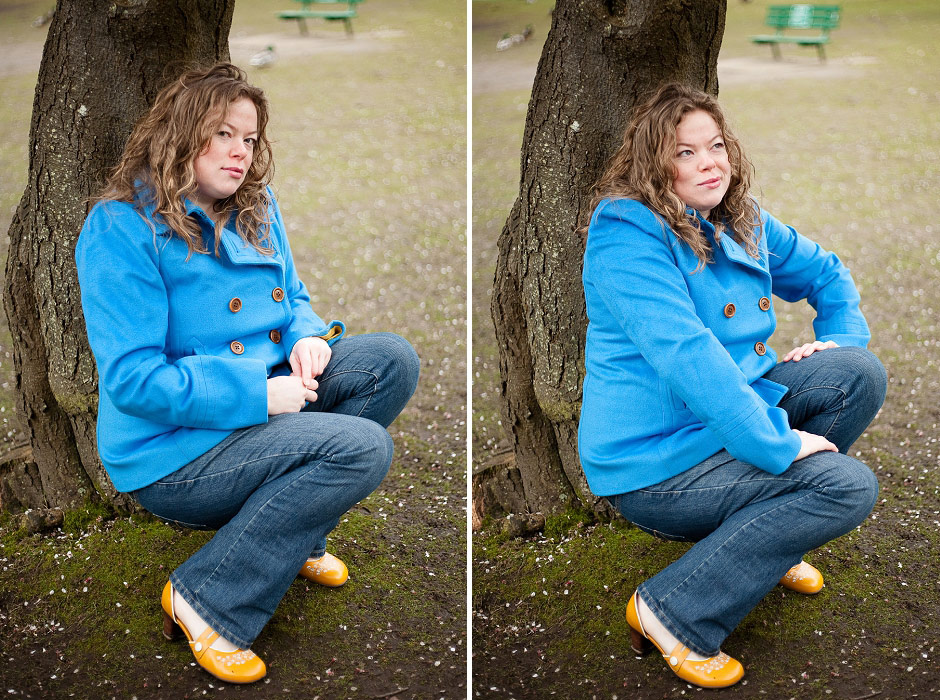
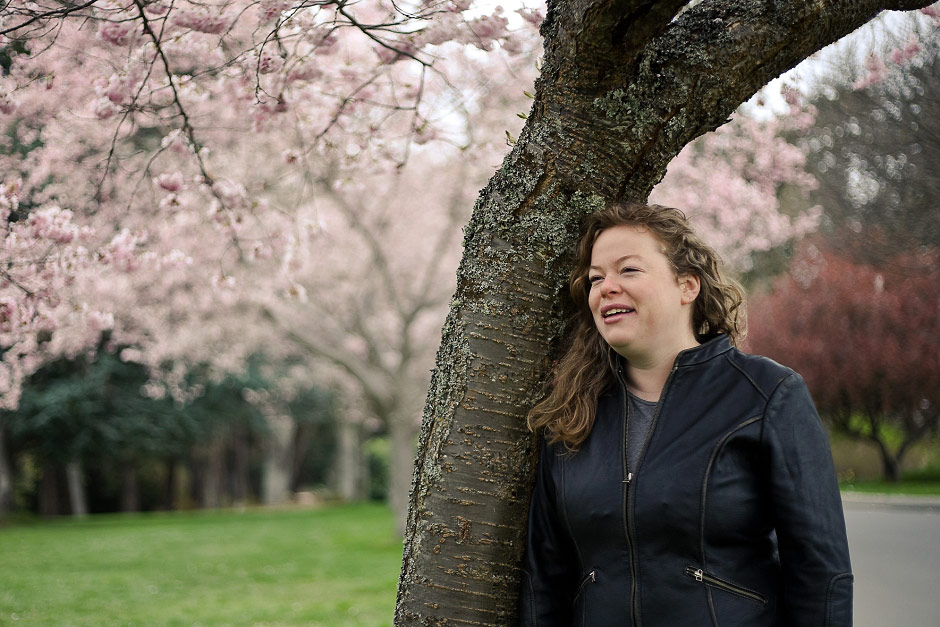
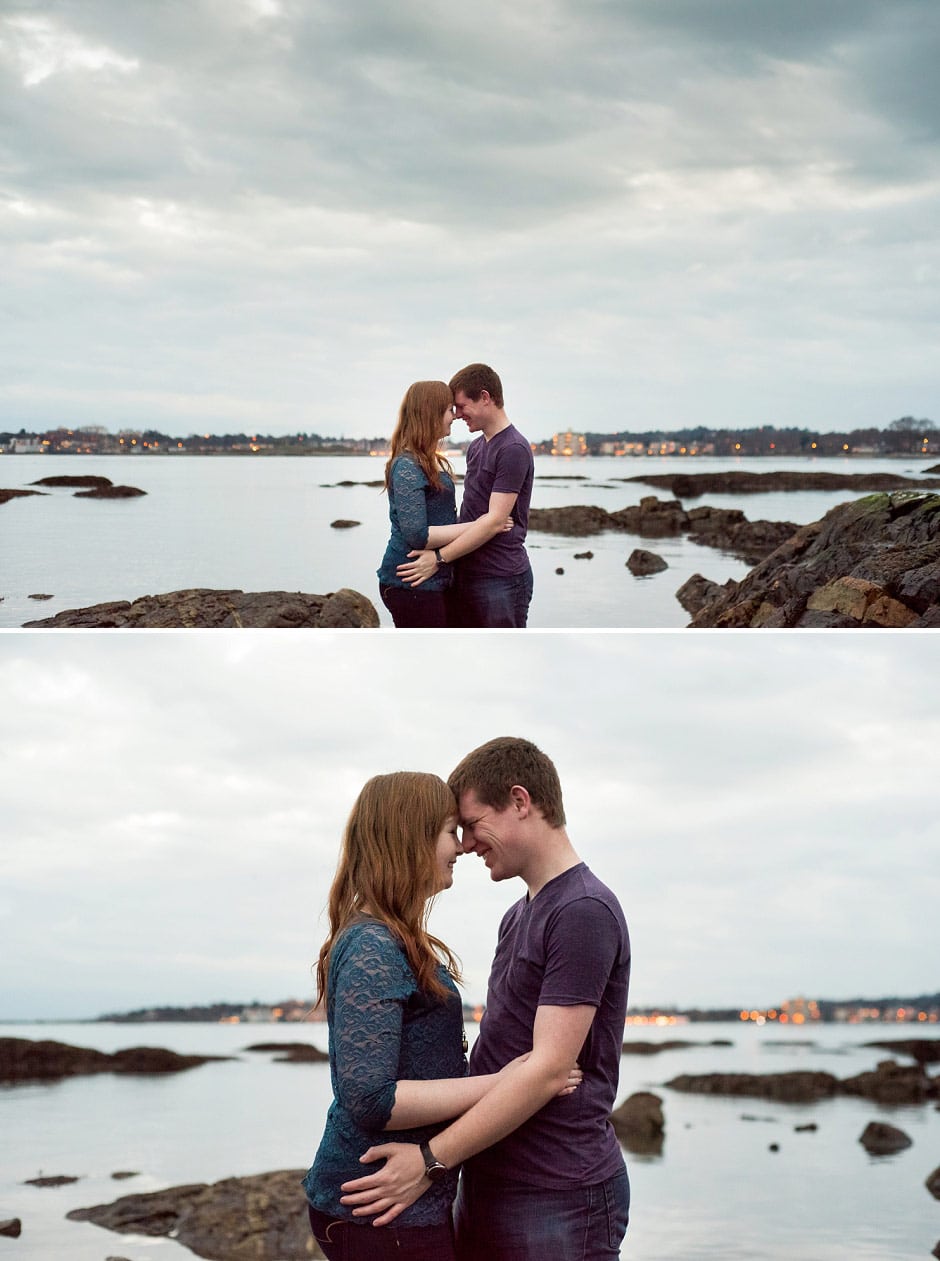
Think about using things with an interesting shape or colour as a way to frame your subject. The first two images show one of my favourite techniques, shooting through a bush to create a pretty blur in the foreground and draw the eye to my in-focus subjects. A string of lights or a sparkler can also make a fun, bright foreground element.
The key here is really to think about where you want the viewer’s eye to go in your photo. Composition is very important as you want the blur to lead the eye to your subject and not cover them or distract the viewer.
I find using a foreground element can create the feeling of peeking in on a scene or moment, so I prefer to pose my subjects in a more candid way for these.
If you have any questions, join us in the Facebook group. I’ll be checking in there daily to see your work and help you achieve the best results.
This week’s theme is blurry background. I wrote a detailed post about this previously, so check it out if you’re not sure how to achieve this effect. It should be possible with nearly any camera, though you may have to get closer than usual. You can also try out portrait mode if you have an iPhone, though the effect is an artificial one. Other newer phones may have something similar.
When might you want to get a blurry background? Here are some good uses of this effect:
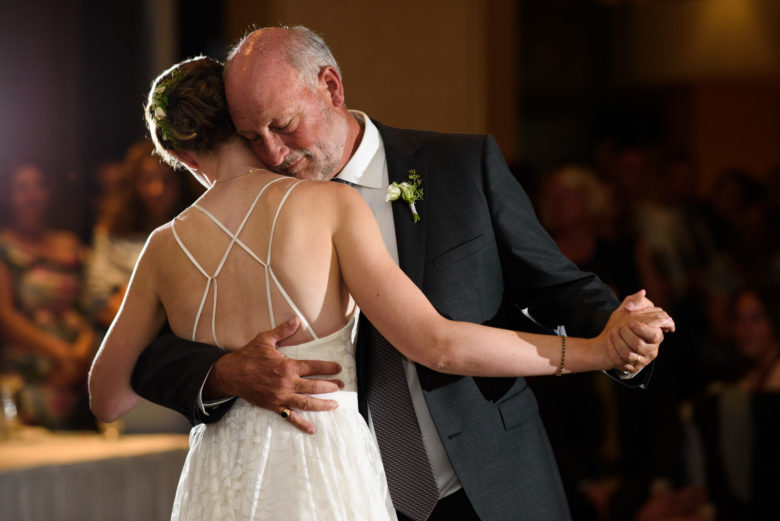
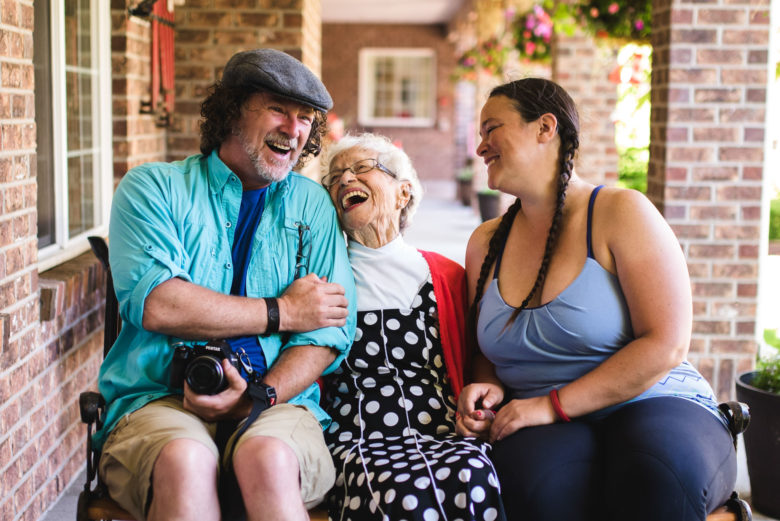
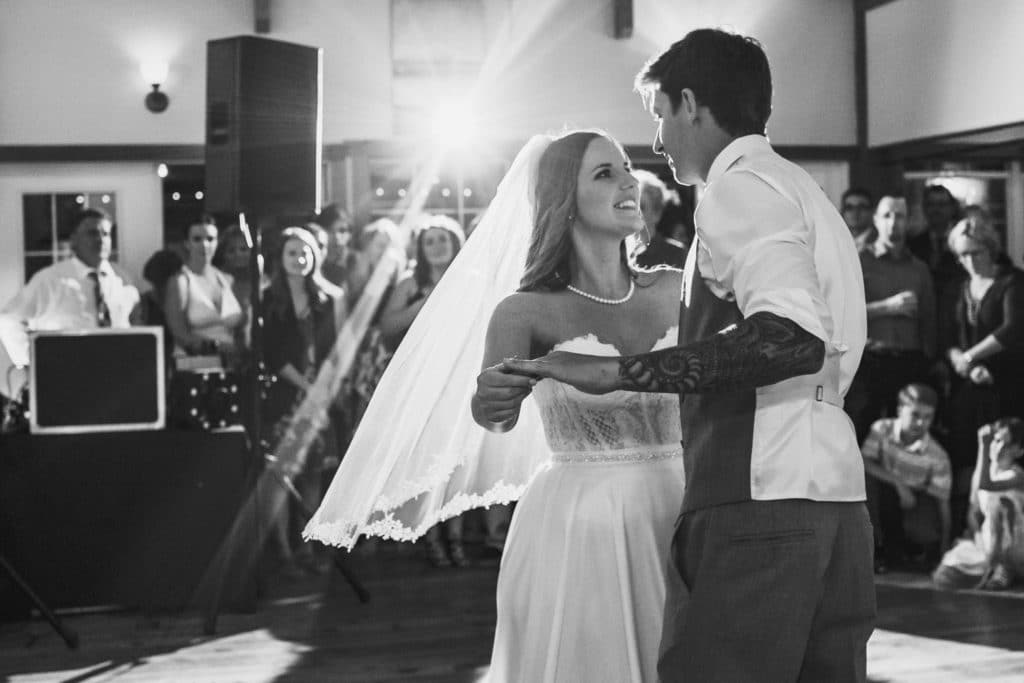
When the background is messy or distracting. In the fifth and sixth images below, there was a lot going on in the background (guests watching the father-daugther dance and the outdoor hallway of a retirement home, respectively), so I blurred the background to put more focus on the subjects. In the photo of the family in the hallway, I moved the bench so it wasn’t right up against the wall specifically so I could blur the background.
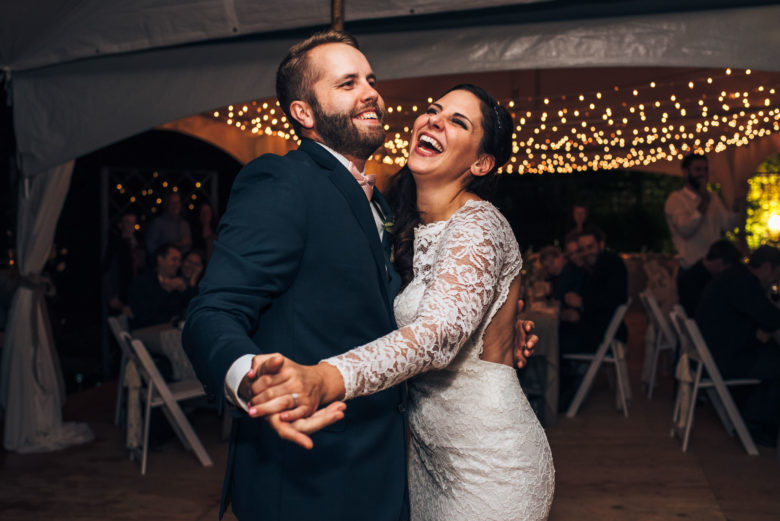
If you have lights in the background, blurring the background can make them into circles creating a pretty effect, like in the first two photos below. You can find a lot of examples if you Google the word “bokeh”.
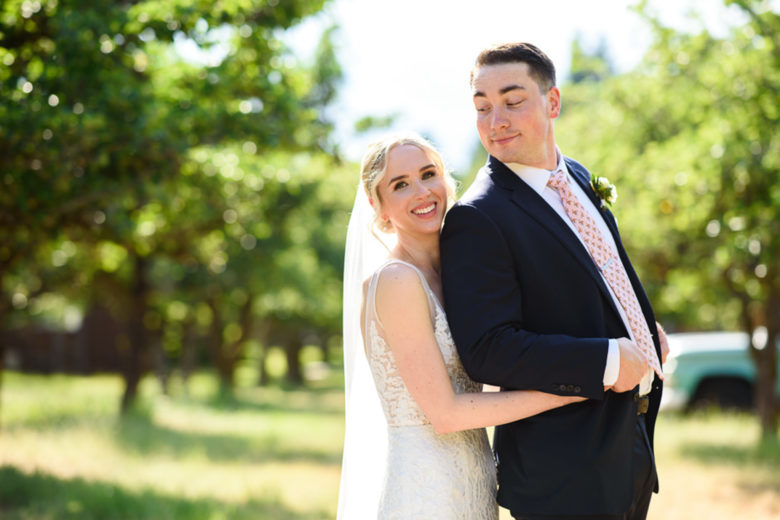
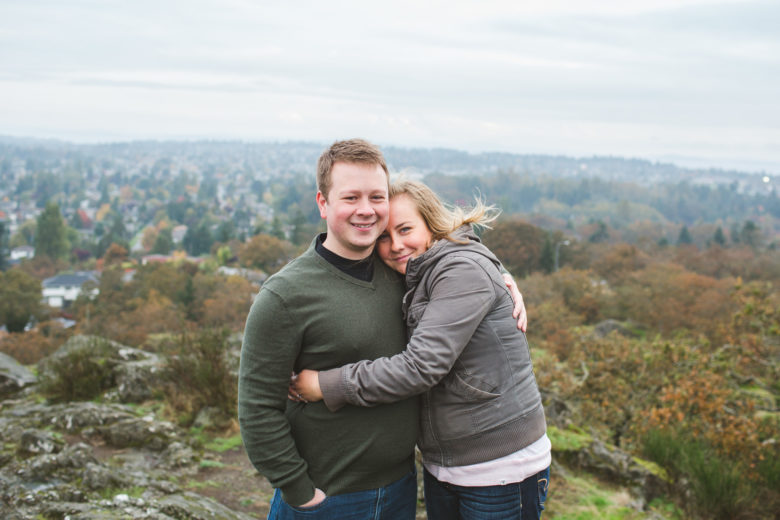
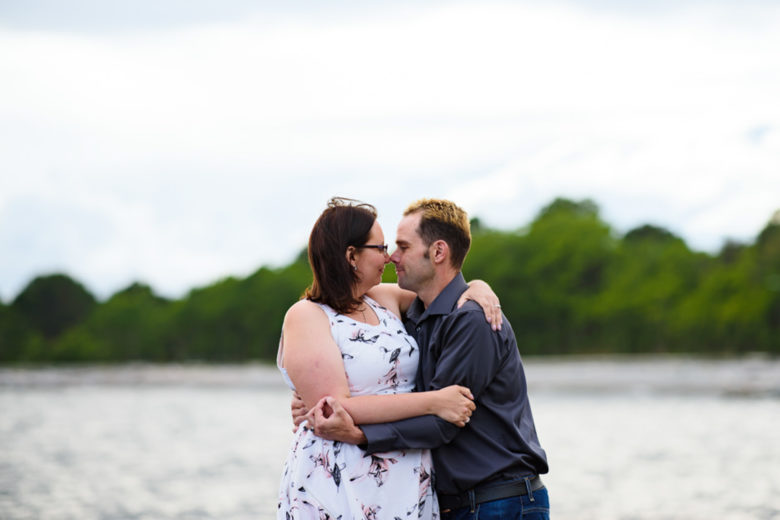
In other images where you want to put the focus on your subjects or just make the background look softer. If you can, still pay attention to distractions and align things in a pleasing way. A good composition combined with some background blur can really draw the eye to your subjects.
If you have any questions, join us in the Facebook group. I’ll be checking in there daily to see your work and help you achieve the best results.
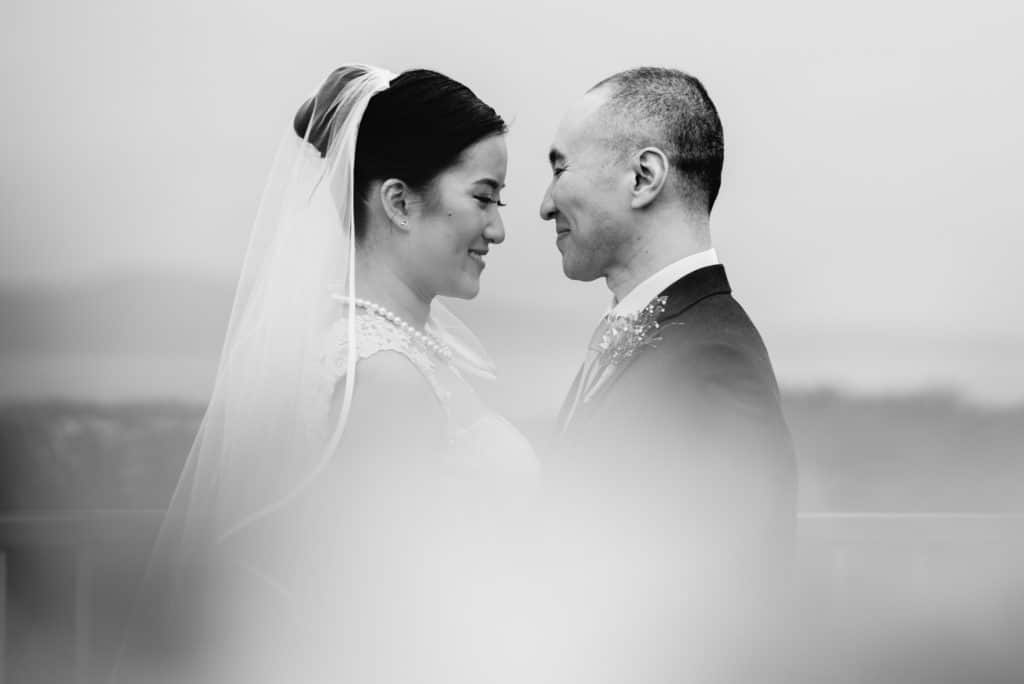
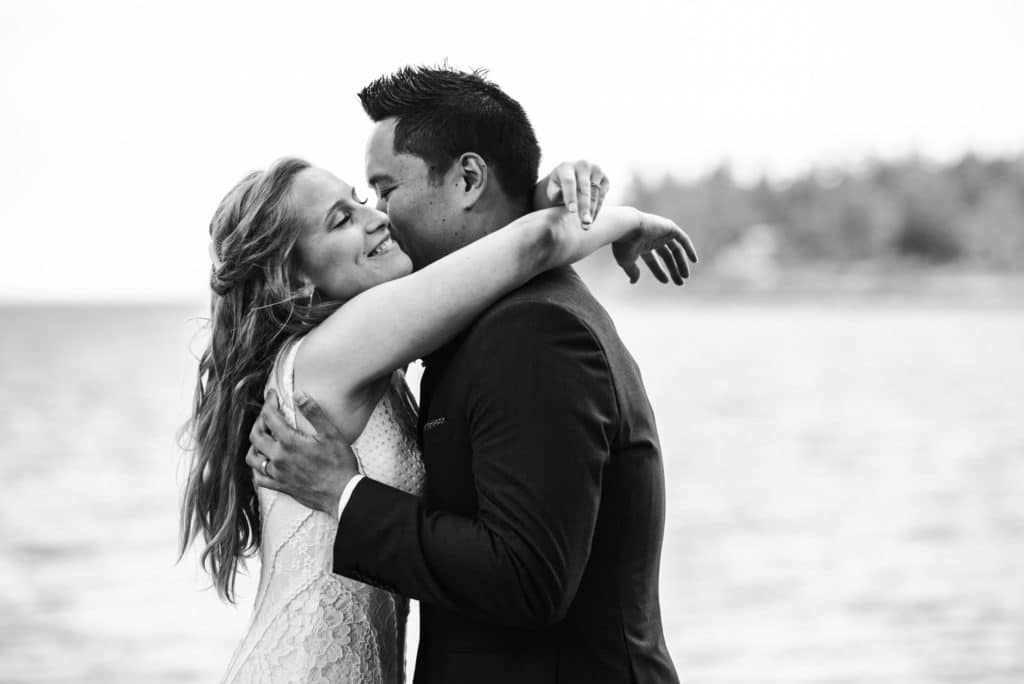
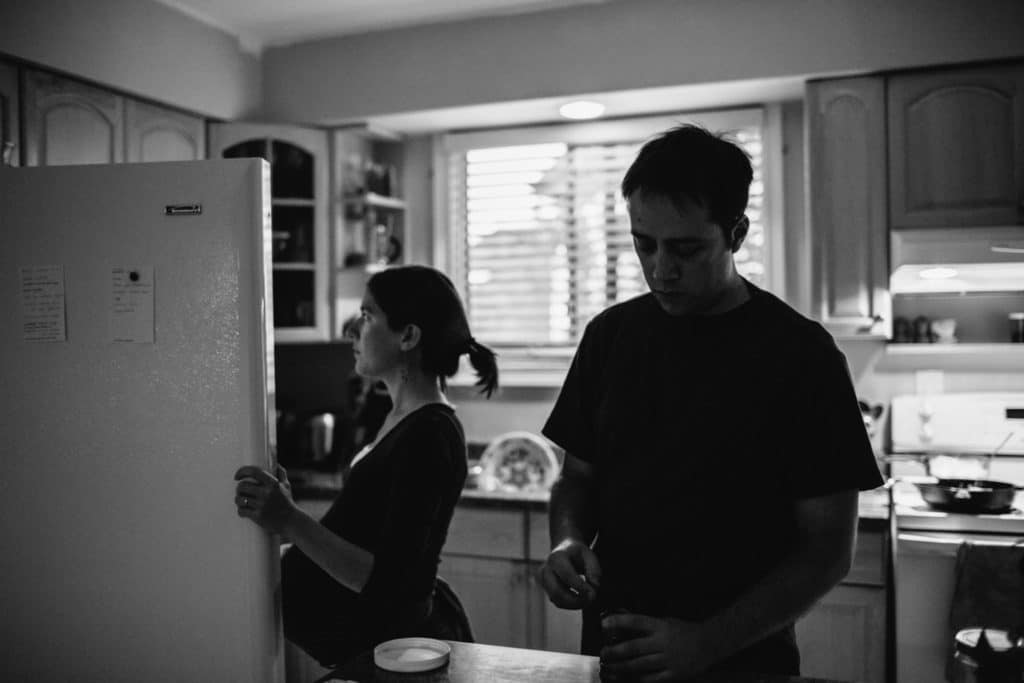
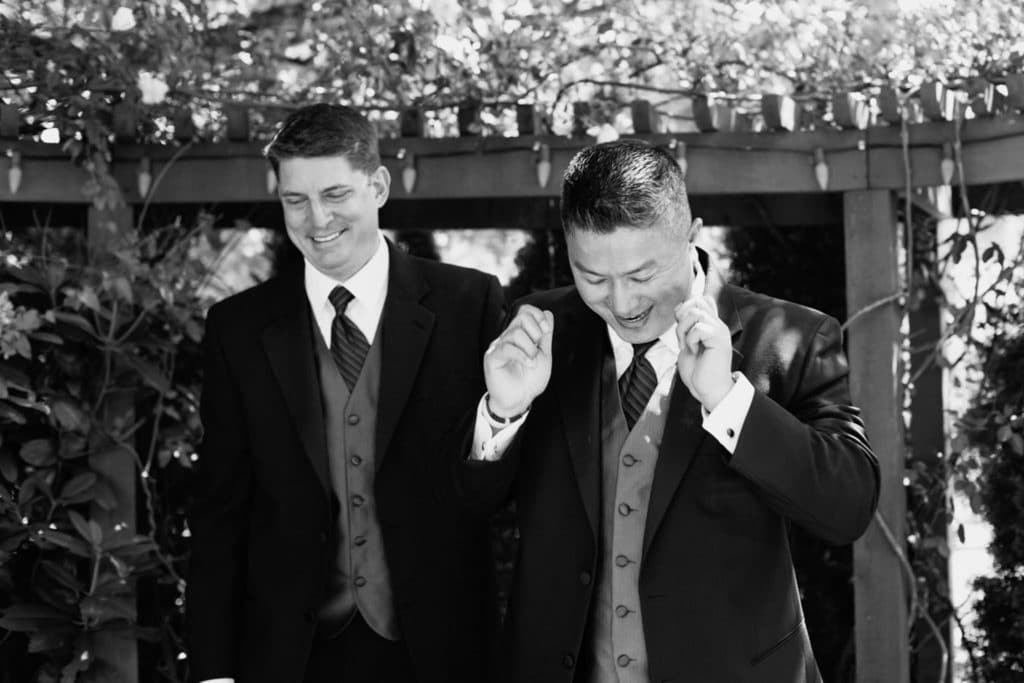
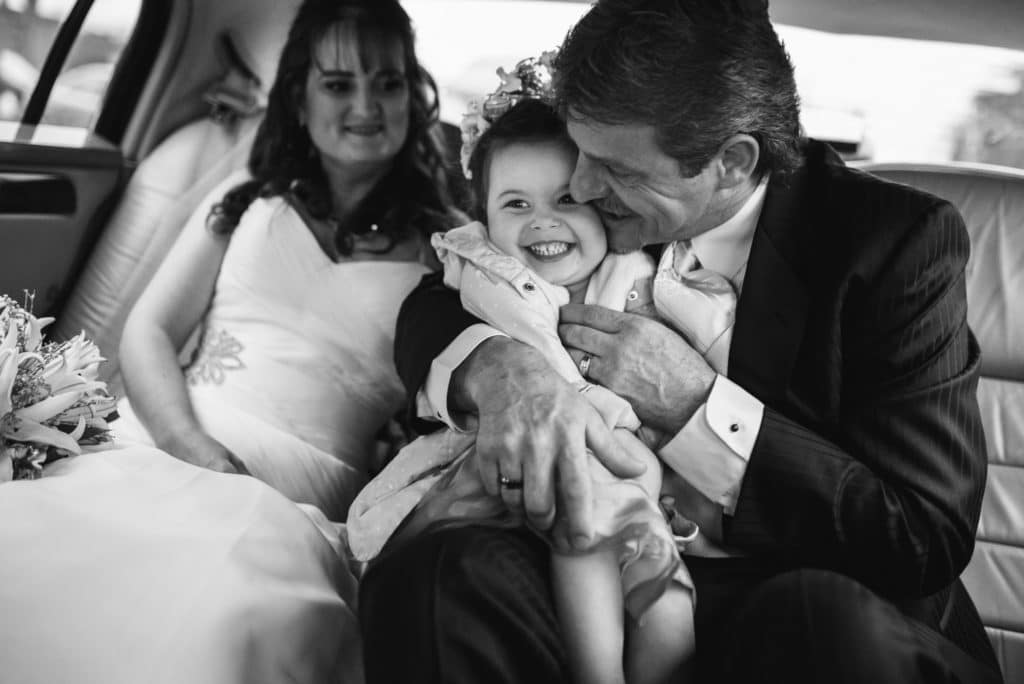
This week’s theme is black and white. This is pretty simple since you can take a photo of pretty much anything and edit it in black and white, or make it black and white in camera. I tend to deliver my clients’ photos all in colour and just use black and white when it really calls for it. Below are some of my fave black and white images from my work.
Black and white can be used to “fix” a technically imperfect photo that has too much noise/grain, weird colour (often due to mixed lighting), or even a lack of sharpness, but it can also be used to put the focus on the moment or composition. Some people say if colour doesn’t add anything to an image, then make it black and white. I tend to approach my work from the opposite perspective (if the colour doesn’t take anything away from the image, keep the colour), but they do have a point.
Here are some tips on getting better black and white photos:
If you set your camera to shoot in black and white, you can get a better idea of what the finished image will look like. Some photographers even set their camera to black and white so they can focus on light and composition without the distraction of colour, then edit the RAW file (which can be edited in colour or black and white, no matter what the camera is set to). You can set most digital cameras to monochrome in the picture styles menu.
Look for contrast. Whether it’s differences in colour or dramatic lighting, contrast can have a big impact in black and white.
Pay attention to composition. Removing the element of colour leaves you primarily with composition, lighting, and focus to control where the eye goes in your image. Look for strong lines, shapes, and shadows/highlights when composing.
If there’s a busy background in your image, it’ll be harder to differentiate it from the subject in black and white. Try to hide or crop out distractions. You can also use backlighting to separate the subject from the background (see the dancing photo with flash behind them).
Play with some different editing methods, even if you have little experience with editing. For example, in Adobe Lightroom (which I use to edit), you can try adjusting the clarity to add more definition, adjusting the curve to add contrast to specific tones, or use the HSL/grayscale tools to make certain colours brighter or darker.
If you have any questions, join us in the Facebook group. I’ll be checking in there daily to see your work and help you achieve the best results.
This week’s theme is mirrors/prisms/phones. These are a few similar tricks you can use to create a surreal, double-exposure like effect in camera.
The basic idea is to hold your phone face up, without a case and with no lens hood on your camera, with the edge right up against the lower part of your lens to create a reflection of what’s above. You can tilt it up and down a bit to change what’s reflected. Just experiment until you see something interesting through your viewfinder or on your LCD.
You can, of course, also use an actual mirror. Your phone is handy because you usually have it with you. If you’re using your phone to take the photos, you might want to try a mirror, or check out the prism idea below.
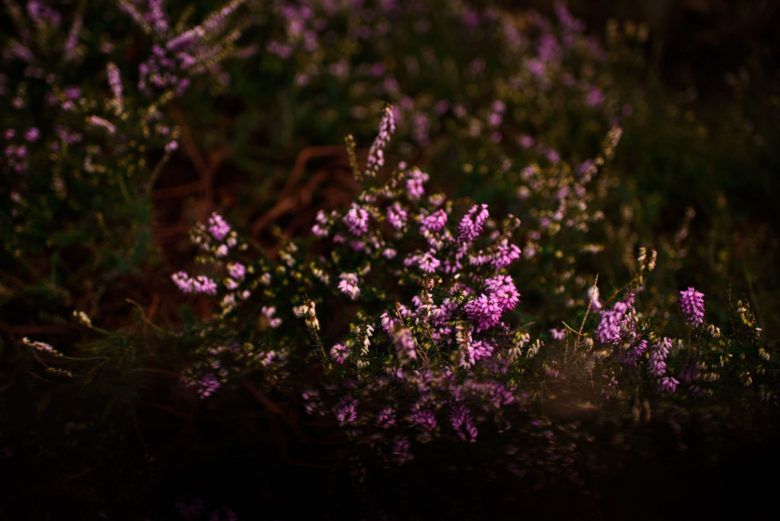
Here are a few of my attempts. It can be really cool if you have an interesting sky, but it was pretty grey out, so I just went for reflecting some trees. I also tried it out on some flowers, which created an interesting gradient effect on the bottom instead of the brighter soil that was there.
Another option is to use a prism. A prism is a clear object with flat surfaces that refracts light. You can search for photo prism to find lots of examples of things to use. Below is an example by my friend Bud, who is awesome at this kind of experimental photography, using a triangular prism. You can use them in a similar way to a mirror and just play around with it until it looks the way you want.
I remember when I was just starting out and I posted a session with the photos below. Someone, who was attending photography school, e-mailed me and asked how I got that blurry background. I was a bit shocked that someone studying photography would ask me, since I felt like a total newbie at the time. But I can understand why someone would ask this question, because the blurred background isn’t something you can easily achieve with a point-and-shoot or phone camera. It seems like it requires either expensive equipment or special knowledge. It doesn’t. Ok, maybe a little bit of knowledge, which is what this post is for. And a DSLR or camera with manual controls is helpful too.
Canon 5D, 50mm f1.8, at f/1.8, 1/200 sec, ISO 100
Canon 5D, 50mm f1.8, at f/1.8, 1/320 sec, ISO 100
The above photos were taken with the Canon 50mm f1.8 lens, which is currently $134 on Amazon.ca (updated April 2020). I highly recommend that new photographers get a basic 50mm f1.8 lens if they’re interested in shooting portraits. The Nikon equivalent is the AF-S version, which is $249 on Amazon. There’s a cheaper version for $159, but it only works in manual focus with most inexpensive Nikon DSLRs. So, for $250 or less, you can take the photos above. I did use the Canon 5D body, which is a pro body, but it’s also really old (circa 2005). You can probably pick a used one up for less than $500.
There are two main things that affect the blurriness of the background. These are depth of field and lens compression.
Depth of Field
Usually when people talk about how blurry or sharp the background is, they’re talking about the depth of field. The above images have a shallow depth of field. A deep depth of field would have the trees/grass in the background in focus, or at least more in focus.
What affects depth of field?
1. Aperture
This is the thing that most people focus on when trying to achieve shallow depth of field, and it’s probably the easiest to implement and understand. I think I shot the entire above session on f1.8, because I knew that a low aperture would give me that cool blurry background effect.
With all other factors remaining the same, a wider/lower aperture will give you less depth of field (i.e. more blur) and a higher aperture will give you more depth of field. That’s why the 50mm 1.8 is great, because its lowest aperture is f1.8. For most kit lenses (that come with the camera), the lowest aperture is f3.5 (and f5.6 when zoomed in).
Hint: if you look at your lens, it will have the focal length and lowest aperture marked on it (ex: 50mm 1:1.8 or 18-55mm 1:3.5-5.6 – the latter meaning the lowest aperture is 3.5 at 18mm zoom and 5.6 at 55mm zoom).
Below is an animated GIF that shows the same camera/lens in the same position, with only the aperture changing (and shutter speed/ISO to keep the exposure the same). I kept my focus point on the front figure for all of the photos. See the difference between f1.8 and f4? And f4 and f8? You can even see the depth of field changing in the grain of the table. It’s a distinct line on the 1.8 image and spreads to include the entire table.
Therefore, to make your background blurrier, use a lower aperture.
2. Distance between Camera & Subject and Subject & Background
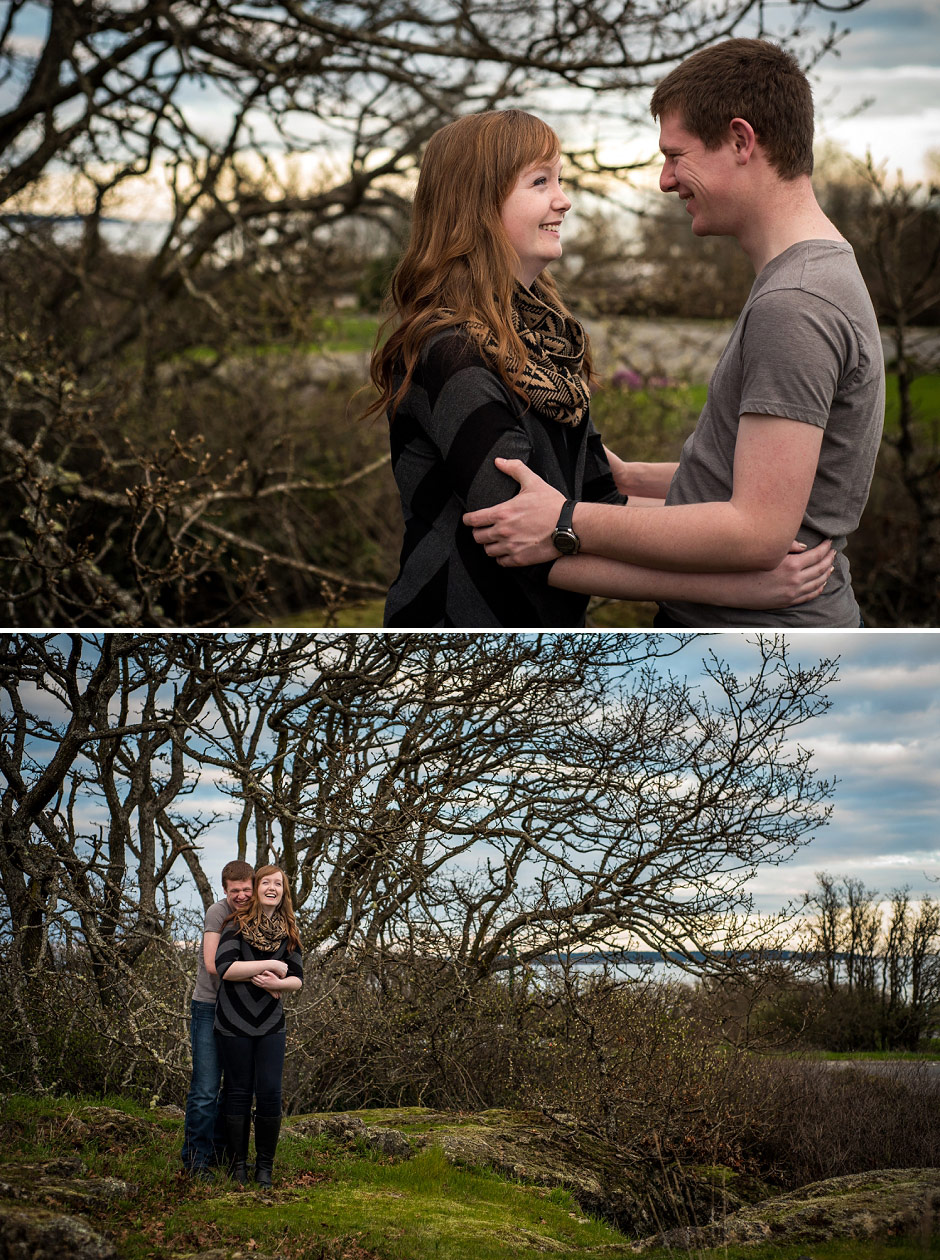
In the below example, the aperture is fairly low (f2.8) on a 50mm lens. The couple is in the same position and their distance to the background is always the same, but I moved closer to them in the second photo. Notice how much more blurry the background looks?
50mm f1.8, at f/2.8, 1/200 sec, ISO 5000 (only my distance from the subjects changed)
The closer you are to your subject, the smaller the depth of field. This means that you should be careful when shooting portraits very close to your subject with a wide aperture. Focus on the eye that’s closest to the camera, because one of the eyes may go out of focus. If you just try to get your focal point anywhere on their face, you may end up with just their nose in focus.
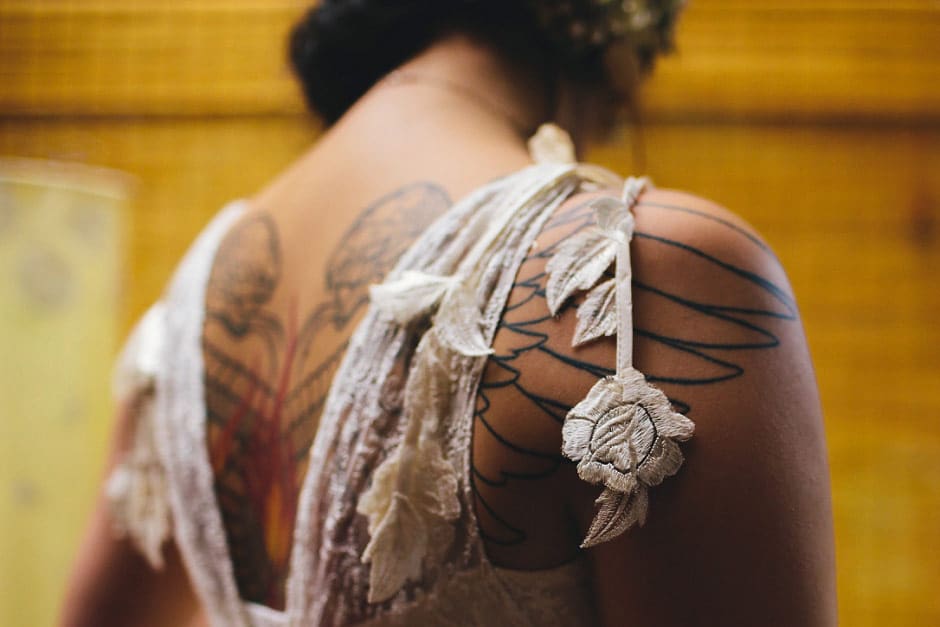
Below is an example of a photo taken very close to my subject. I focused on the flower hanging from the shoulder of her dress. Notice how the focus starts to drop off right away behind the focal point? If I’d been standing five feet away instead of right next to her, her entire body would be more or less in focus, like in the above examples
35mm 1.4, at f/2.0, 1/320 sec, ISO 1000
In the below example, the aperture is again f2.8 on a 50mm lens. The couple is in the same position, but I rotated my position slightly, causing the background to be closer to them, and moved myself farther from the subjects. The closer the subjects are to the background, the sharper the background will be (if all other settings are the same). The depth of field stays the same, but the background moves into the sharp area.
50mm f1.8, at f/2.8, 1/500 sec, ISO 1000 (my distance from the subjects and their distance from the background changed)
Therefore, if you want the background to be blurry, move the camera closer to the subjects and/or the subjects farther from the background.
3. Sensor Type
If you’re just learning photography with a DSLR, chances are you have a crop-sensor camera. Pro-level cameras are usually full-frame. A crop-sensor effectively multiplies focal length by the crop factor (usually 1.4 or 1.6), so a 50mm lens becomes 70mm or 80mm instead. It doesn’t behave exactly like a 70-80mm lens though. It’s a bit too complicated for me to go into here, but generally the same lens on a full frame camera will have shallower depth-of-field than on a crop-sensor, therefore a blurrier background.
Lens compression is similar to depth of field in effect, but it’s caused by different things. It’s seen when you use a different focal length.
We’ve discussed focal length a bit. On a 50mm lens, the focal length is 50mm. On the typical 18-55mm kit lens, the focal length zooms from 18mm to 55mm. With distance to subject and settings remaining the same, the background will be blurrier with a longer focal length. This is primarily due to lens compression.
Here’s an example where I tried to kept the camera the same distance from the subject and the aperture at f2.8, but changed from a 35mm to 50mm lens. I cropped the below image down to show about the same area (of course, the 35mm originally captured a larger area). You can see that the background is blurrier with the 50mm lens and the lens also compresses the background towards the subject (makes it seem closer) while the 35mm lens brings more of the edges in. There’s more to be said about compression, but for this lesson, we’ll just say that longer lenses will cause your background to be blurrier if all other settings remain the same.
Summary
In summary, to get a blurrier background, you can try the following:
Use a lower aperture (smaller f-stop number, like 1.4 vs. 5.6)
Move the camera closer to the subjects
Move the subjects farther from the background
Use a full frame camera vs. a crop sensor camera
Use a longer lens or focal length (i.e. 85mm vs 35mm) – zoom in
DISCLOSURE: I may receive compensation for links to products on this website.