fbpx

composition

Week 43 – Framing

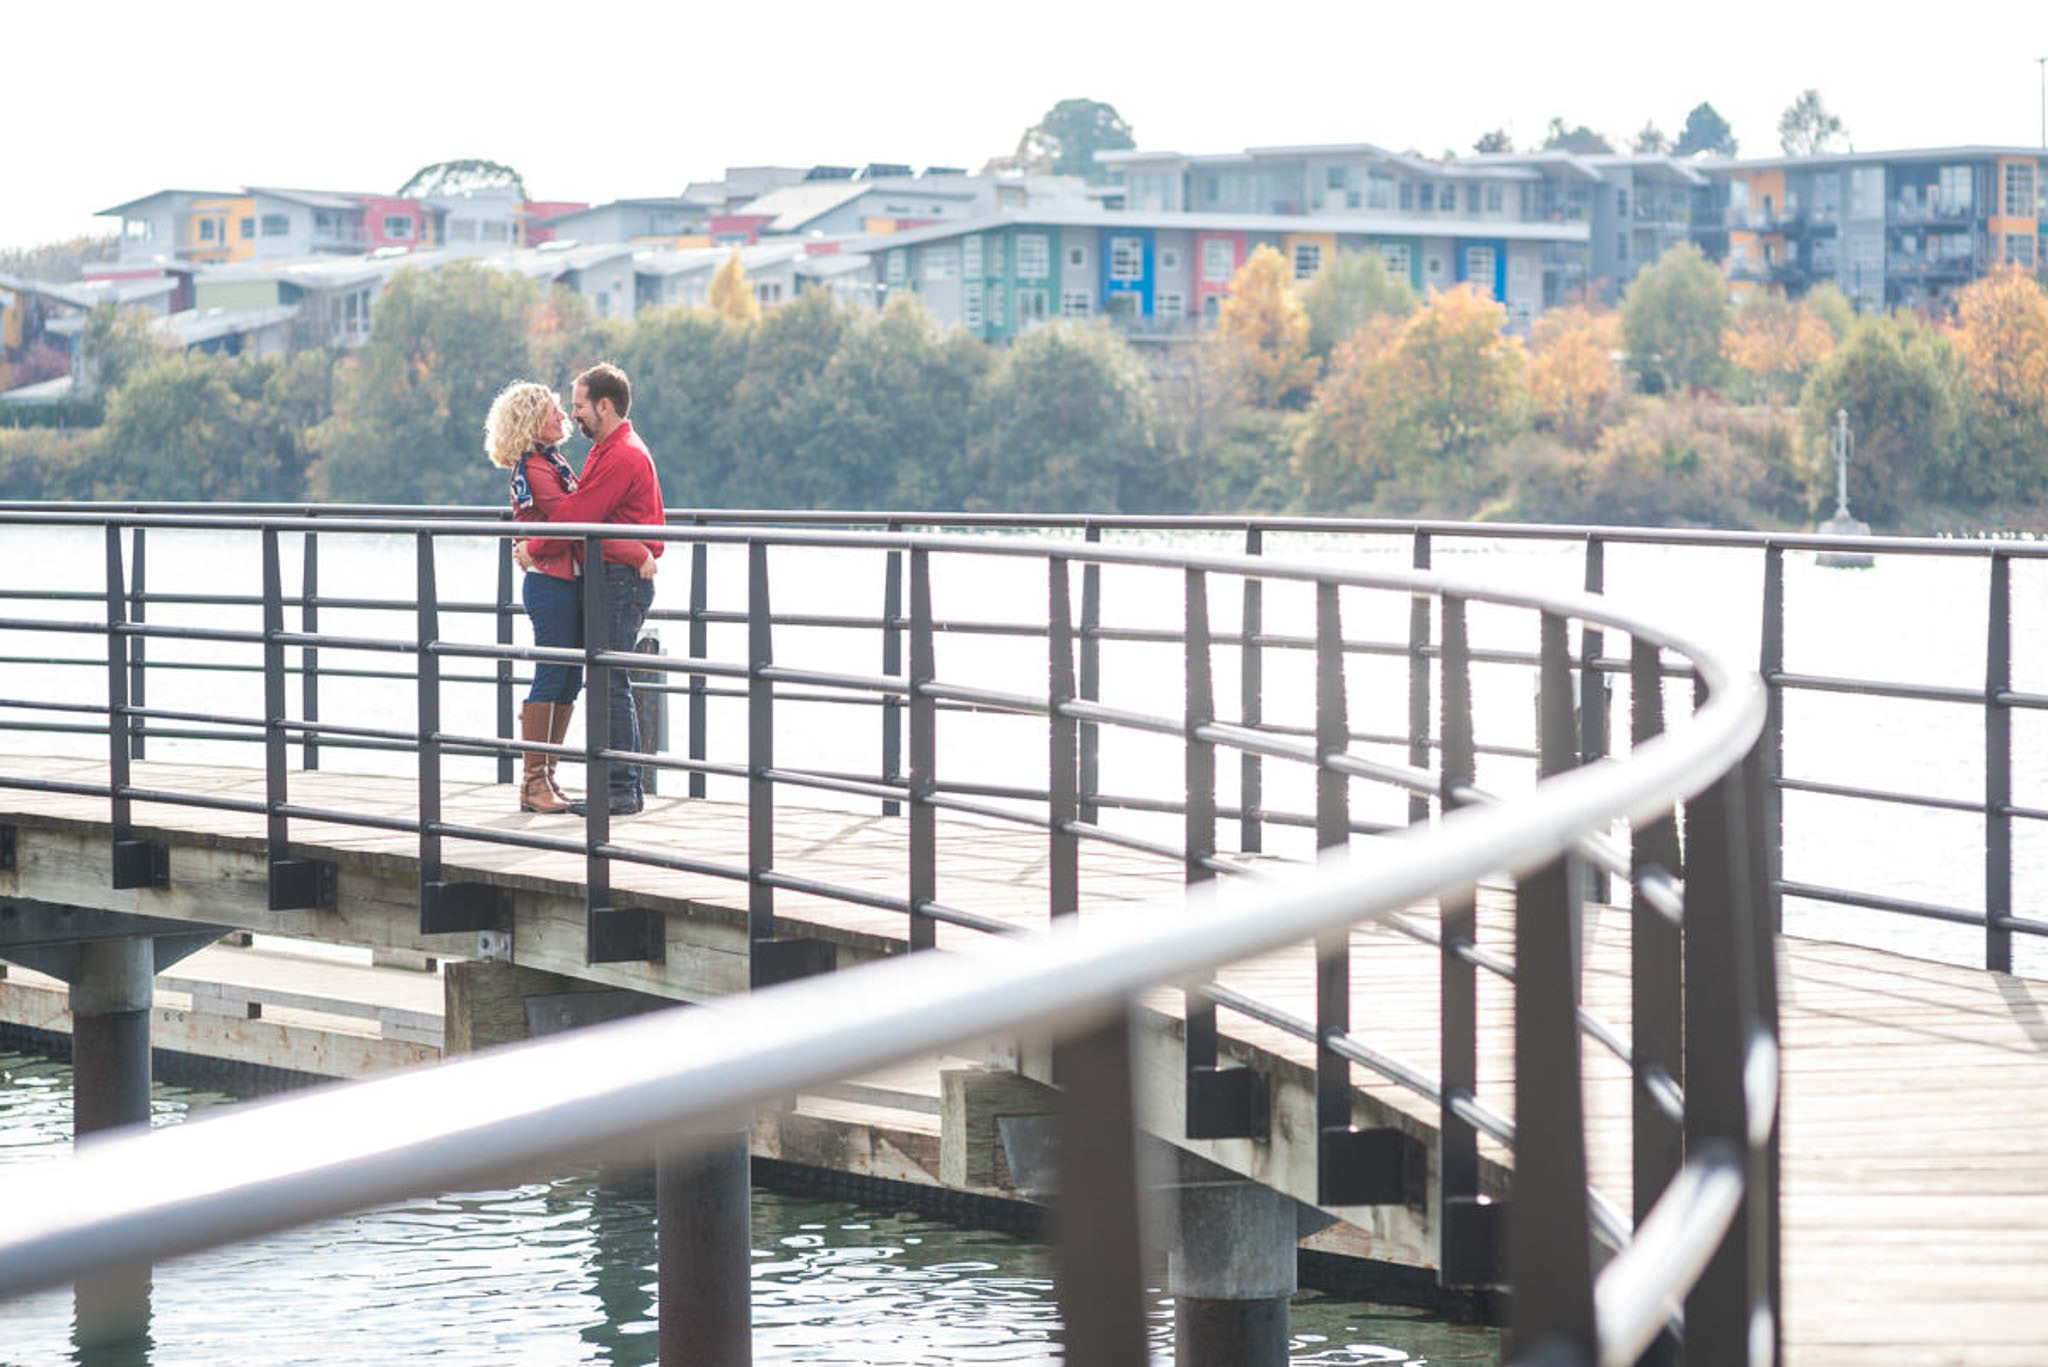
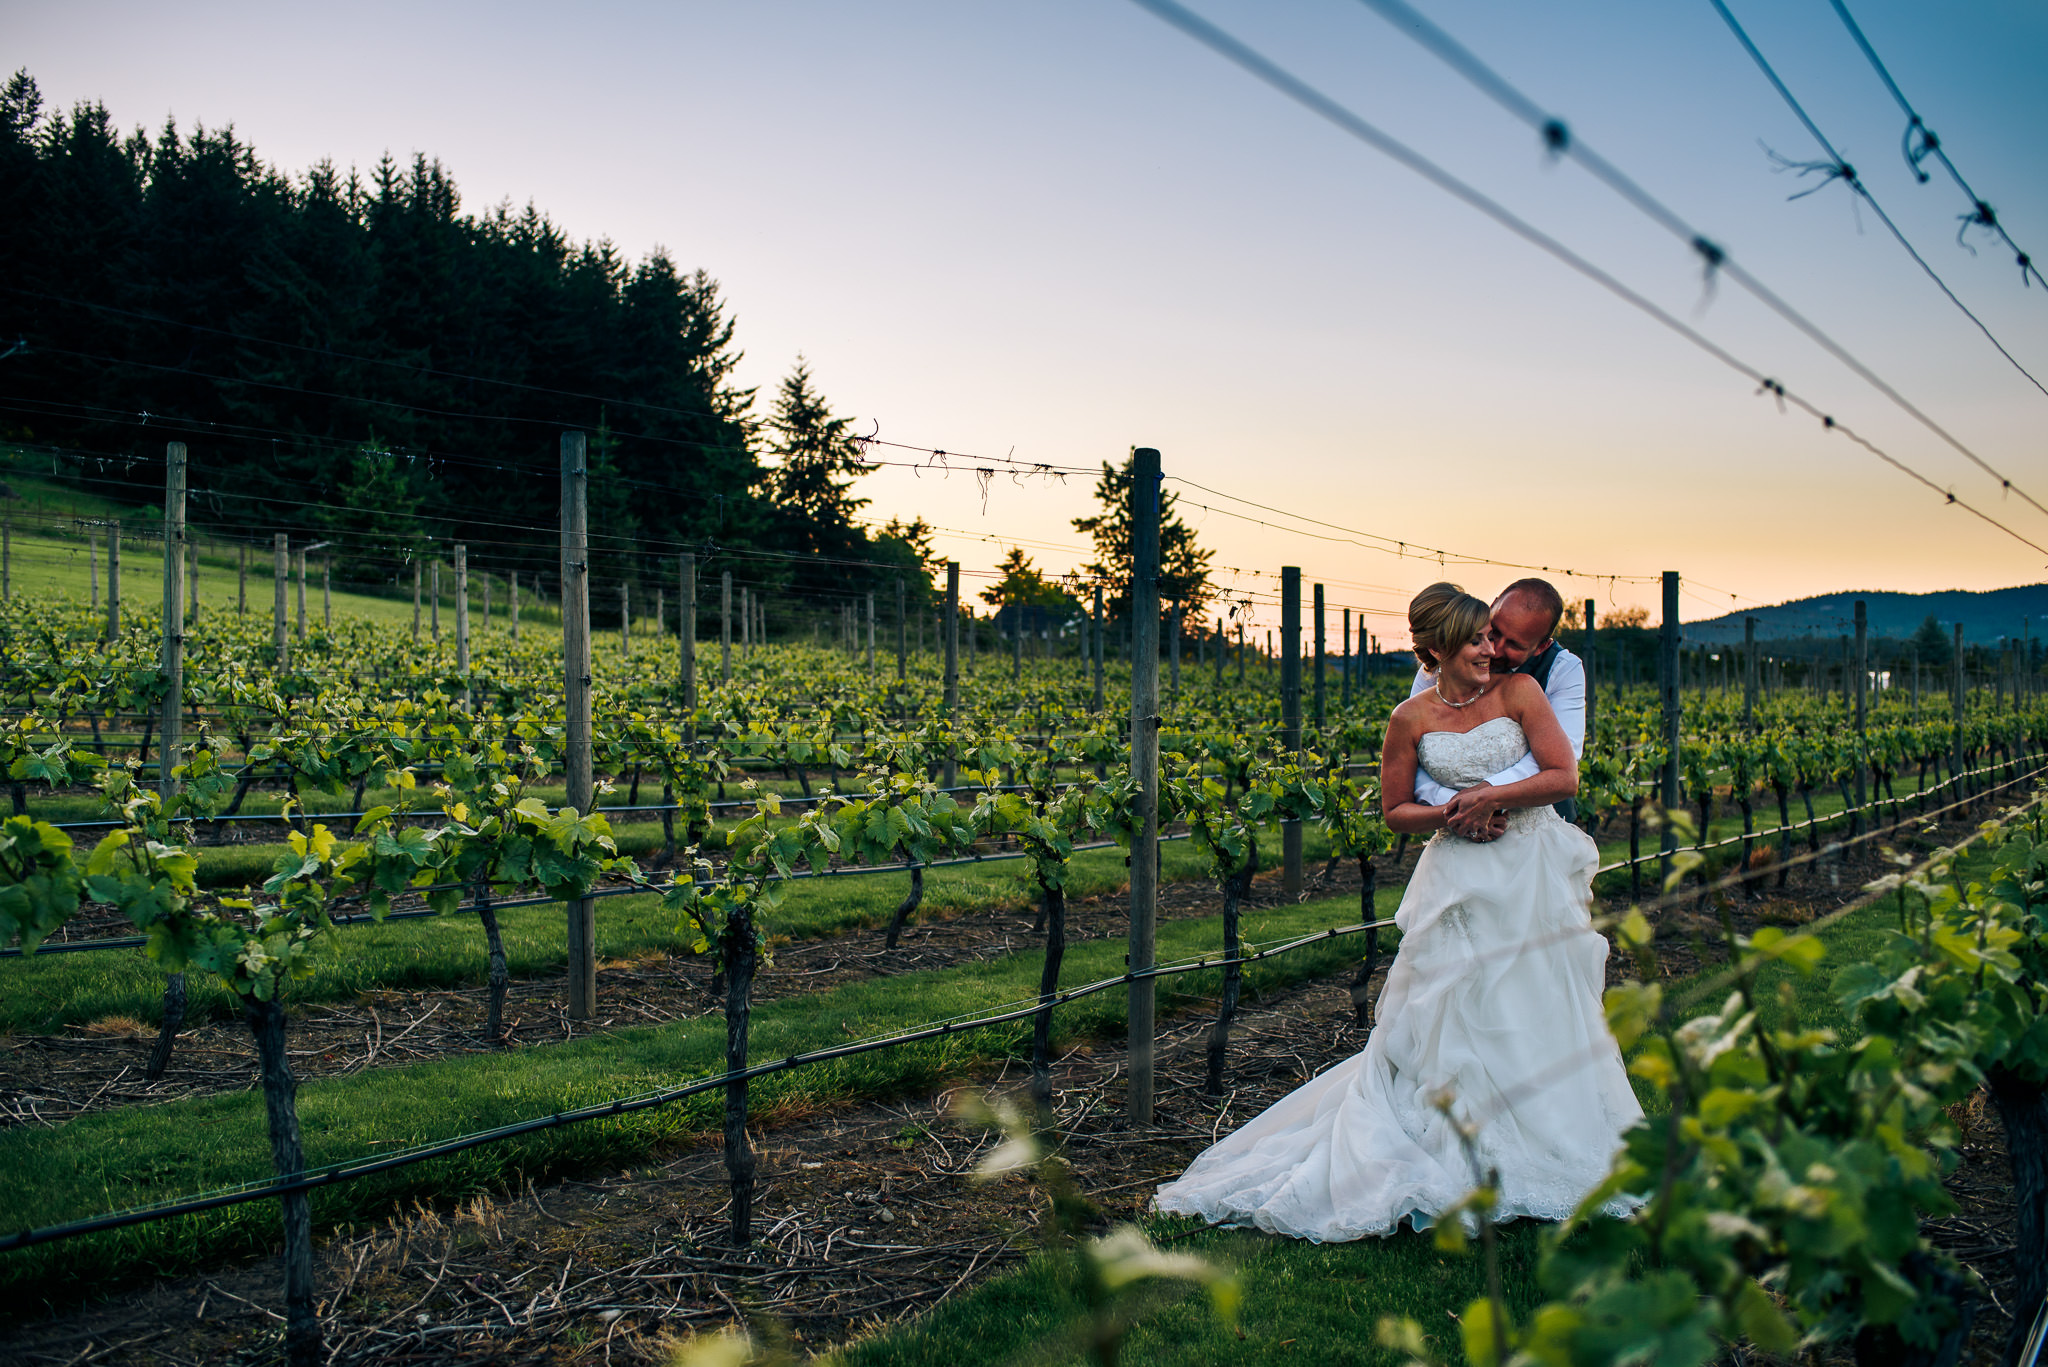
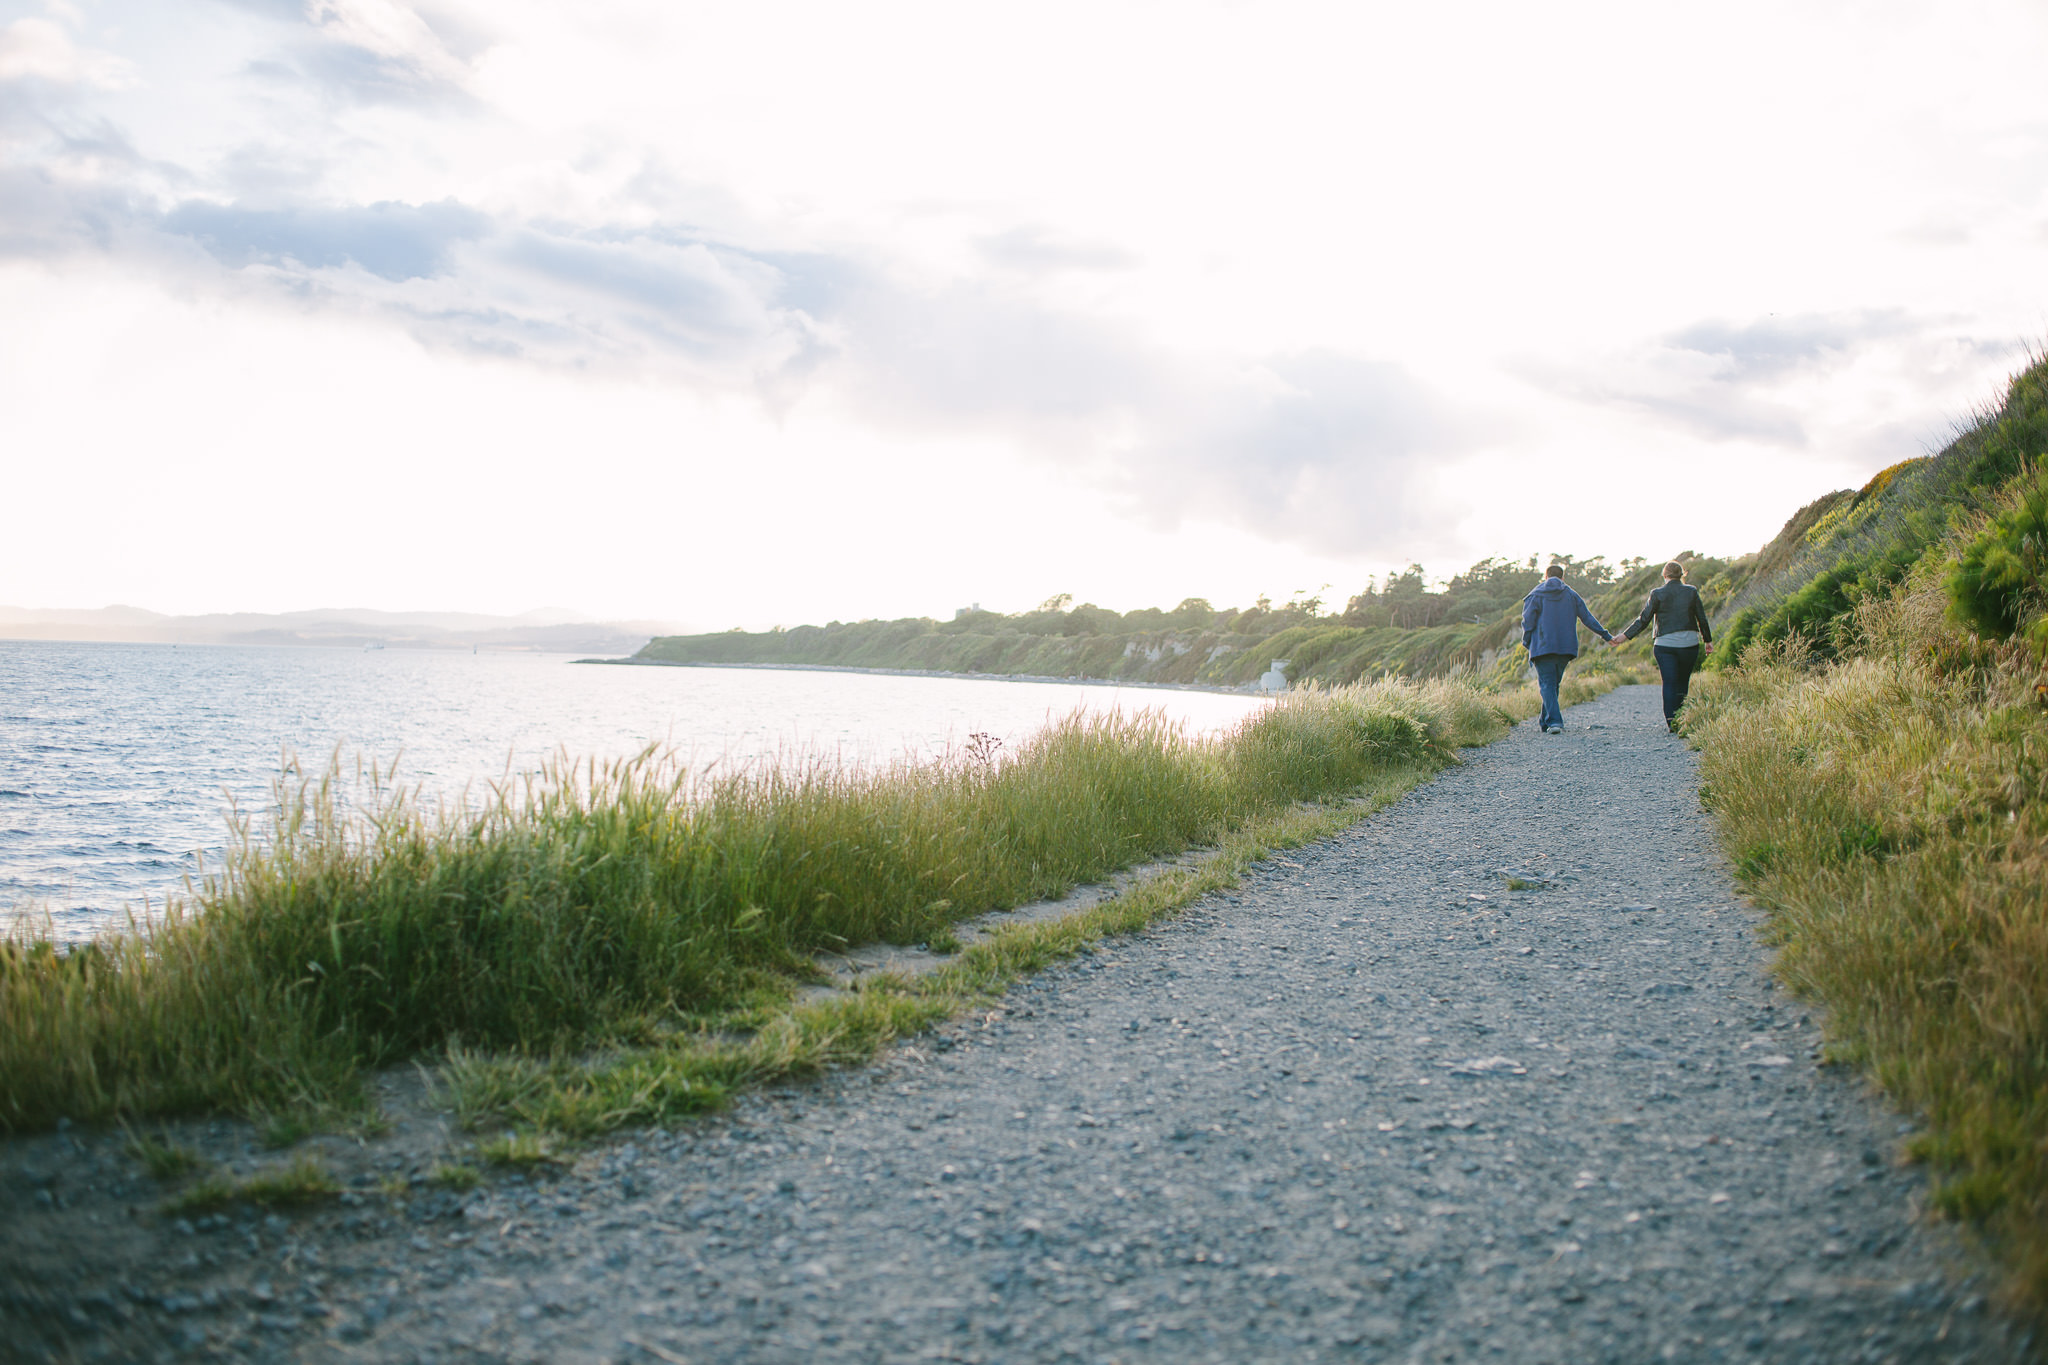
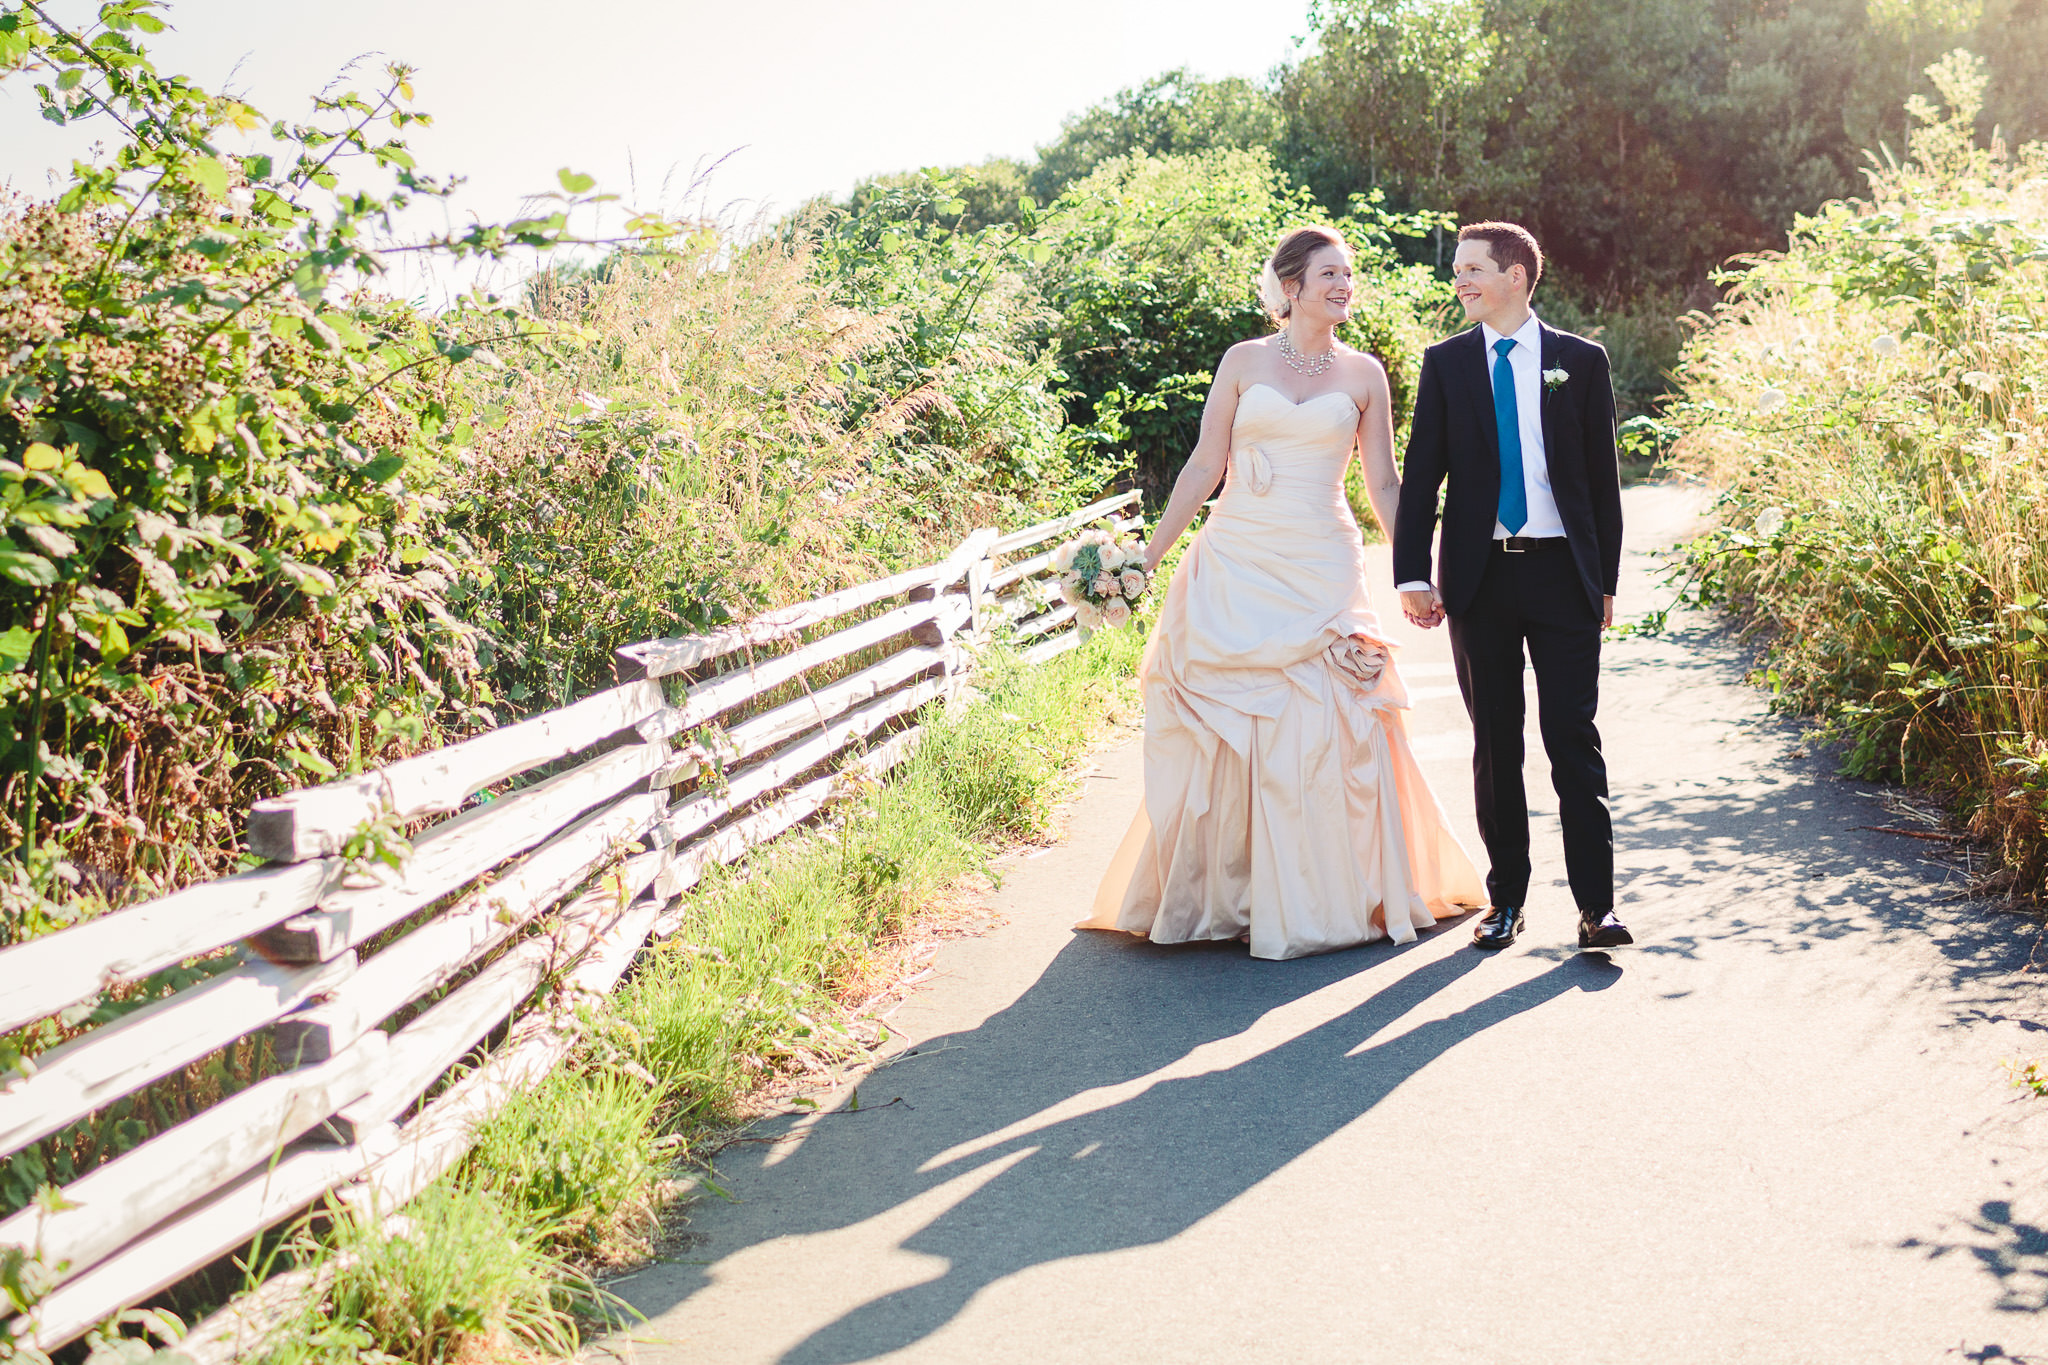
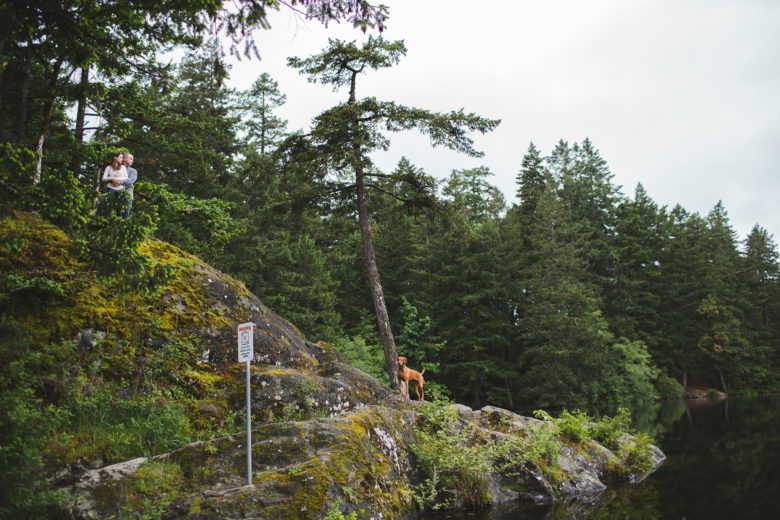
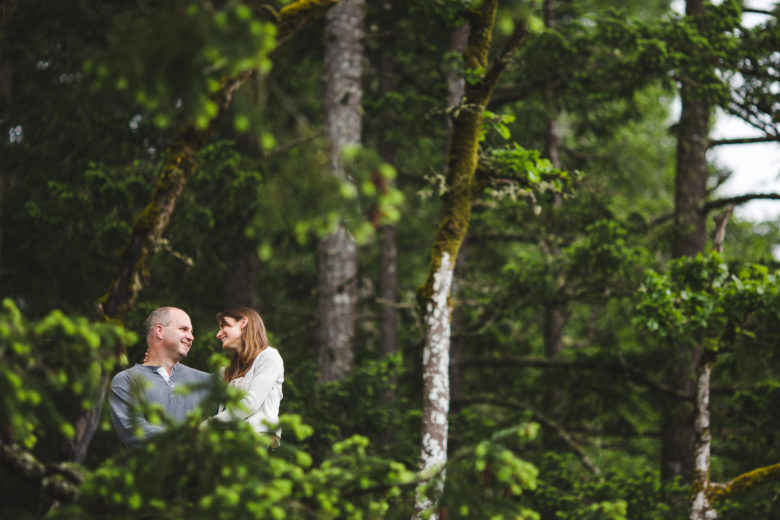
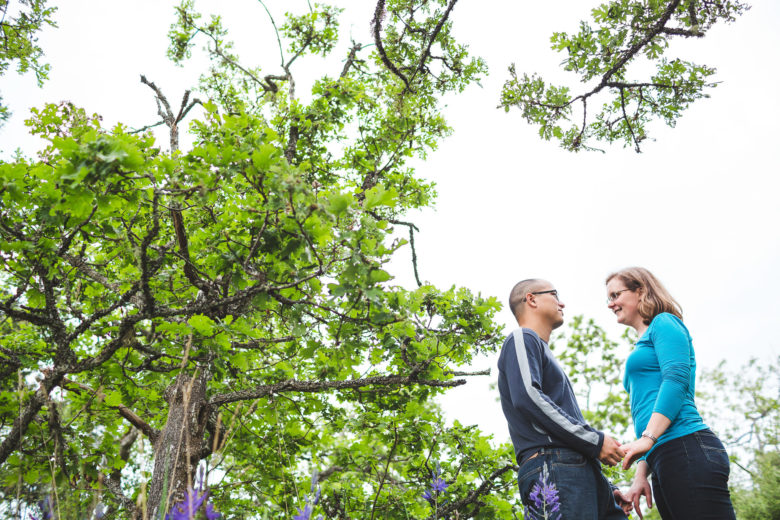
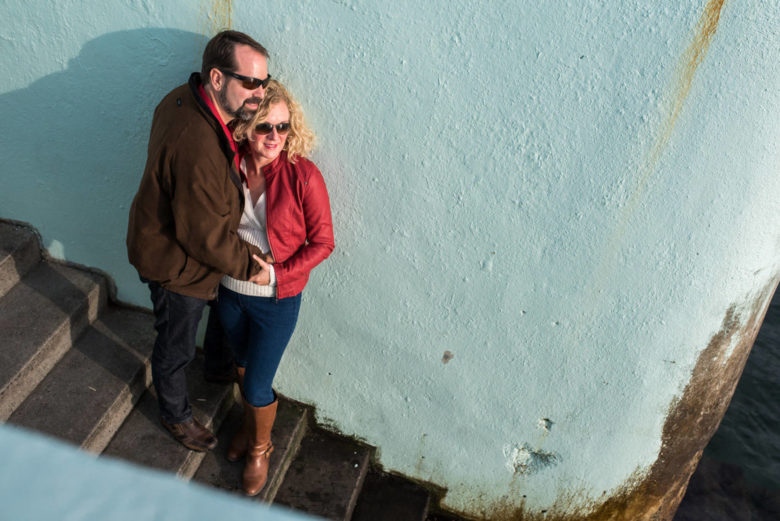
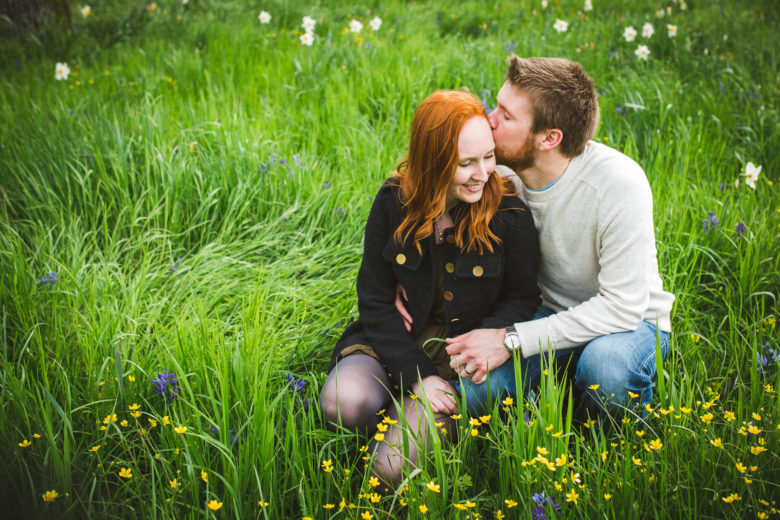
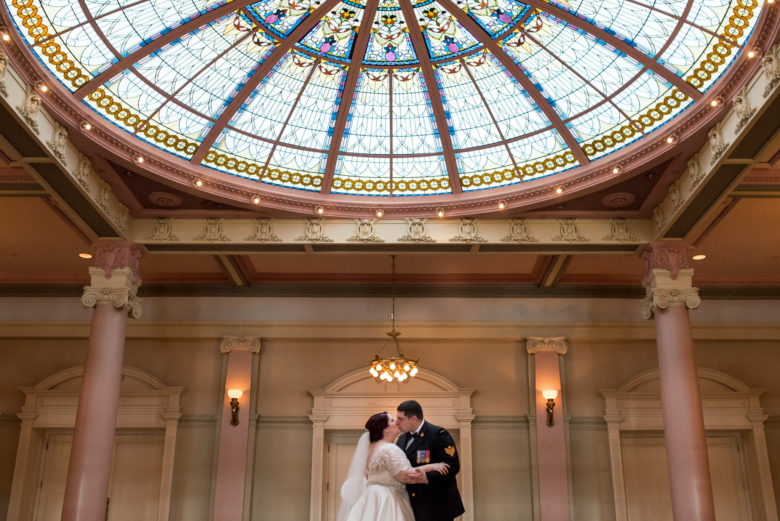
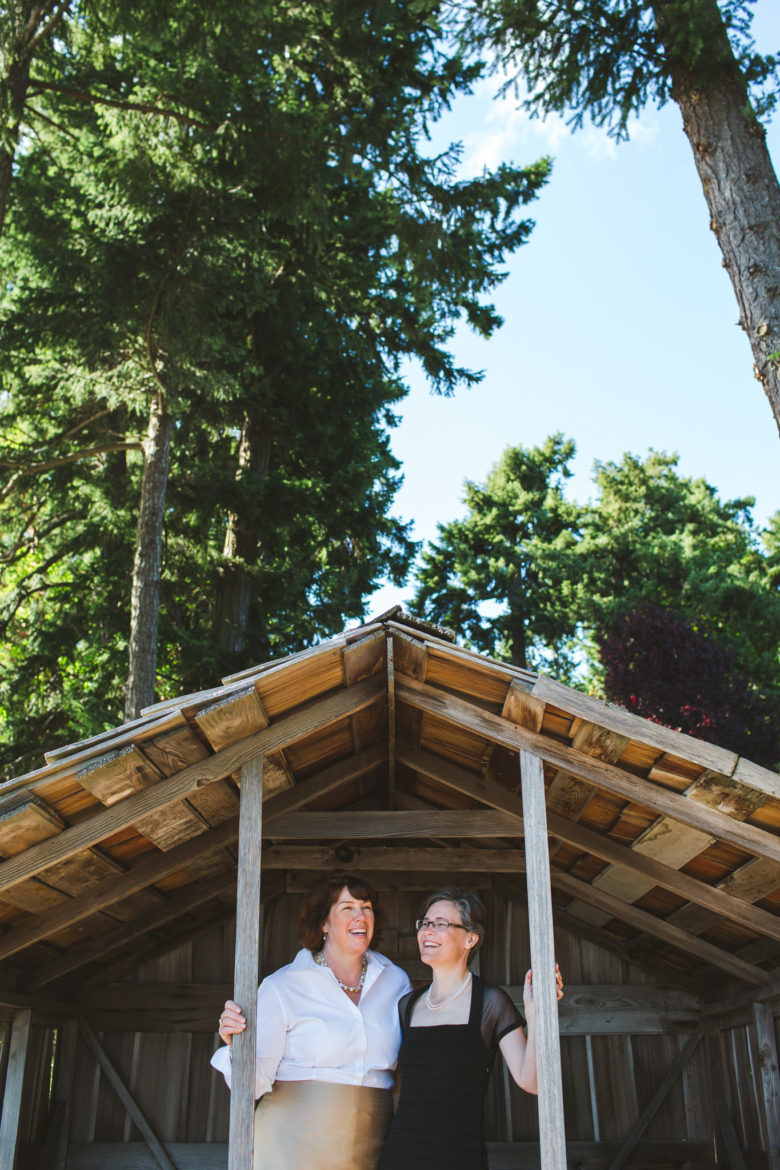
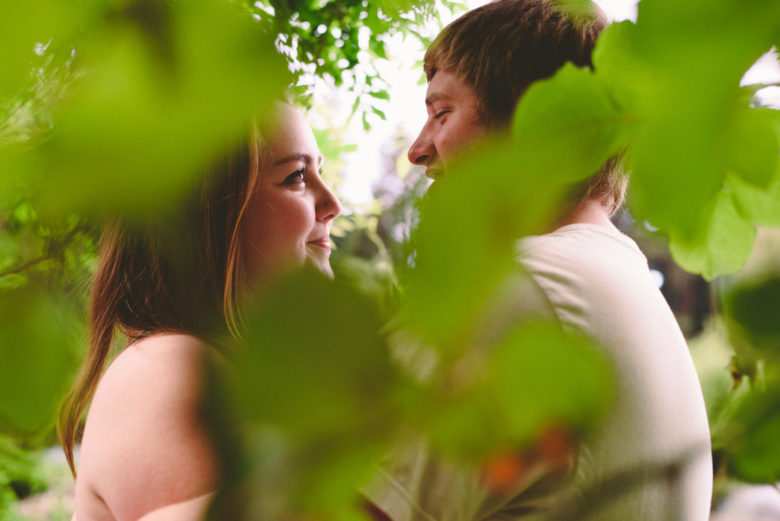
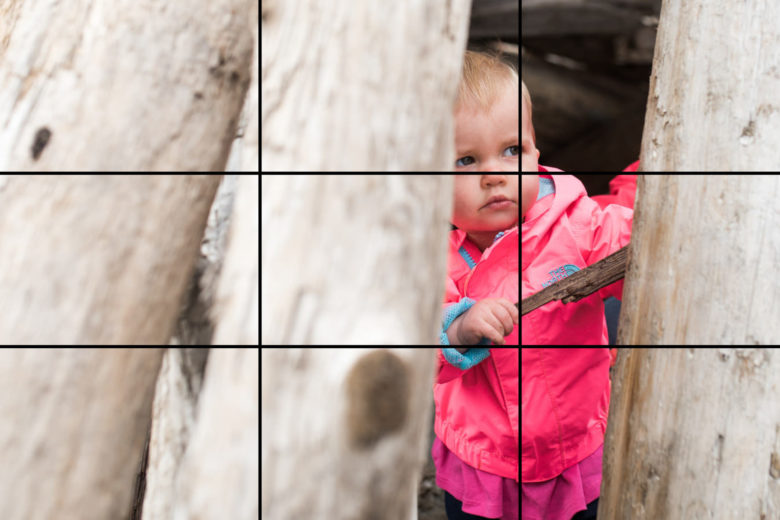
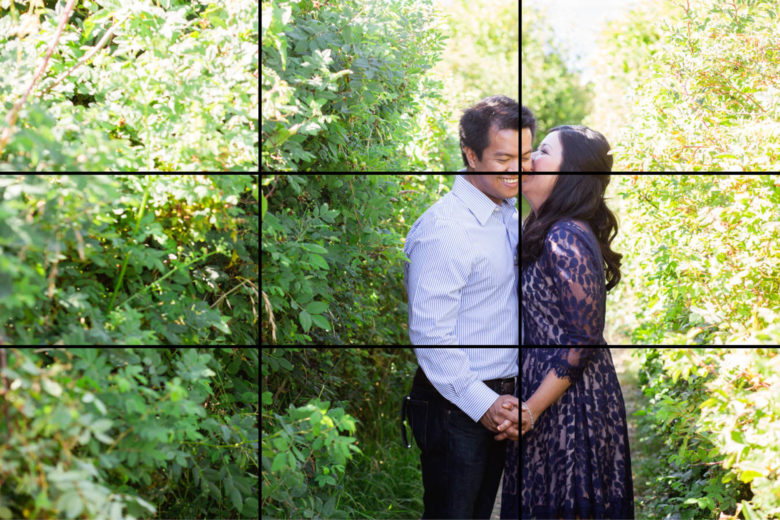
This week’s theme is framing. Framing is kind of like a picture frame, where you use elements of the scene to frame your subjects. You can use obvious things like windows, doors, and mirrors. Or you can shoot through something in the foreground, like leaves. I like putting my lens really close to leaves of a bush to create a blurry foreground element (more on this here) that puts focus on the subject and adds a pop of colour.

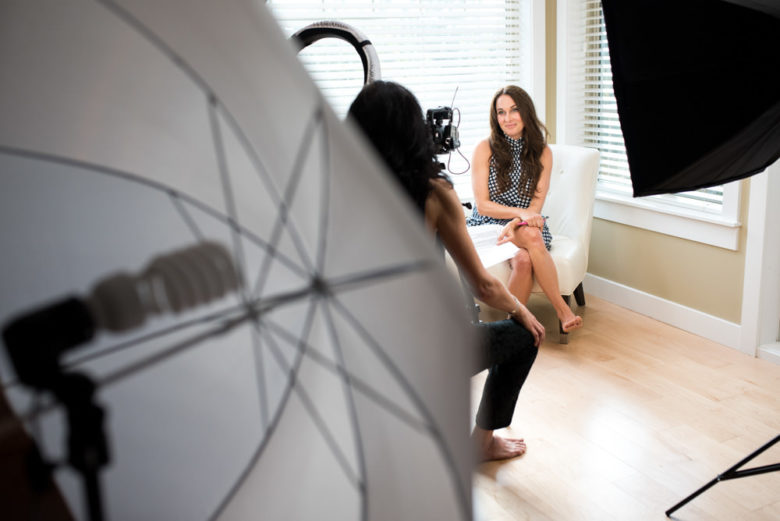
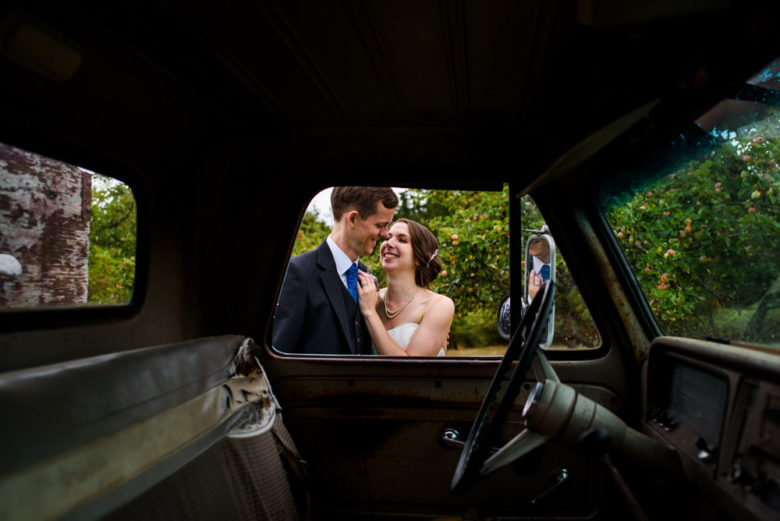
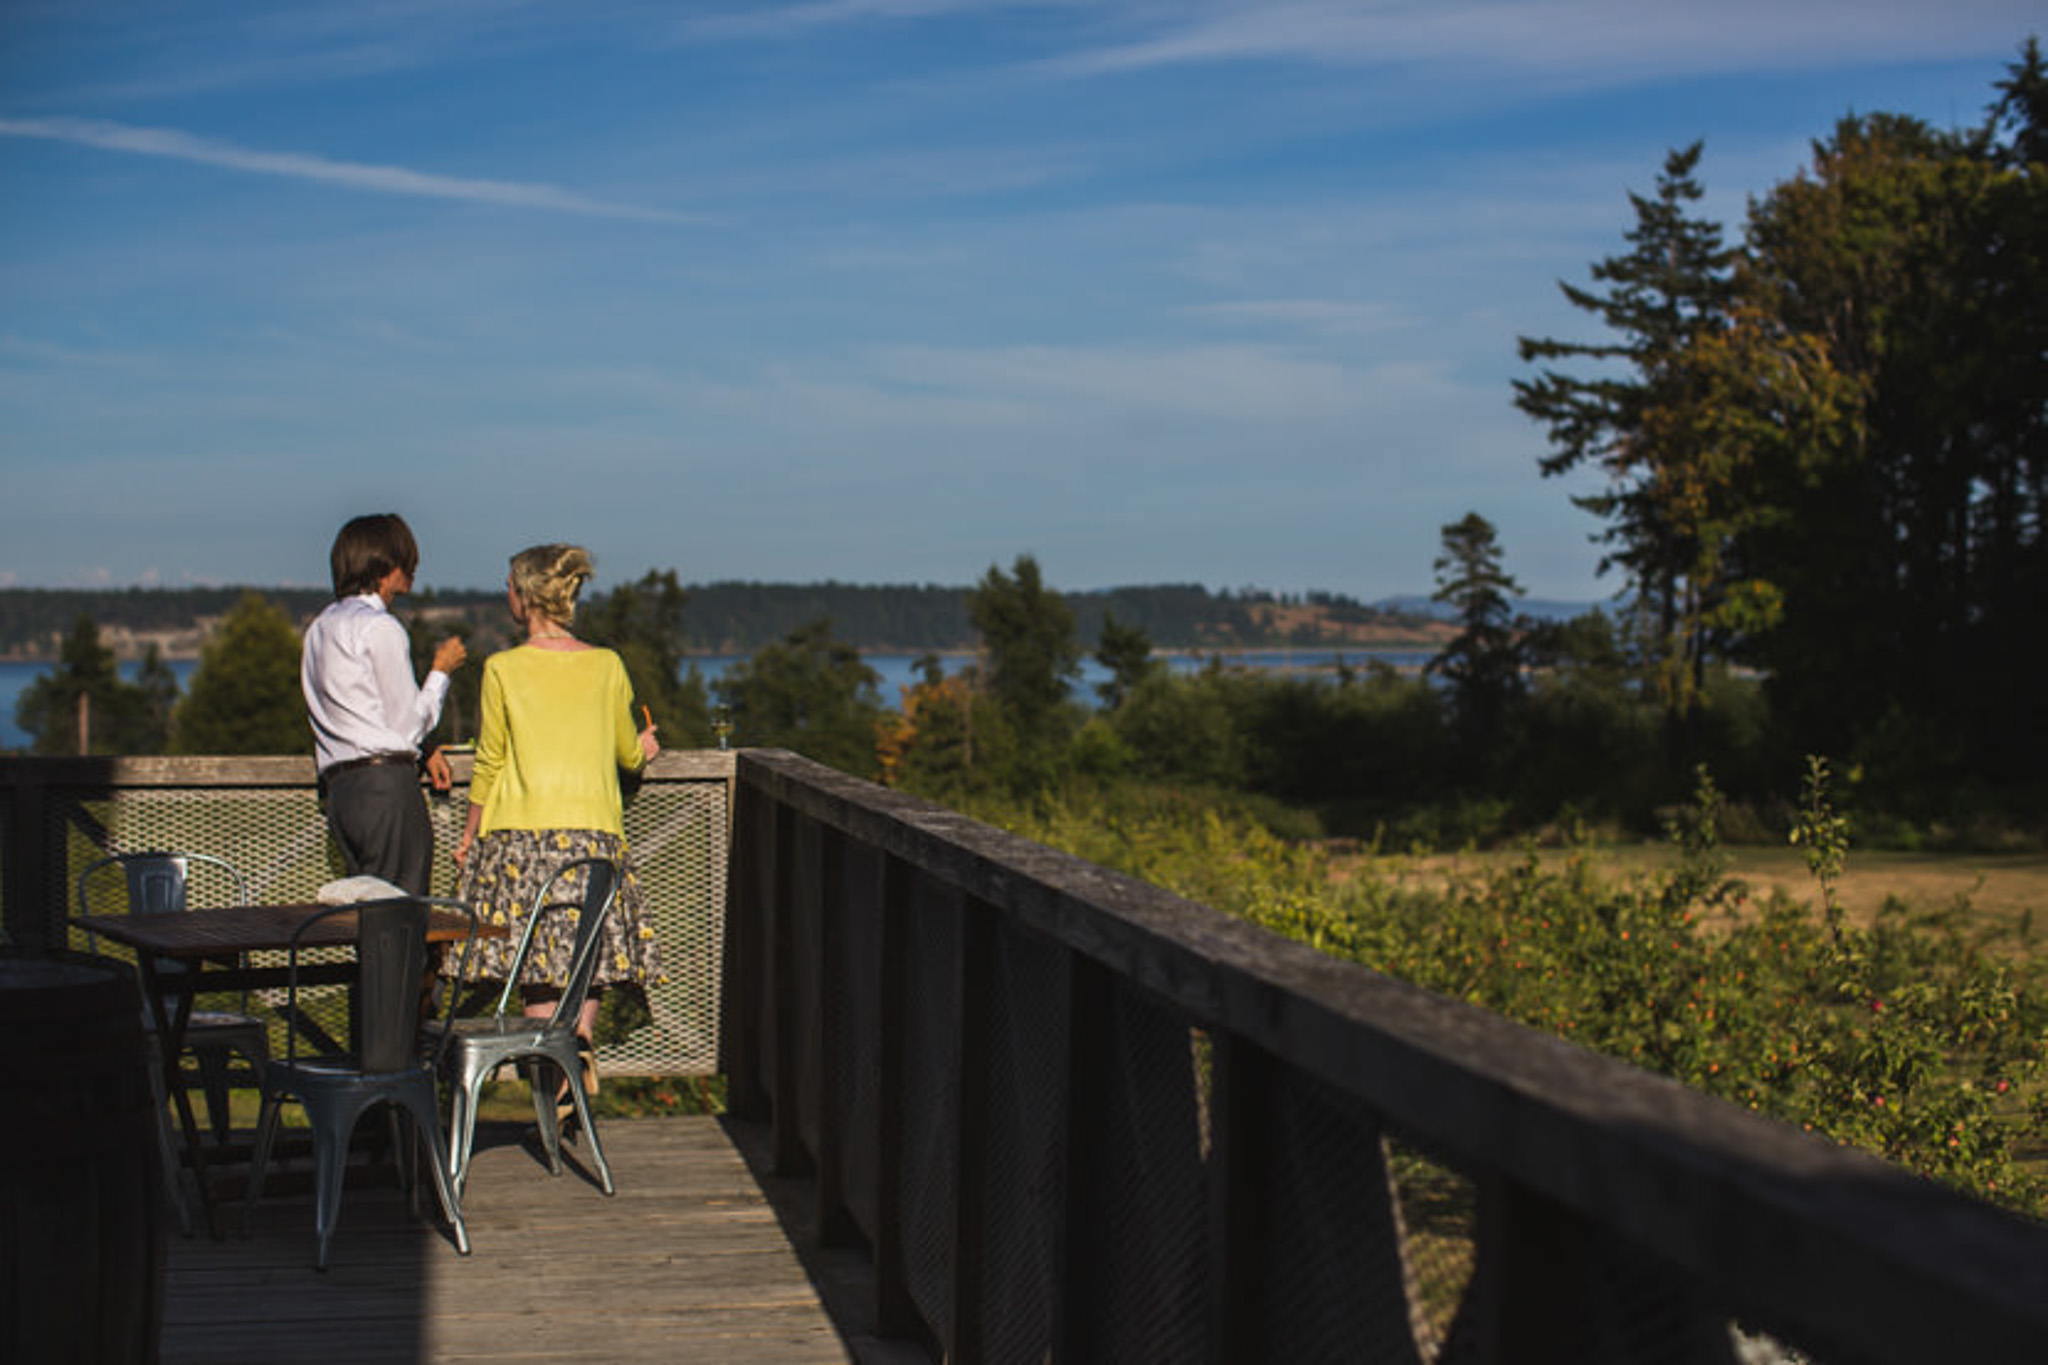
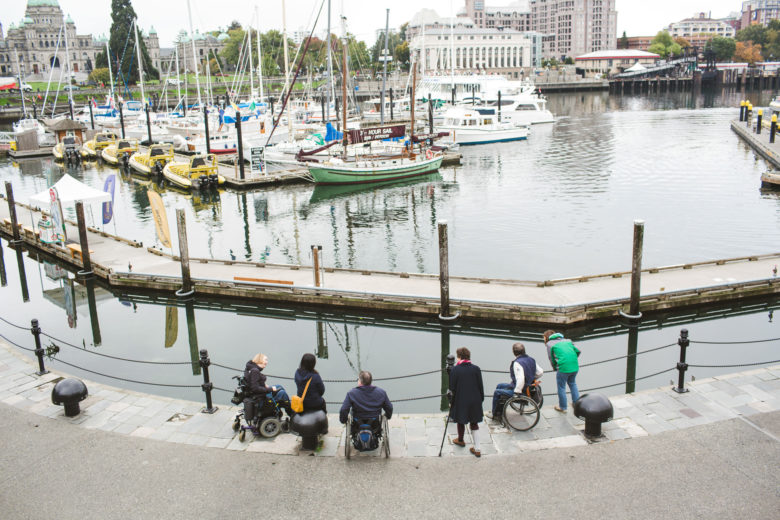
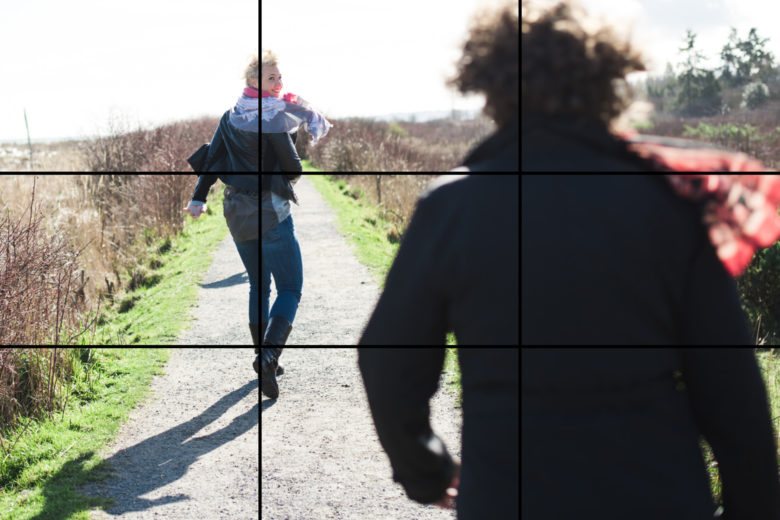
As usual with composition challenges, think about the way your eye moves through the image. The framing element(s) should draw attention to your subjects, not (just) to itself. It can also add to the story, like the photo of the couple taken through the car window or the video lighting equipment used as framing in the first photo.

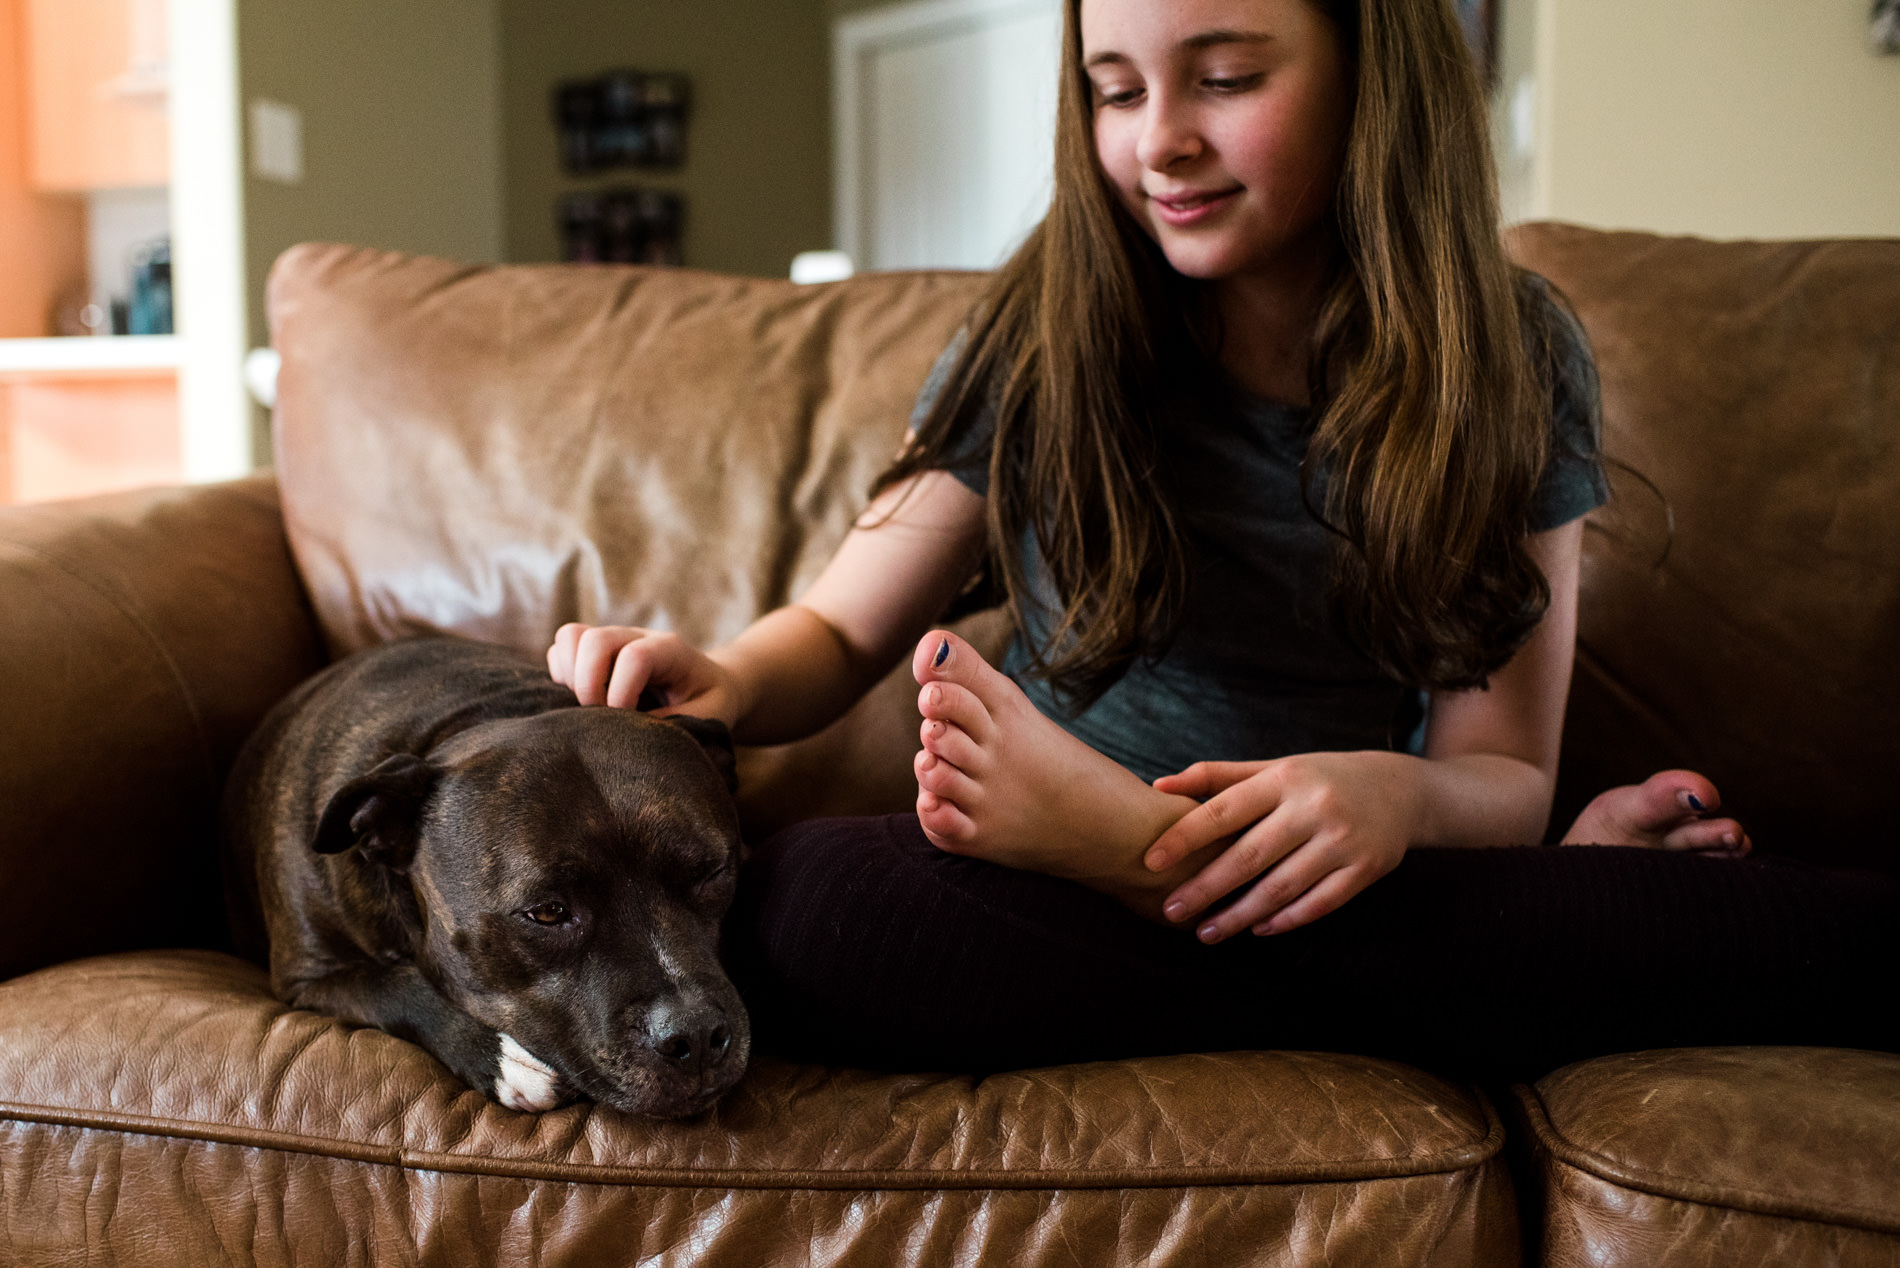
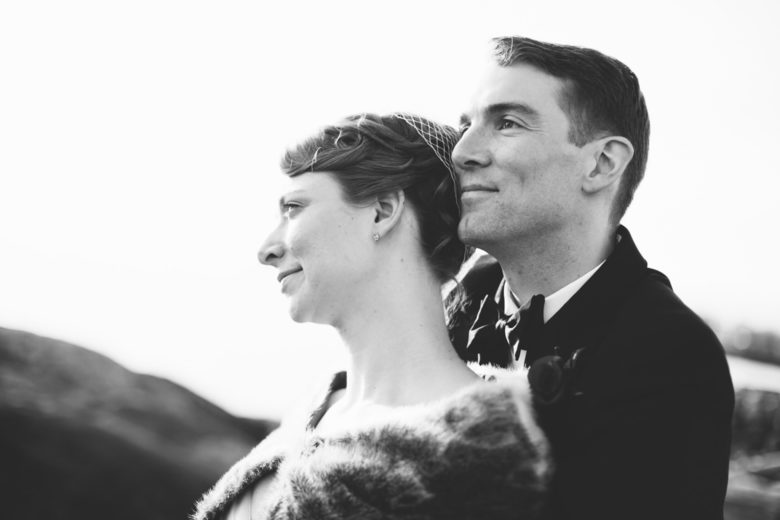
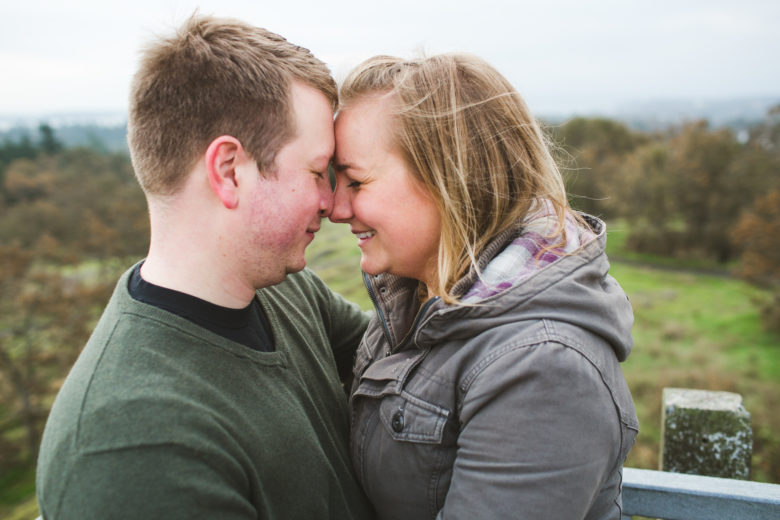
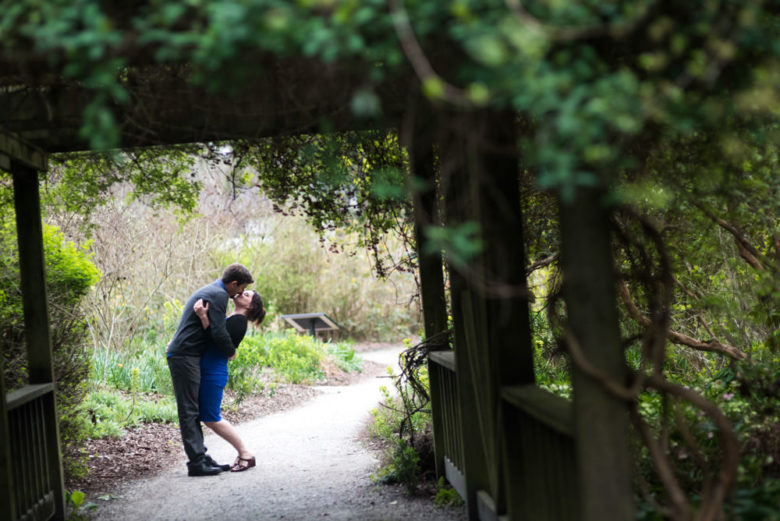
Framing can also make a moment feel more intimate as it creates separation between the camera and the subjects. If can feel like peeking in on a private moment.

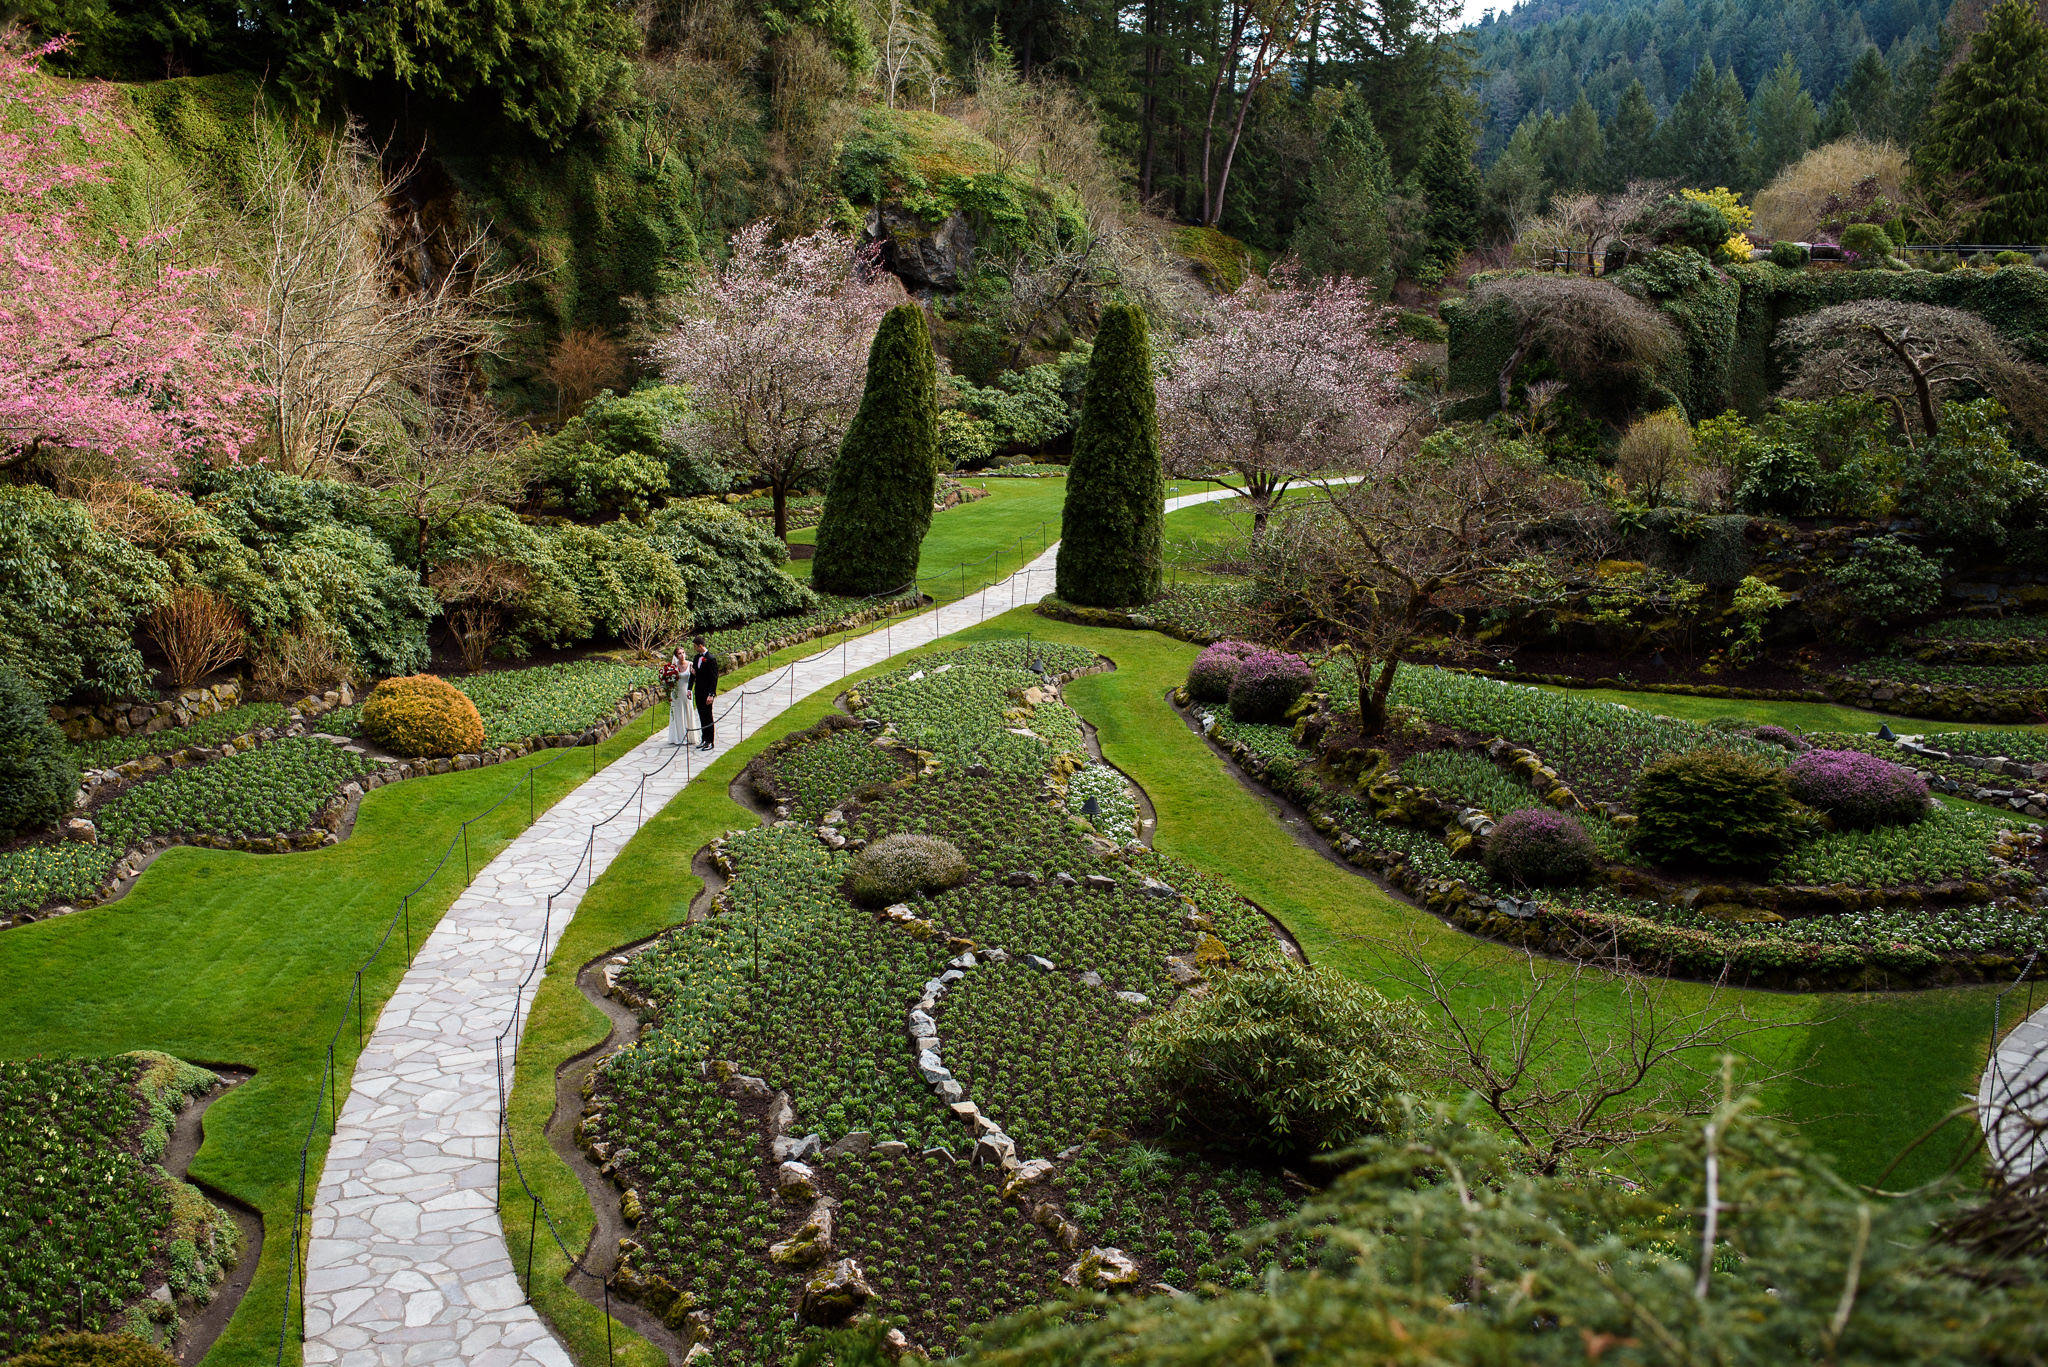
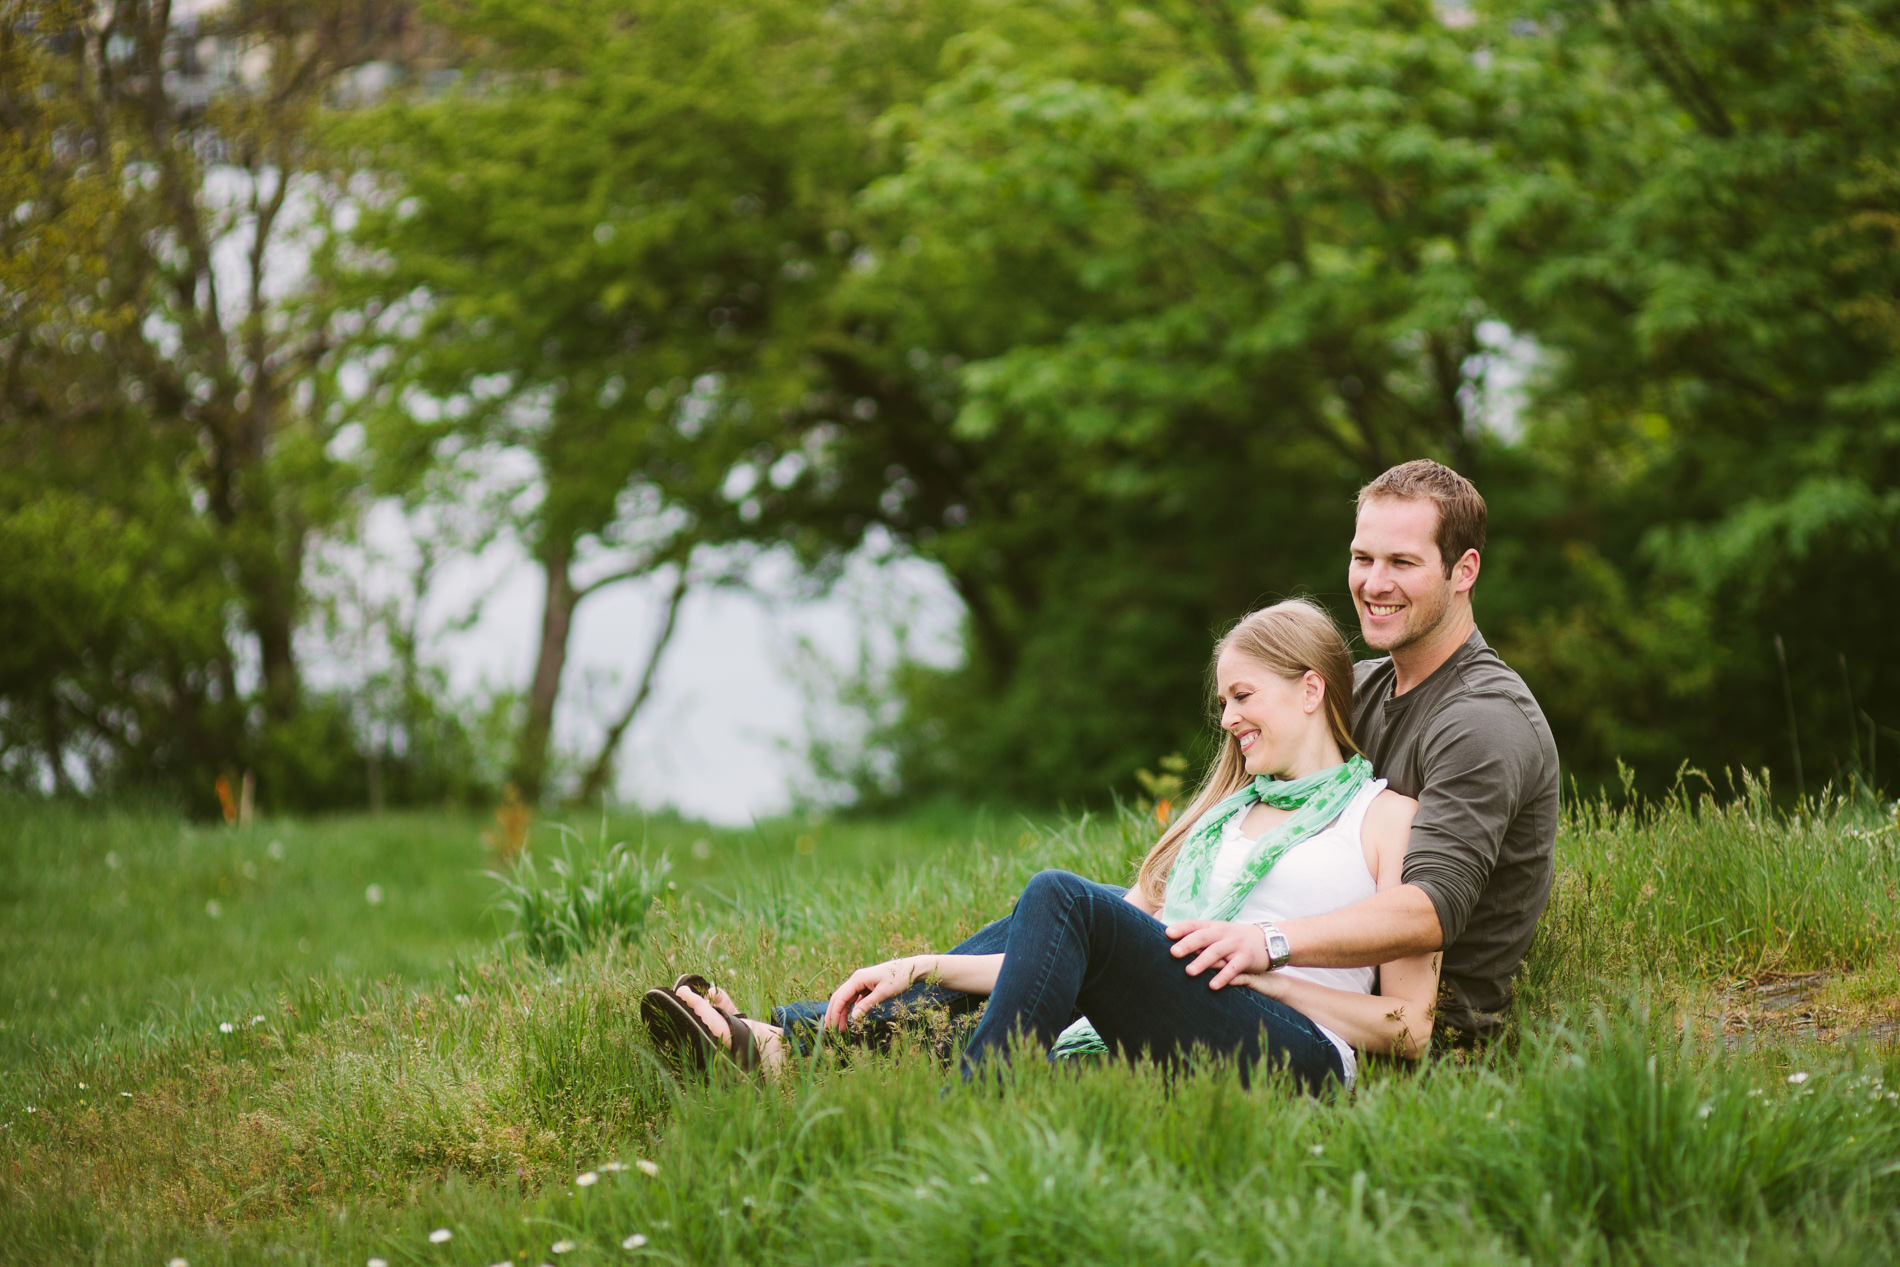
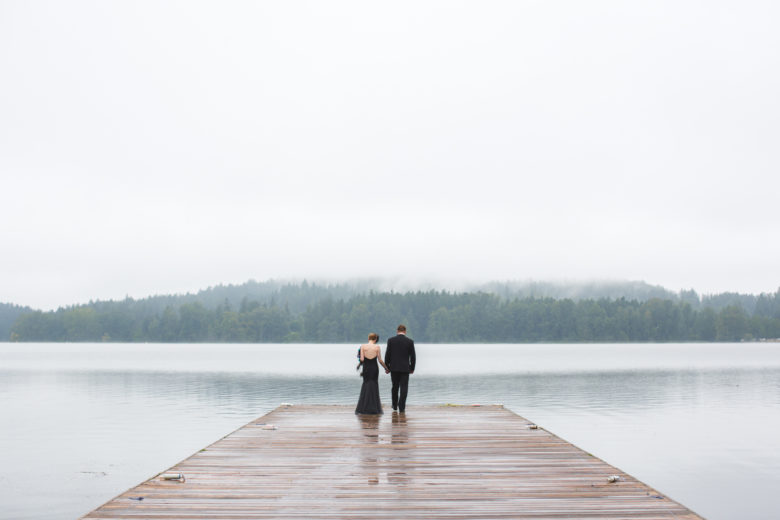
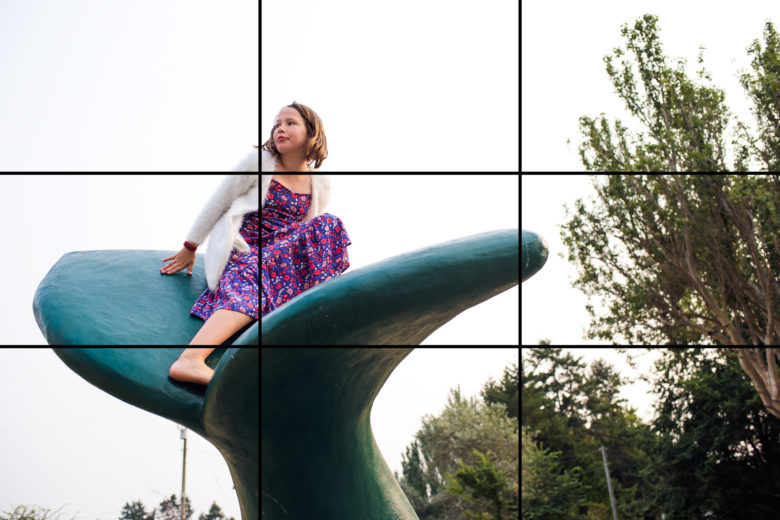
You can, of course, also do this with subjects other than people, like a tree, an animal, a building, etc.

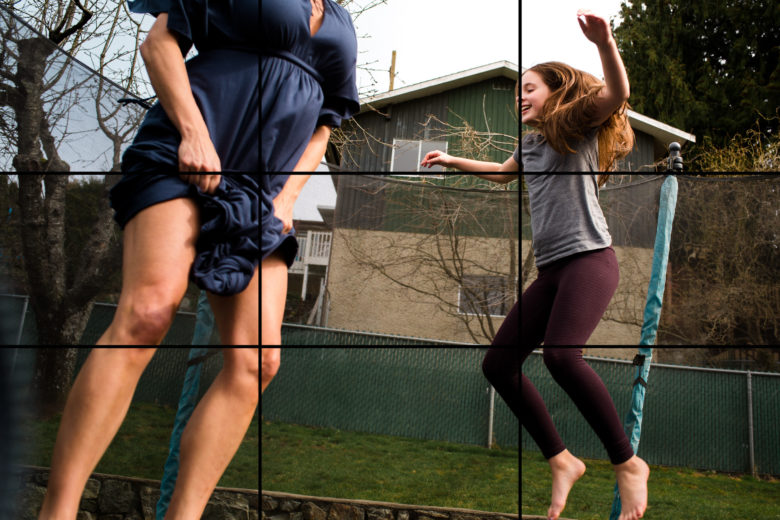
One thing to be cautious with when framing your subject is focus. You’ll typically want to focus on your subject and not the frame, though rules are made to be broken. You should move your focal point around to make sure it’s on your subjects or use focus-and-recompose. If your framing element is really close to the lens, your camera probably won’t be able to focus that close anyway, so letting your camera choose what to focus on may work in that case.

If you have any questions, join us in the Facebook group. I’ll be checking in there daily to see your work and help you achieve the best results.

If you’re just finding this now, you can check out the full list and more information on the challenge here. You can follow me on Instagram at @documentyourdaytoday and use the hashtag #documentyour2022.

Week 27 – Leading Lines

This week’s theme is leading lines. Leading lines are a way of drawing the viewer’s attention into the photo and towards the subject of the image.

Easy places to find leading lines are roads, walls, fences, rows of trees, or shorelines. Sometimes they lead towards a specific subject and sometimes they converge at a point. Below are a few examples (mine always lead to a subject because I love photographing people). Even if they don’t lead to anything in particular, they can create depth in your image and encourage the viewer to keep looking for longer.

Here are some tips on using leading lines in your photos:

  1. Look for strong lines created by nature or the built environment. You may have to adjust your angle to get them to lead somewhere interesting.
  2. Think about the way you want your viewer’s eye to move through your image. Lines can lead from an edge towards anywhere in the frame, but they let you control the way the viewer tends to move through the image.
  3. Place your subject where the lines converge (or adjust your angle to make the lines lead to it) to create an emphasis on the subject.
  4. A leading line doesn’t have to be straight. It can be curved or it can be less defined, like the edges of a flower bed. I included an example above where the bridesmaids create a leading line towards the bride.
  5. Be careful with strong lines that aren’t leading where you want them to. If you want the viewer’s eye to go to a subject, but there’s also a strong line that doesn’t lead towards the subject, it’ll create confusion and can draw the eye away from the subject.

If you have any questions, join us in the Facebook group. I’ll be checking in there daily to see your work and help you achieve the best results.

If you’re just finding this now, you can check out the full list and more information on the challenge here. You can follow me on Instagram at @documentyourdaytoday and use the hashtag #documentyour2022.

Week 23 – Photograph at Subject Level

We talked about photographing from a high angle and a low angle, so this week is about photographing at the subject level, meaning getting on the same level as your subject.

There’s not much to this theme, so I’m just going to make a list of times when photographing from subject level can be useful.

  1. When photographing children or animals. People are so used to seeing children and animals, especially pets, from above, so it can be different to see them on their own level. It also brings you more into their world, getting closer to their point of view.
  2. When you want yourself to be less noticeable. By that, I mean you’re getting more into the scene and more intimate with your subjects. When you use an obvious angle like the high or low angle, the photo can become more about the photographer and their point of view. Subject level is more about the subject’s point of view and can draw the viewer into the moment and emotion.
  3. When you want parallel lines to appear parallel, like on a building or a block wall, for example. If you shoot at an angle, perspective causes lines to converge towards one another. If you take the photo straight on, at subject level, the lines will appear more parallel and perpendicular.
  4. One little tip: if you have a tiltable LCD on your camera, use it with live view to get a lower angle without having to sit or lay on the ground.

If you have any questions, join us in the Facebook group. I’ll be checking in there daily to see your work and help you achieve the best results.

If you’re just finding this now, you can check out the full list and more information on the challenge here. You can follow me on Instagram at @documentyourdaytoday and use the hashtag #documentyour2022.

Week 19 – Low Camera Angle

This week’s theme is low angle. Like shooting from a high angle, being at a low angle can give you a different perspective on a scene.

The above two photos have the couple in the same spot, but I used a longer lens for the second photo (35mm for the first and 105mm for the second). Both of these photos have a similar feel to the high angle photos in that it seems like you’re peeking in on a moment rather than being a part of it. Part of that is that the couple is partially obscured by the trees, but the angle also separates them from where you’d normally focus your attention.

There are a couple of things to note in the above two examples. First is that using a low angle puts the couple in an open space, which draws your eye to them. It can also help you cut out distractions, like a messy room.

The second thing is that the couples are looking at each other, giving them a defined chin line and profile. You’ll want to be careful with low-angle photos of people because it can create a double chin, whether someone actually has one or not. If you’re not convinced, put your phone in selfie mode and hold it at chest level to take a photo of your face. You can avoid this by watching the angle of your subject’s head. Looking at the camera from a higher angle isn’t the most flattering in general. Standing a bit farther away can make the angle less dramatic looking and is more flattering than standing right in front of and below your subject.

The above two photos show how a low angle can create a more unique composition. The first creates a dramatic profile and uses a white sky to make it even more impactful. The second uses a tilted low angle to enhance the appearance of movement and fun atmosphere.

If you have any questions, join us in the Facebook group. I’ll be checking in there daily to see your work and help you achieve the best results.

If you’re just finding this now, you can check out the full list and more information on the challenge here. You can follow me on Instagram at @documentyourdaytoday and use the hashtag #documentyour2022.

Week 15 – High Camera Angle

This week’s theme is high angle, meaning that your camera will be higher than your subject. I find this type of composition effective for candid photos or for making a portrait look more candid. It gives the feeling of peeking in on a scene. It can feel more intimate. Or it can just give you a new perspective on something you usually don’t see from above. It can also be very flattering for portraits because it makes the person’s eyes look bigger and reduces the chances of double chins.

If you have any questions, join us in the Facebook group. I’ll be checking in there daily to see your work and help you achieve the best results.

If you’re just finding this now, you can check out the full list and more information on the challenge here. You can follow me on Instagram at @documentyourdaytoday and use the hashtag #documentyour2022.

Week 11 – Using Symmetry in Photography

This week’s theme is symmetry. Symmetry is one compositional tool you can use to make your images more interesting and pleasing to the eye. Symmetry is when one half of the image is identical to the other, split vertically or horizontally (or both). It doesn’t have to be perfectly symmetrical to have the desired effect, especially if you throw something like a couple or other subject into the image. In that case, you might rely on the overall environment to provide the symmetry.

Here are some tips on using symmetry:

  1. Be careful about angles and cropping to avoid an unsettling slightly crooked look. If you stand slightly off-center to a symmetrical scene, then all of the elements of the scene will be skewed, which can be distracting. I’m definitely guilty of not squaring my frame properly, as you can see in some of my examples with a lot of lines.
  2. Try including other compositional techniques as well to keep visual interest up. Some examples are rule of thirds and leading lines. Pay attention to where your eye goes in the frame. It should still have a focal point or subject.
  3. If a scene is pretty symmetrical, but contains a distraction off to one side, try cropping in closer to remove it.
  4. You can create symmetry by using a reflection, such as with a body of water or using a mirror/phone.
  5. Look for symmetry in your environment. Buildings are a great source of this, especially places like churches or commercial buildings.

If you have any questions, join us in the Facebook group. I’ll be checking in there daily to see your work and help you achieve the best results.

If you’re just finding this now, you can check out the full list and more information on the challenge here. You can follow me on Instagram at @documentyourdaytoday and use the hashtag #documentyour2022.

Week 7 – Get Close to your Subject

This week’s challenge is to get close. Getting close allows you to focus on emotion when people are involved and get a different perspective on things. I’m going to focus on photos of people here, but you can certainly apply it to other things. Don’t worry about getting super close with a macro lens or otherwise, since we’ll cover macro photography later in the year.

Below are some examples of photos where I got close to the subjects to capture their expressions and emotion. Some of these were taken with a 35mm lens, so I was literally very close to them. Others were taken with a 50mm to 85mm, which allowed me to stand a bit farther away. The first three are portraits, the fourth is a candid but obviously very camera-aware, and the last two are candids.

Here are some tips on getting closer:

  1. To get a good close-up candid, you can either use a longer lens or work on being less noticeable. Usually people will notice me less and less as the day goes on when photographing a wedding or a documentary session. I start out chatting with them and getting them comfortable with me and eventually they just continue their day without paying me much attention. This does take some practice though, so you may find a longer lens the better choice to start. As for photographing your own family, the less you ask them to smile for the camera, the easier you’ll find it to take candids.
  2. Be careful getting close with a really wide lens (shorter than 35mm) because the edges can get distorted, along with people’s facial features. Think about how you look in a phone selfie versus in a photo taken from farther away. Cell phones tend to have wide lenses.
  3. Pay attention to expression. Getting close puts the focus on expression and emotion. For more tips on expression, check out the post from week 5.
  4. Getting close to your subject or using a longer lens and being relatively close will both create a shallower depth of field (and blurrier background), so if your aperture is fairly low, your subject will be more isolated and stand out more. This is great for putting the focus on your subject, literally and figuratively, and can help take attention away from messy backgrounds. For example, the bottom left photo in the set above shows a mother dancing with her son and a blurry bartender in the background. The focus and depth of field make the bartender and other background elements barely noticeable.
  5. Don’t be afraid to cut off parts of people’s heads/faces and get super close up, as below. You don’t even have to include more than just a mouth or eyes, or even hands/arms, to convey emotion.

If you have any questions, join us in the Facebook group. I’ll be checking in there daily to see your work and help you achieve the best results.

If you’re just finding this now, you can check out the full list and more information on the challenge here. You can follow me on Instagram at @documentyourdaytoday and use the hashtag #documentyour2022.

Week 3 – Rule of Thirds

This week’s theme is rule of thirds. The rule of thirds is probably the most well-known composition rule in photography.

The basic principle behind the rule of thirds is to break an image down into thirds horizontally and vertically, like the diagram below.

Placing the most important elements of your frame on one of the lines or at one of the intersections helps create an aesthetically pleasing and interesting image. See below for some examples.

I typically use this rule horizontally, but it can also be used vertically. It even works in an otherwise centered image, like the last example above. Playing with the rule of thirds is a good way to break out of a tendency to center everything all the time.

Rule of Thirds Tips

  1. How to apply the rule using guidelines: you can imagine these lines while composing, but some cameras have the ability to turn on a grid in the viewfinder/LCD. Many editing programs also show this grid when cropping, which is a feature I use a lot when the in-camera crop doesn’t look quite right.
  2. Try placing something on multiple points or lines across the frame creating balance in your composition. See the trampoline image and the one with the two women running above.
  3. With landscape photos, try placing the horizon line on one of the horizontal lines on the grid.
  4. As with any rules or guidelines in photography, feel free to break it if you want. It’s good to learn the rules first and then you can break them intentionally and know why you’re doing it. This also isn’t something you have to think about for every photo. There are many composition techniques out there that can result in interesting photos. We’ll get to some more of them later in this challenge.

If you have any questions, join us in the Facebook group. I’ll be checking in there daily to see your work and help you achieve the best results.

If you’re just finding this now, you can check out the full list and more information on the challenge here. You can follow me on Instagram at @documentyourdaytoday and use the hashtag #documentyour2022.