I put together a 52 week photography challenge to help photography enthusiasts and learners of all skill levels improve their lighting, composition, technical skills, and ability to capture moments. Sign up below to get the challenges by email every week.
Click here to do the 2026 challenge as a group with the community, starting Jan 1, 2026.

Practice is the best way to get better at anything. This really applies to photography. There are so many technical things to learn, you need to practice them often to make the technical part second nature. Once you’ve got the technical parts down, you can focus solely on the creative. But of course, practicing the creative parts is important too (and fun).
I hope these weekly assignments will help you learn, provide some fun, and let you create a set of photos that documents your life in the coming year.
There aren’t any hard rules for this. If you don’t get a chance to do the challenge one week, you can always catch up the next, or just skip that week. The main point of this is to get you using your camera at least once a week, if not daily.
I’ve alternated the themes over four week sets of the following categories: subject/moment, lighting, composition, and technical. The technical prompts might be a little more challenging if you’re just using a cell phone camera, but I’ll offer some workarounds for that each week.
The full list is below including links to a blog post for each week to further explain and give some examples. You’ll find this especially handy with the more technical assignments.
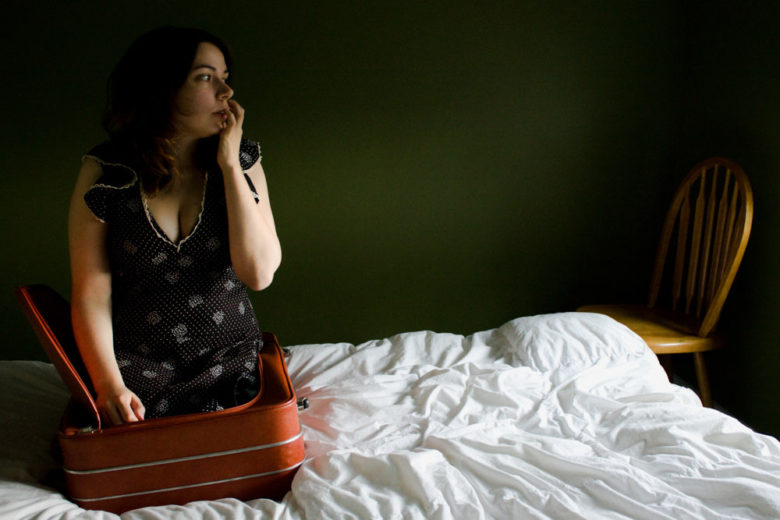
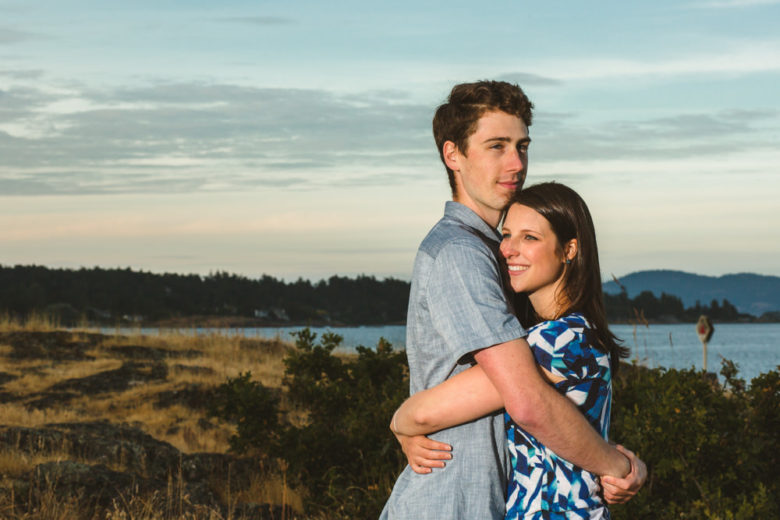
- Someone You Love
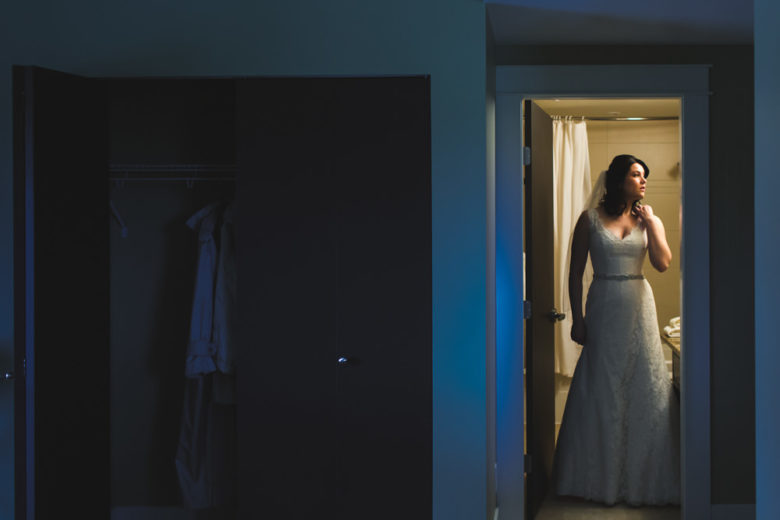
- Silhouette
- Rule of Thirds
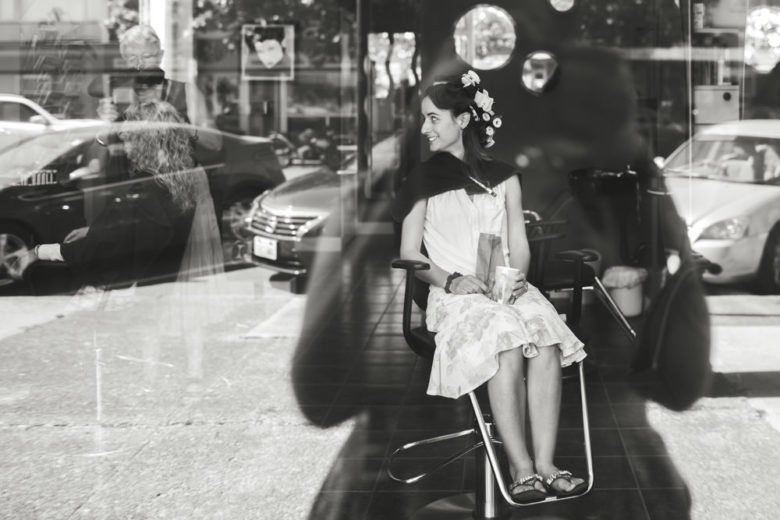
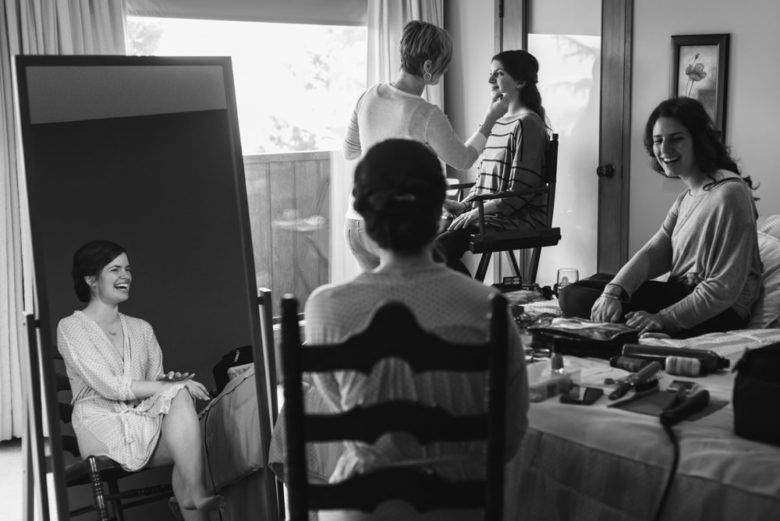
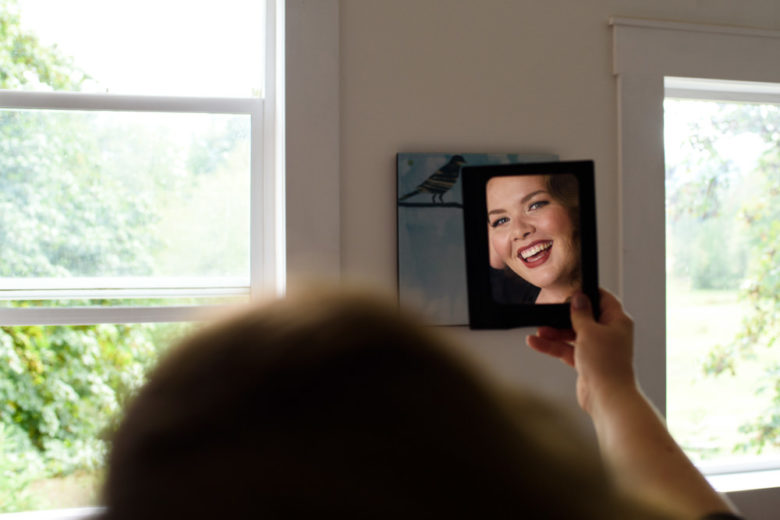
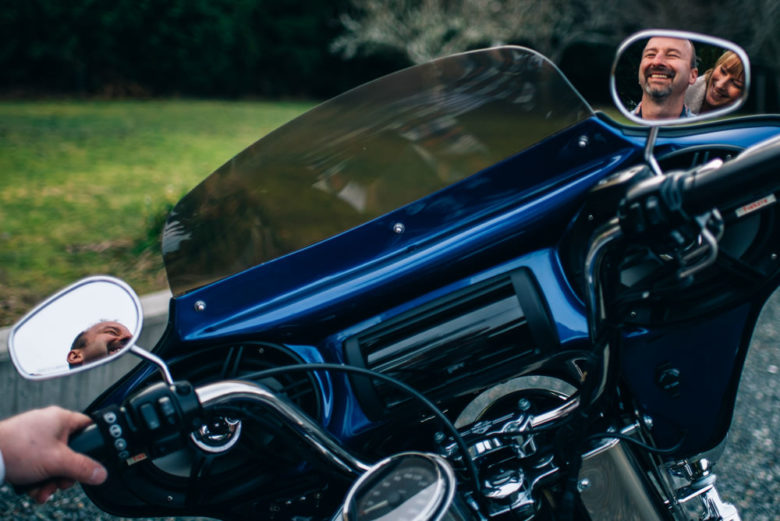
- Prism/Mirror
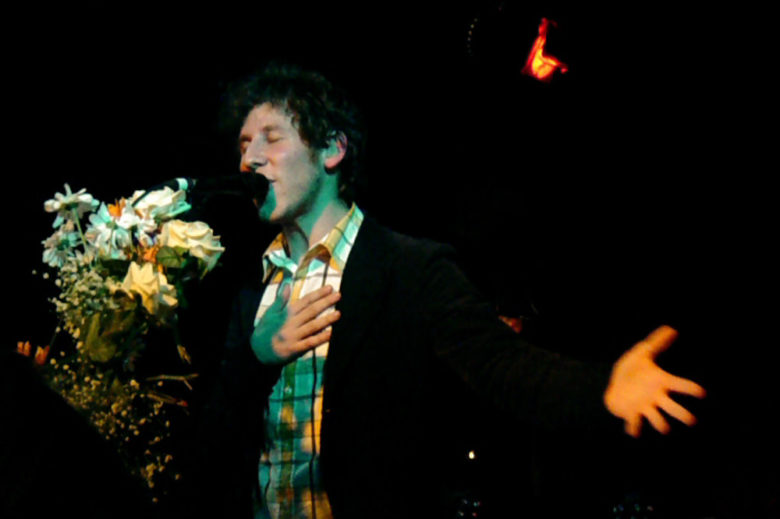
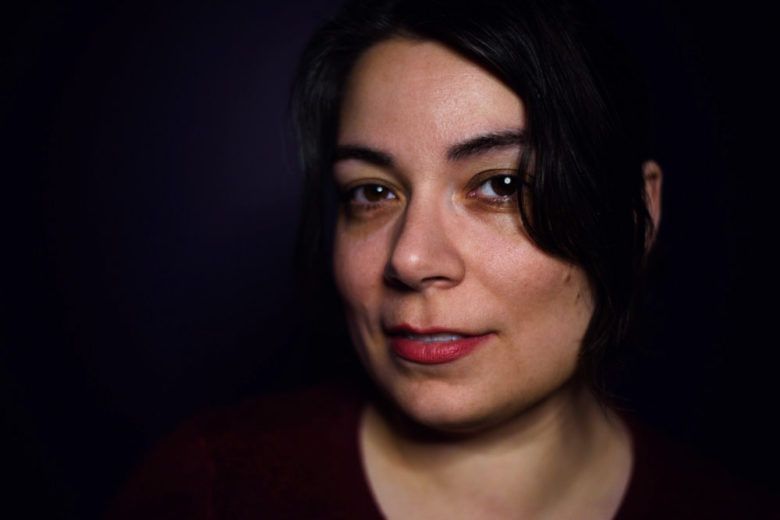
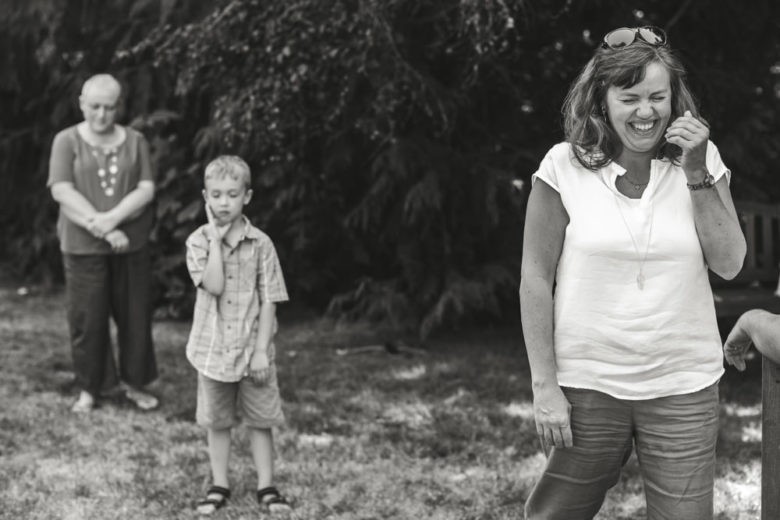
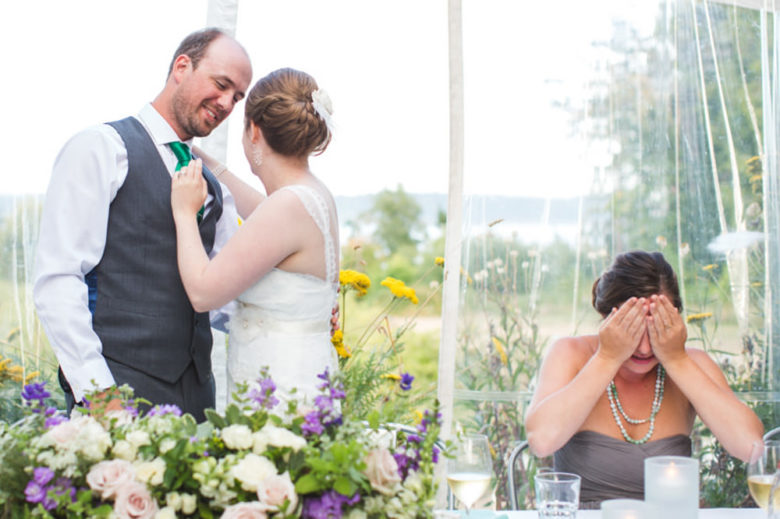
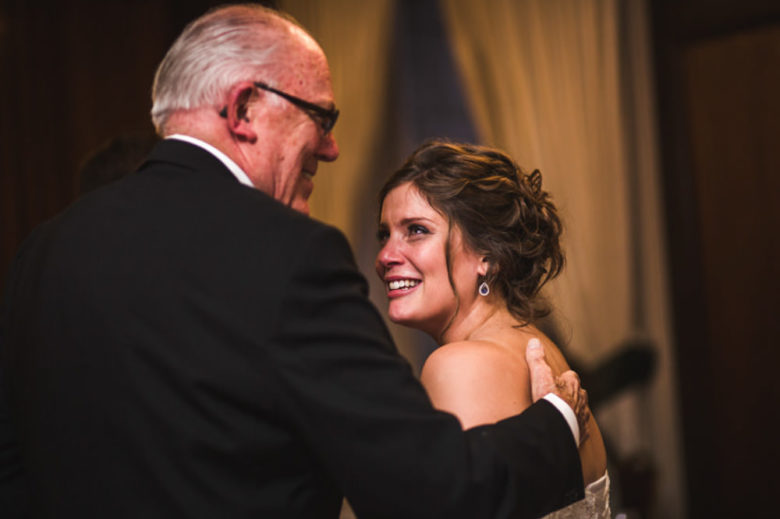
- Expression
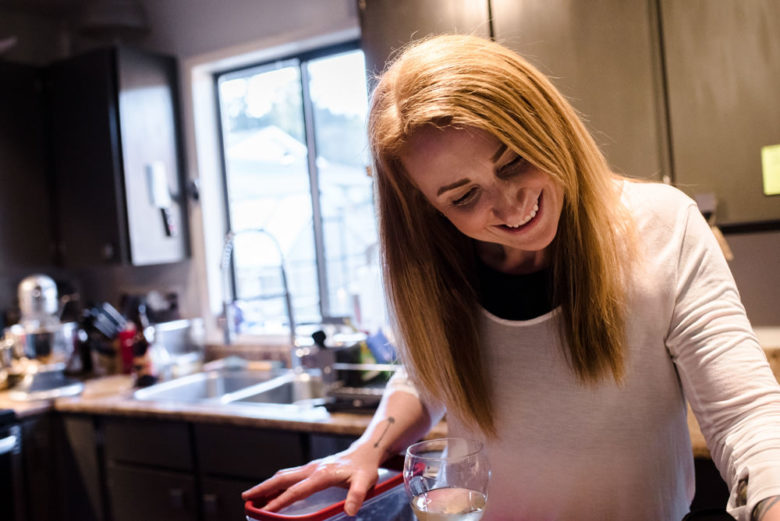
- Window Light
- Get Close
- Black and White Photography
- Meaningful Location
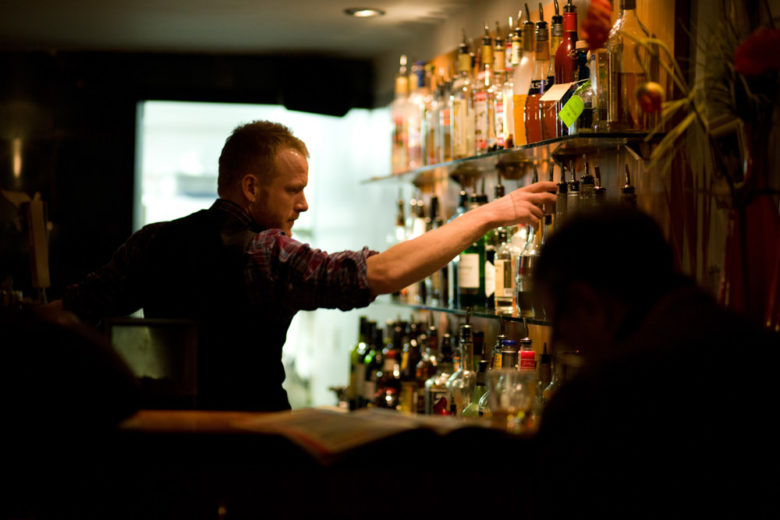
- Hard Light
- Symmetry
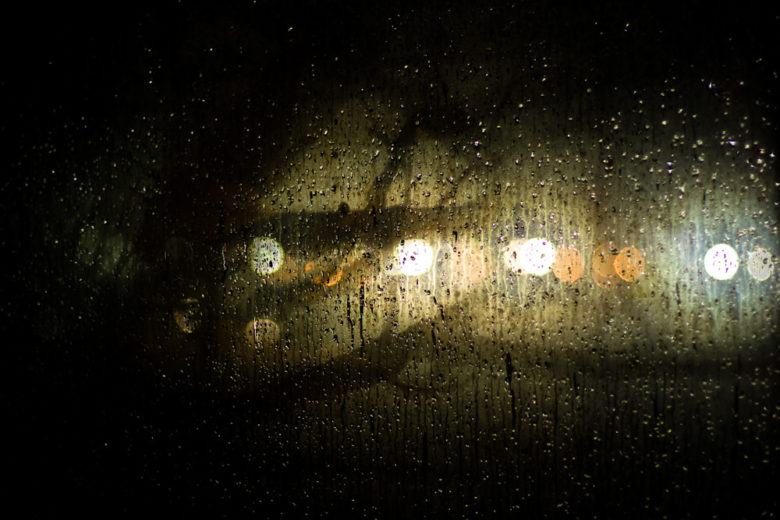
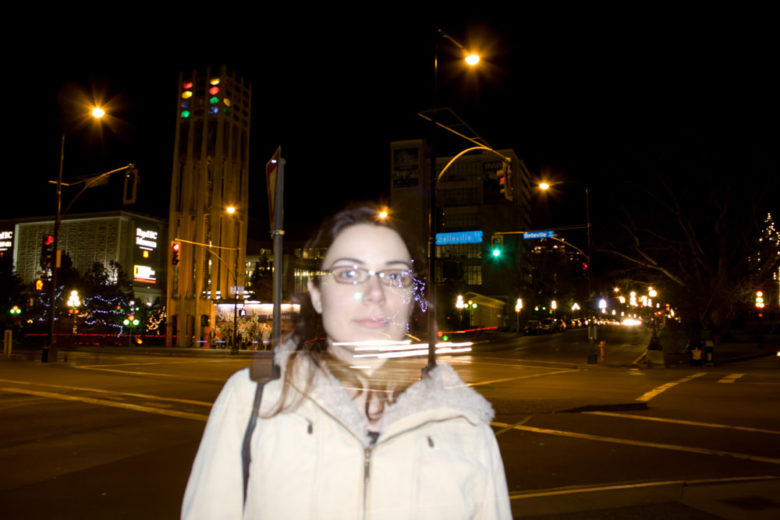
- Night Photography
- Hands/Feet
- Backlight
- High Angle
- Blurry Background
- Tell a Story with Objects
- Golden Hour
- Low Angle
- Blurry Foreground
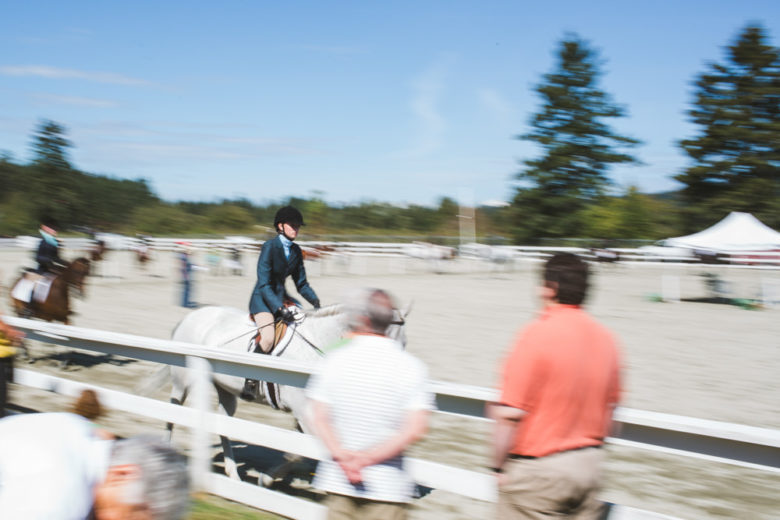
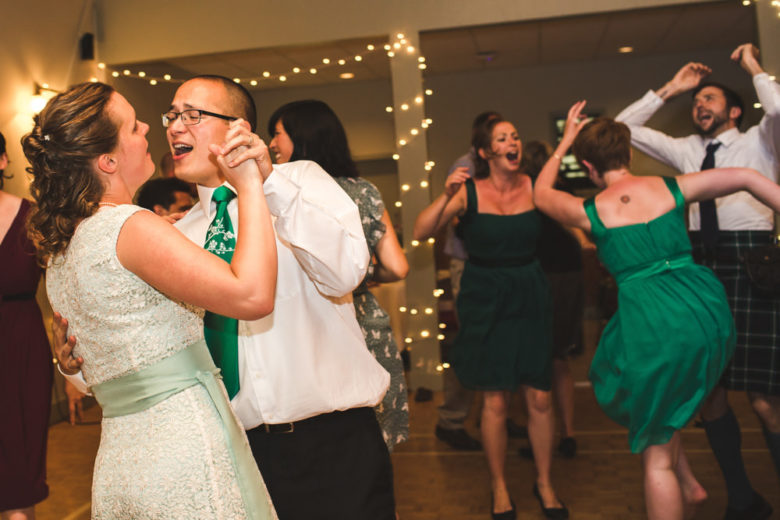
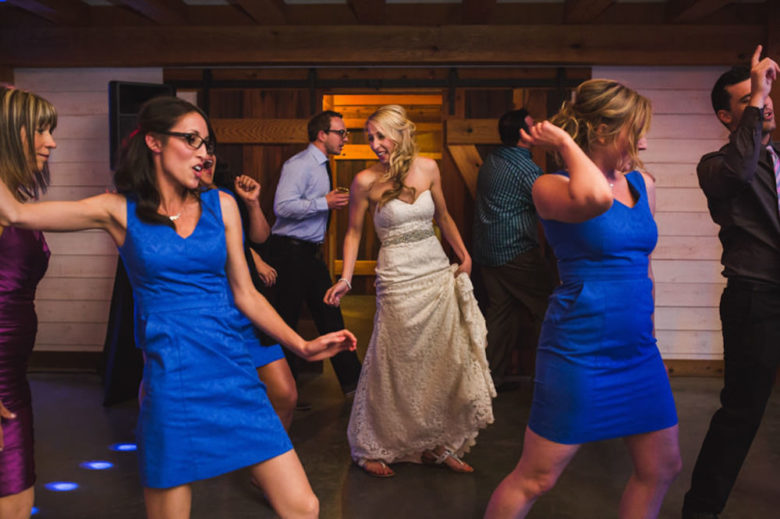
- An Activity
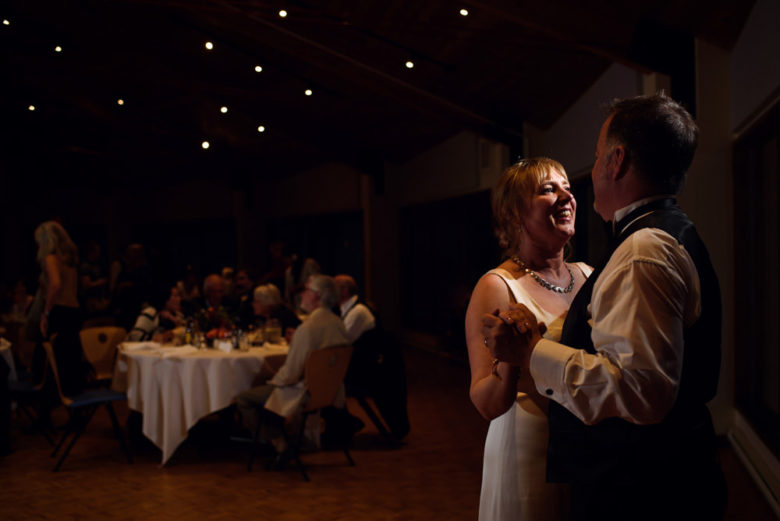
- Artificial Light
- Subject Level
- Foreground Focus
- Emotion Without a Face
- Sun Flare
- Leading Lines
- Everything in Focus
- A Passion
- Dappled Light
- Repetition
- Macro
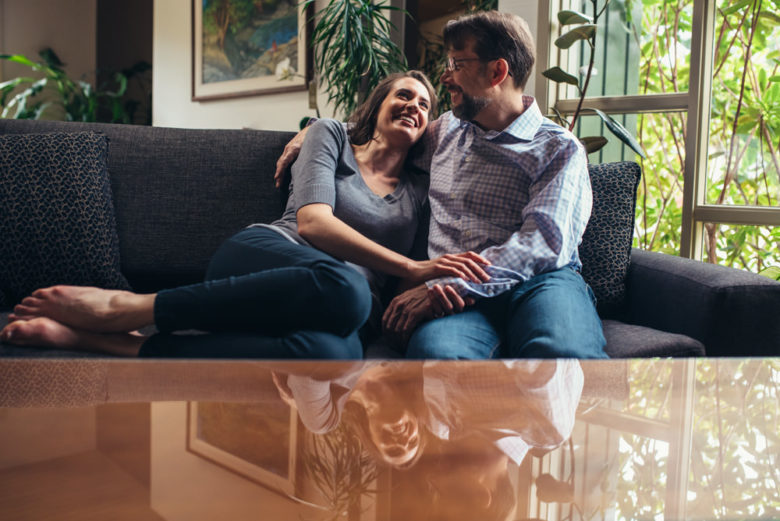
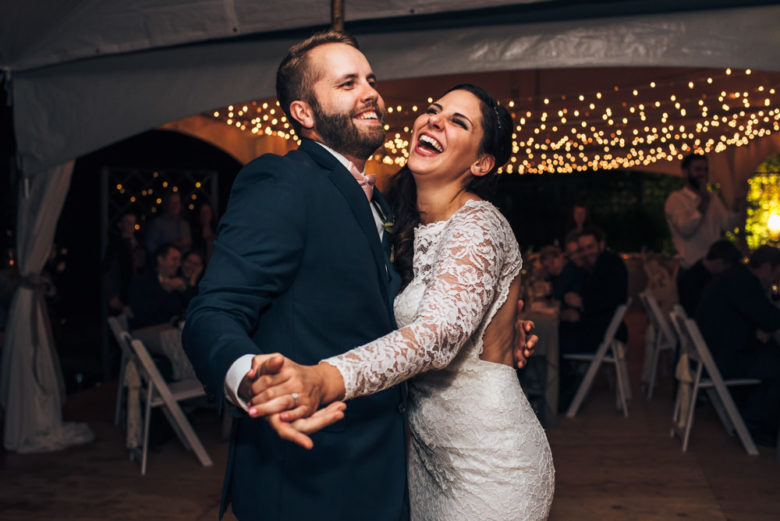
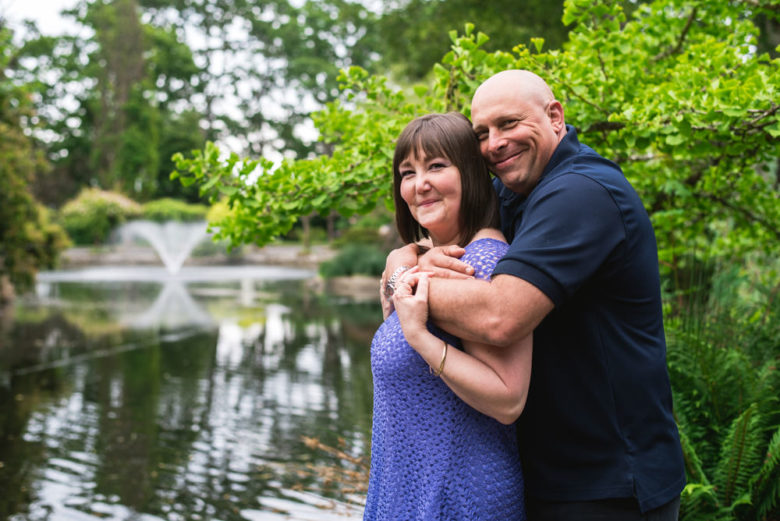
- Love
- Rim Light
- Negative Space
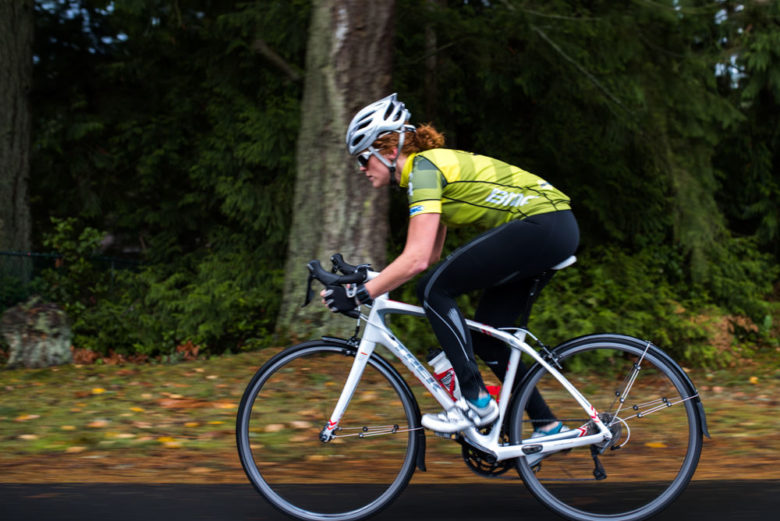
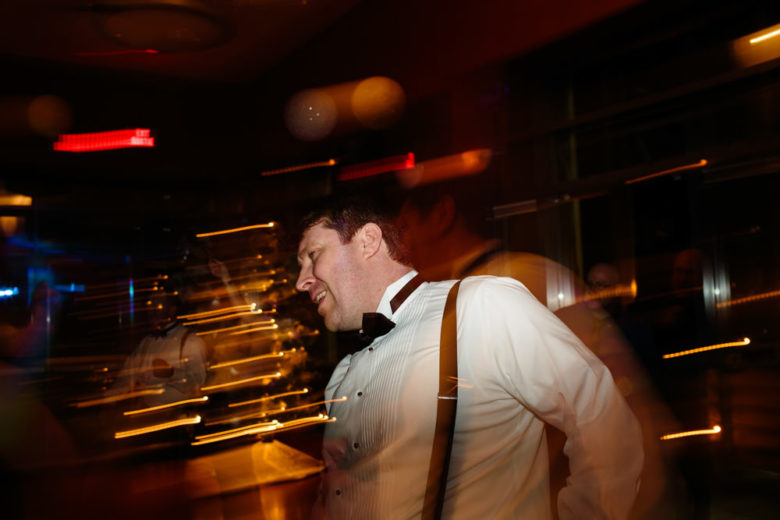
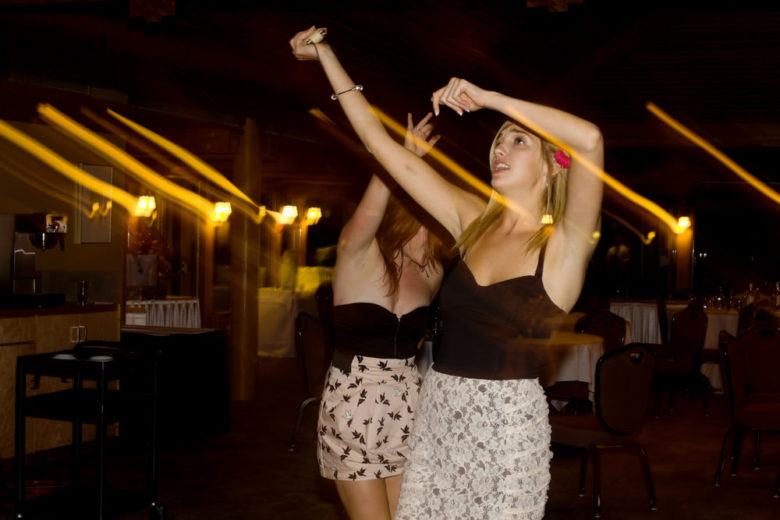
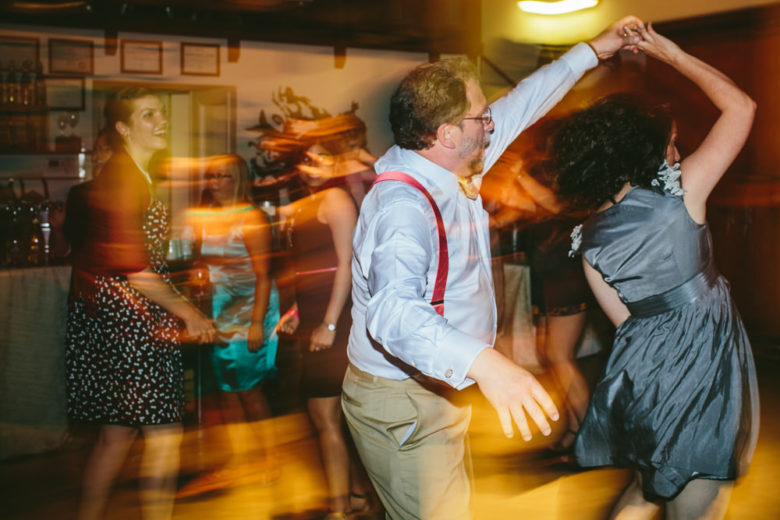
- Slow Shutter Speed
- Mood
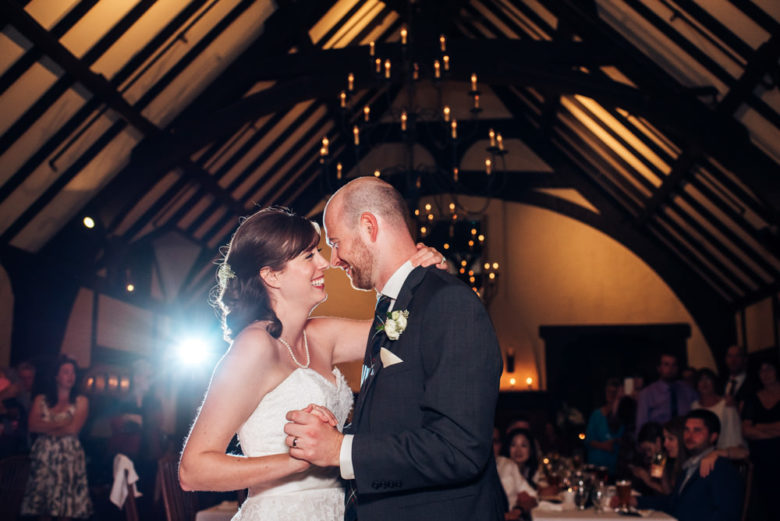
- Spotlight
- Triangles
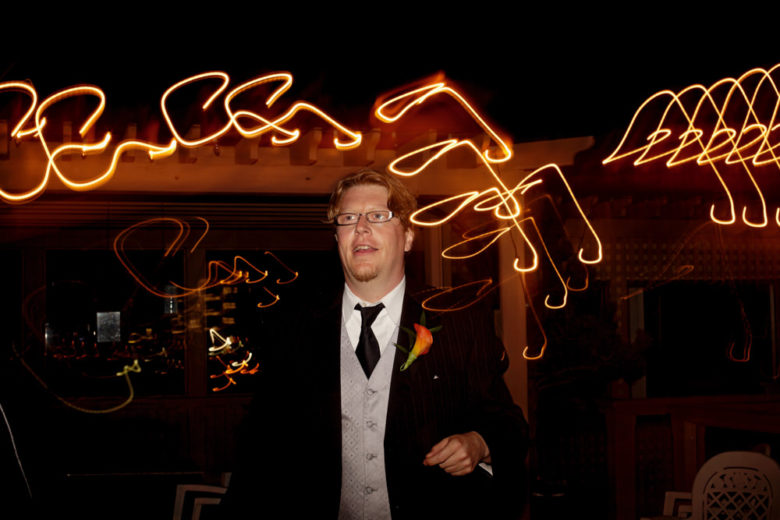
- Light Painting
- An Animal
- Catch Lights
- Framing
- Zoom/Move While Shooting
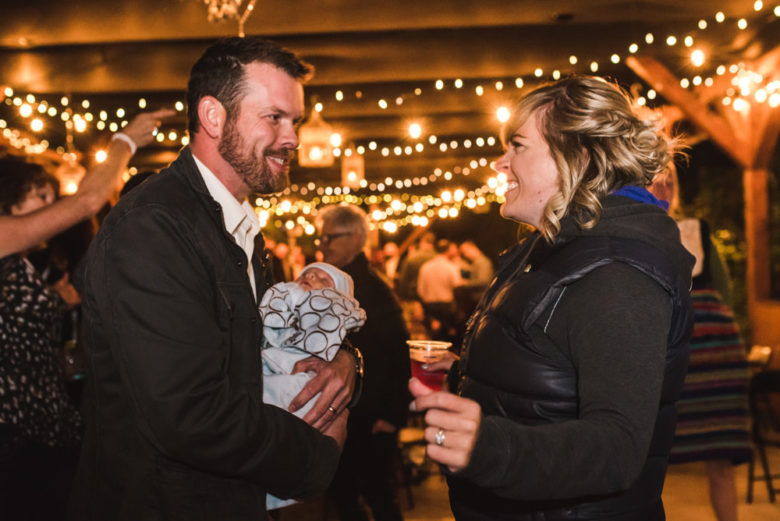
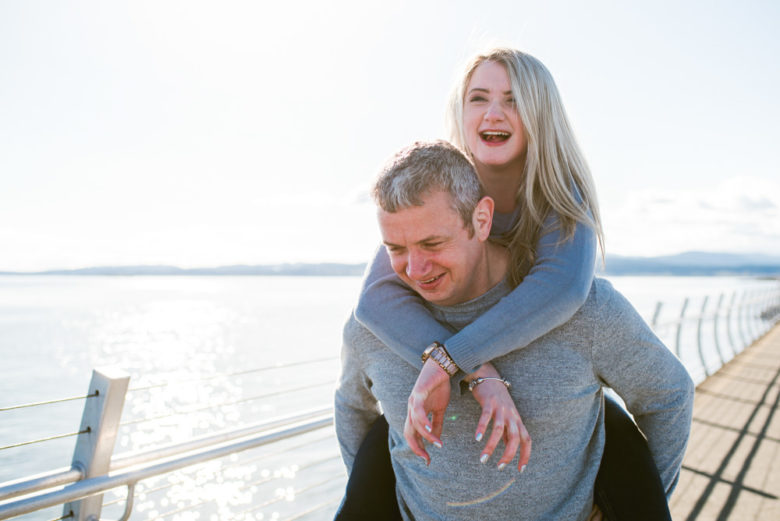
- Candid Relationship
- Flash
- Balance
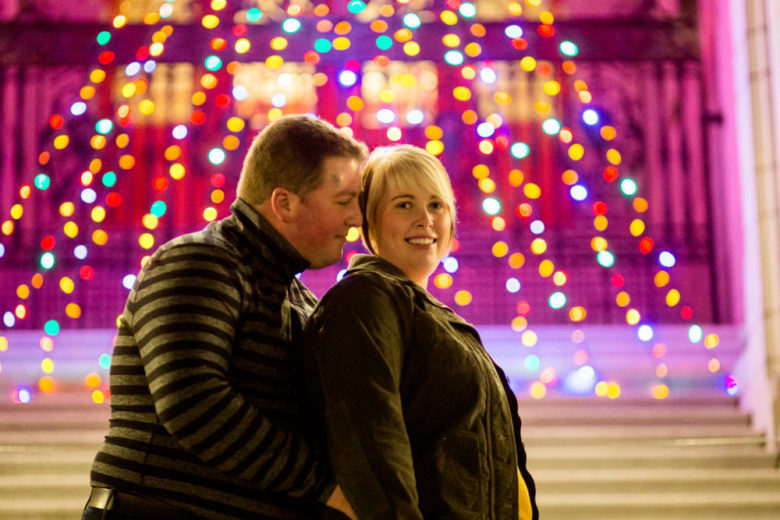
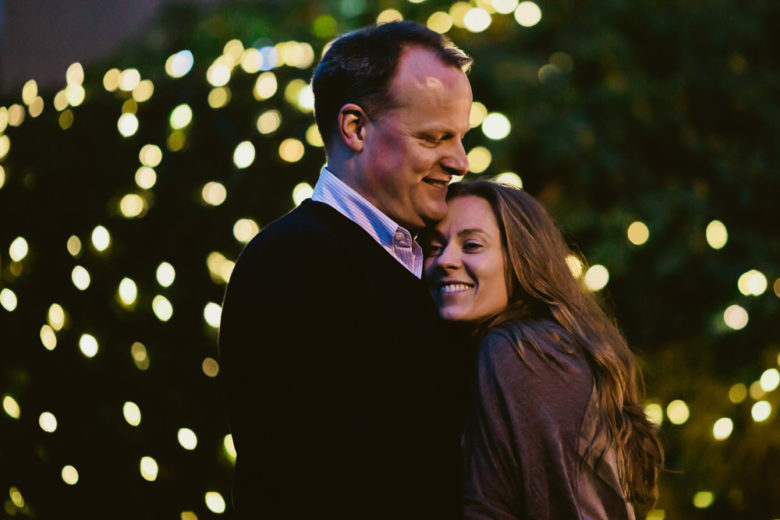
- Bokeh Lights
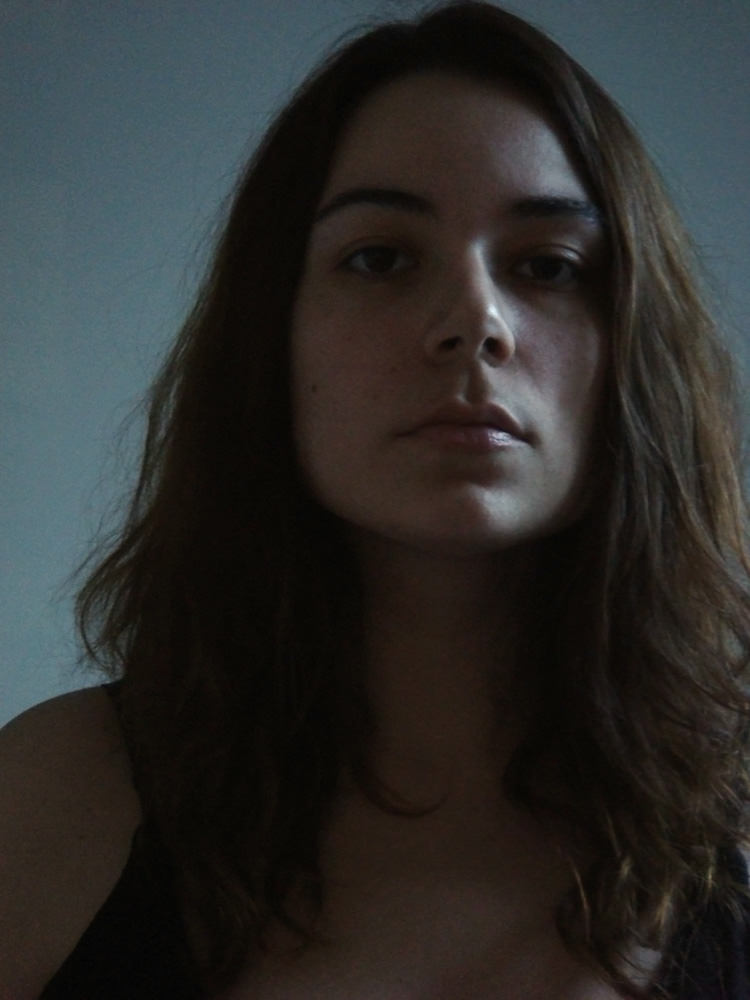
- Self Portrait
- Mixed White Balance
- Reflection
- Panning
You can follow me on Instagram at @documentyourdaytoday and use the hashtag #dtd52weeks or #documentyour2026 for the challenge. I’ll feature some of your work on my Instagram (with permission), but check out the hashtag to see everyone’s work.
Click here to do the 2026 challenge as a group with the community starting on Jan 1.
Sign up below to do the challenge on your own time, starting with week 1 right away.