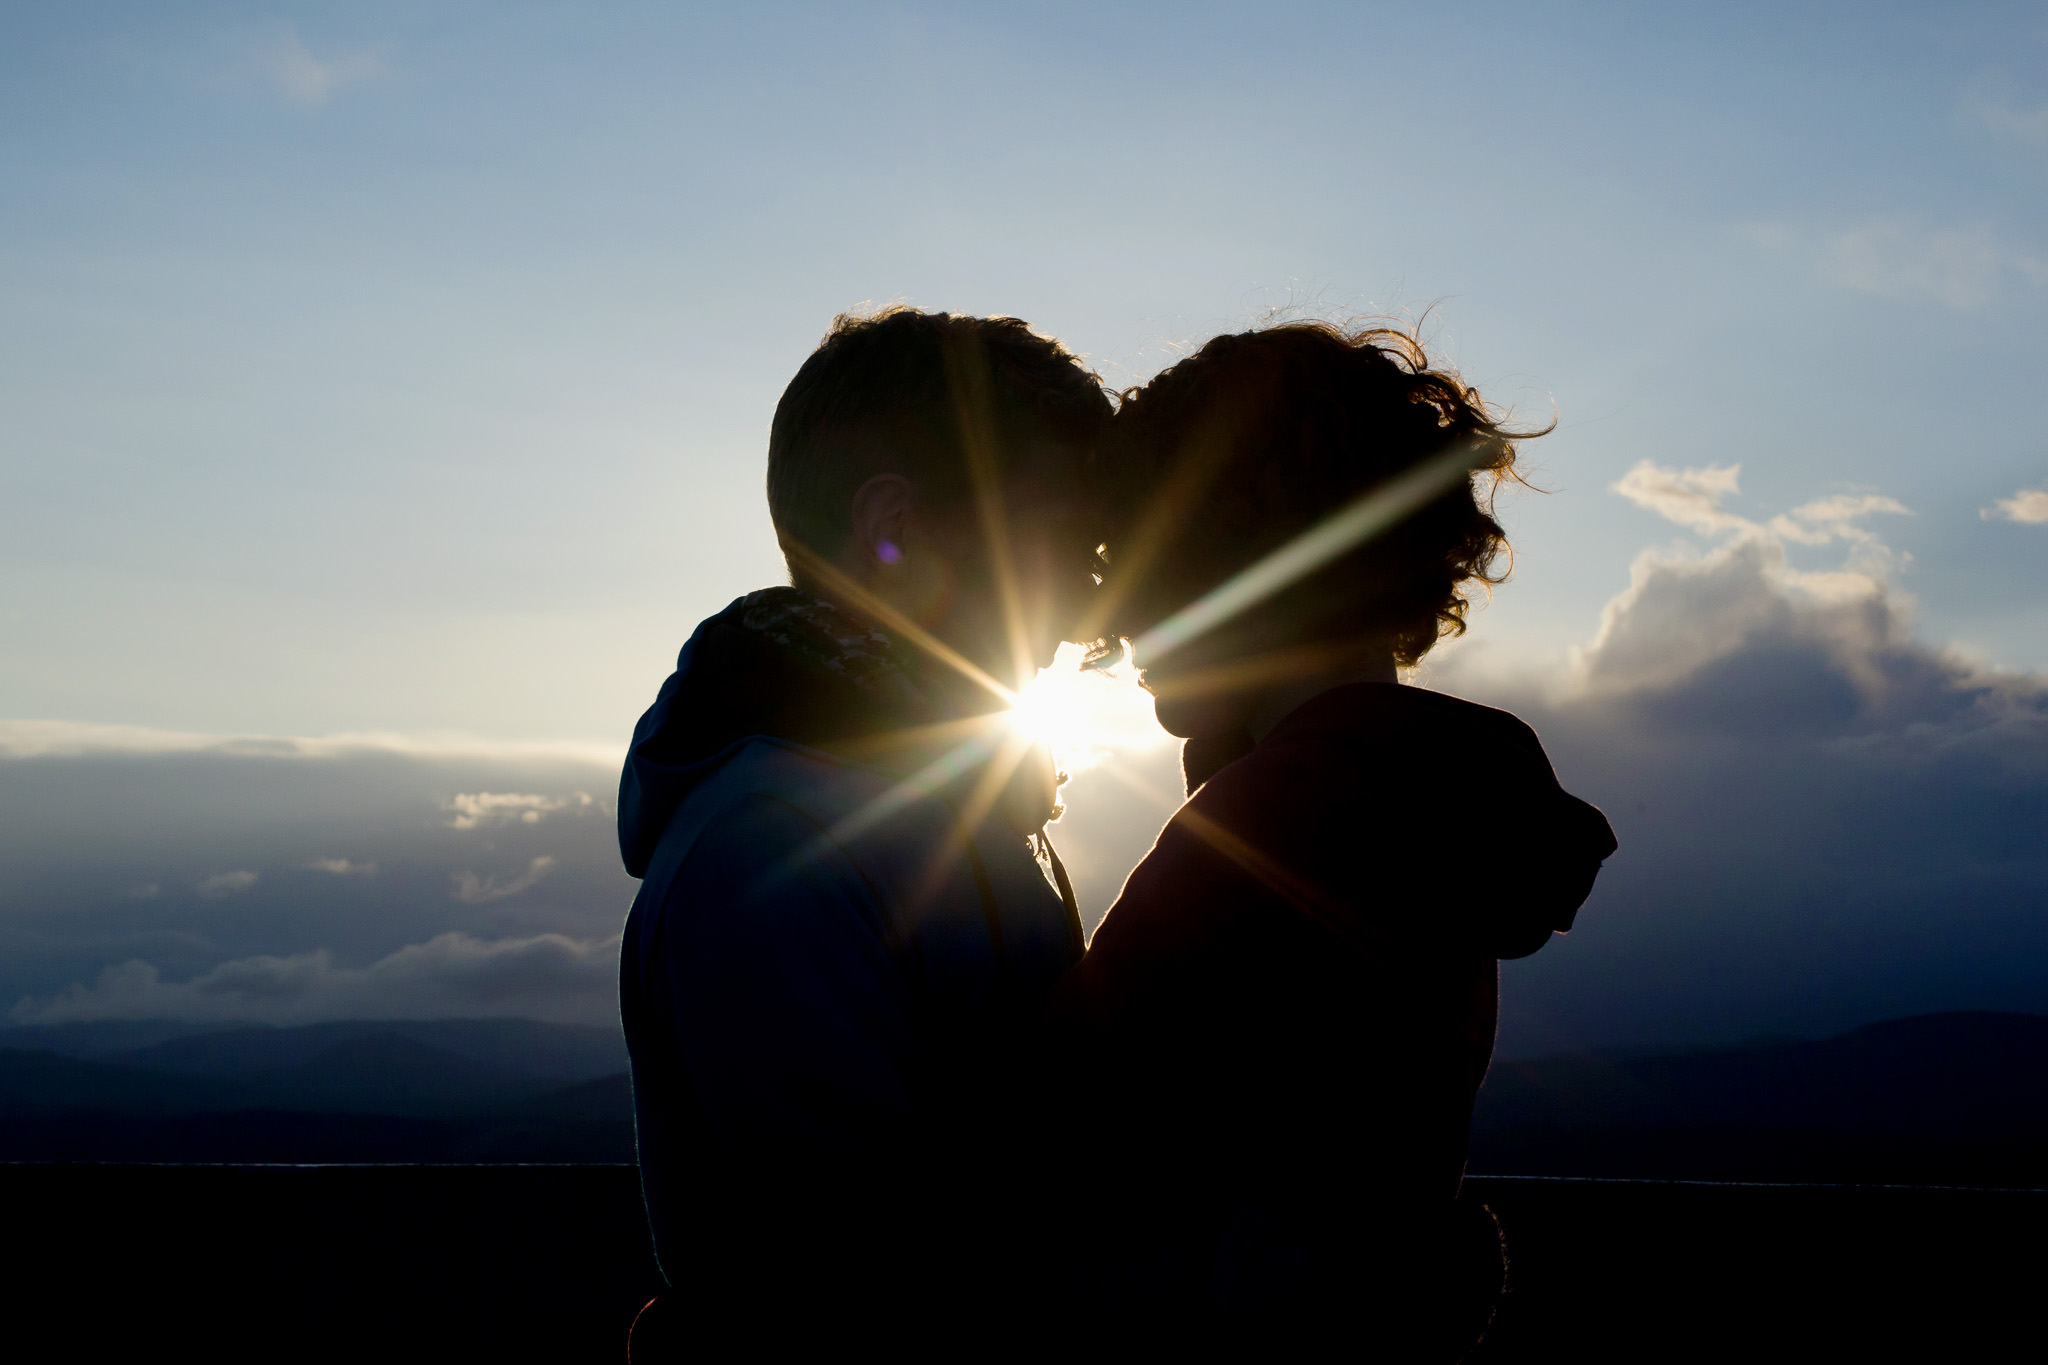
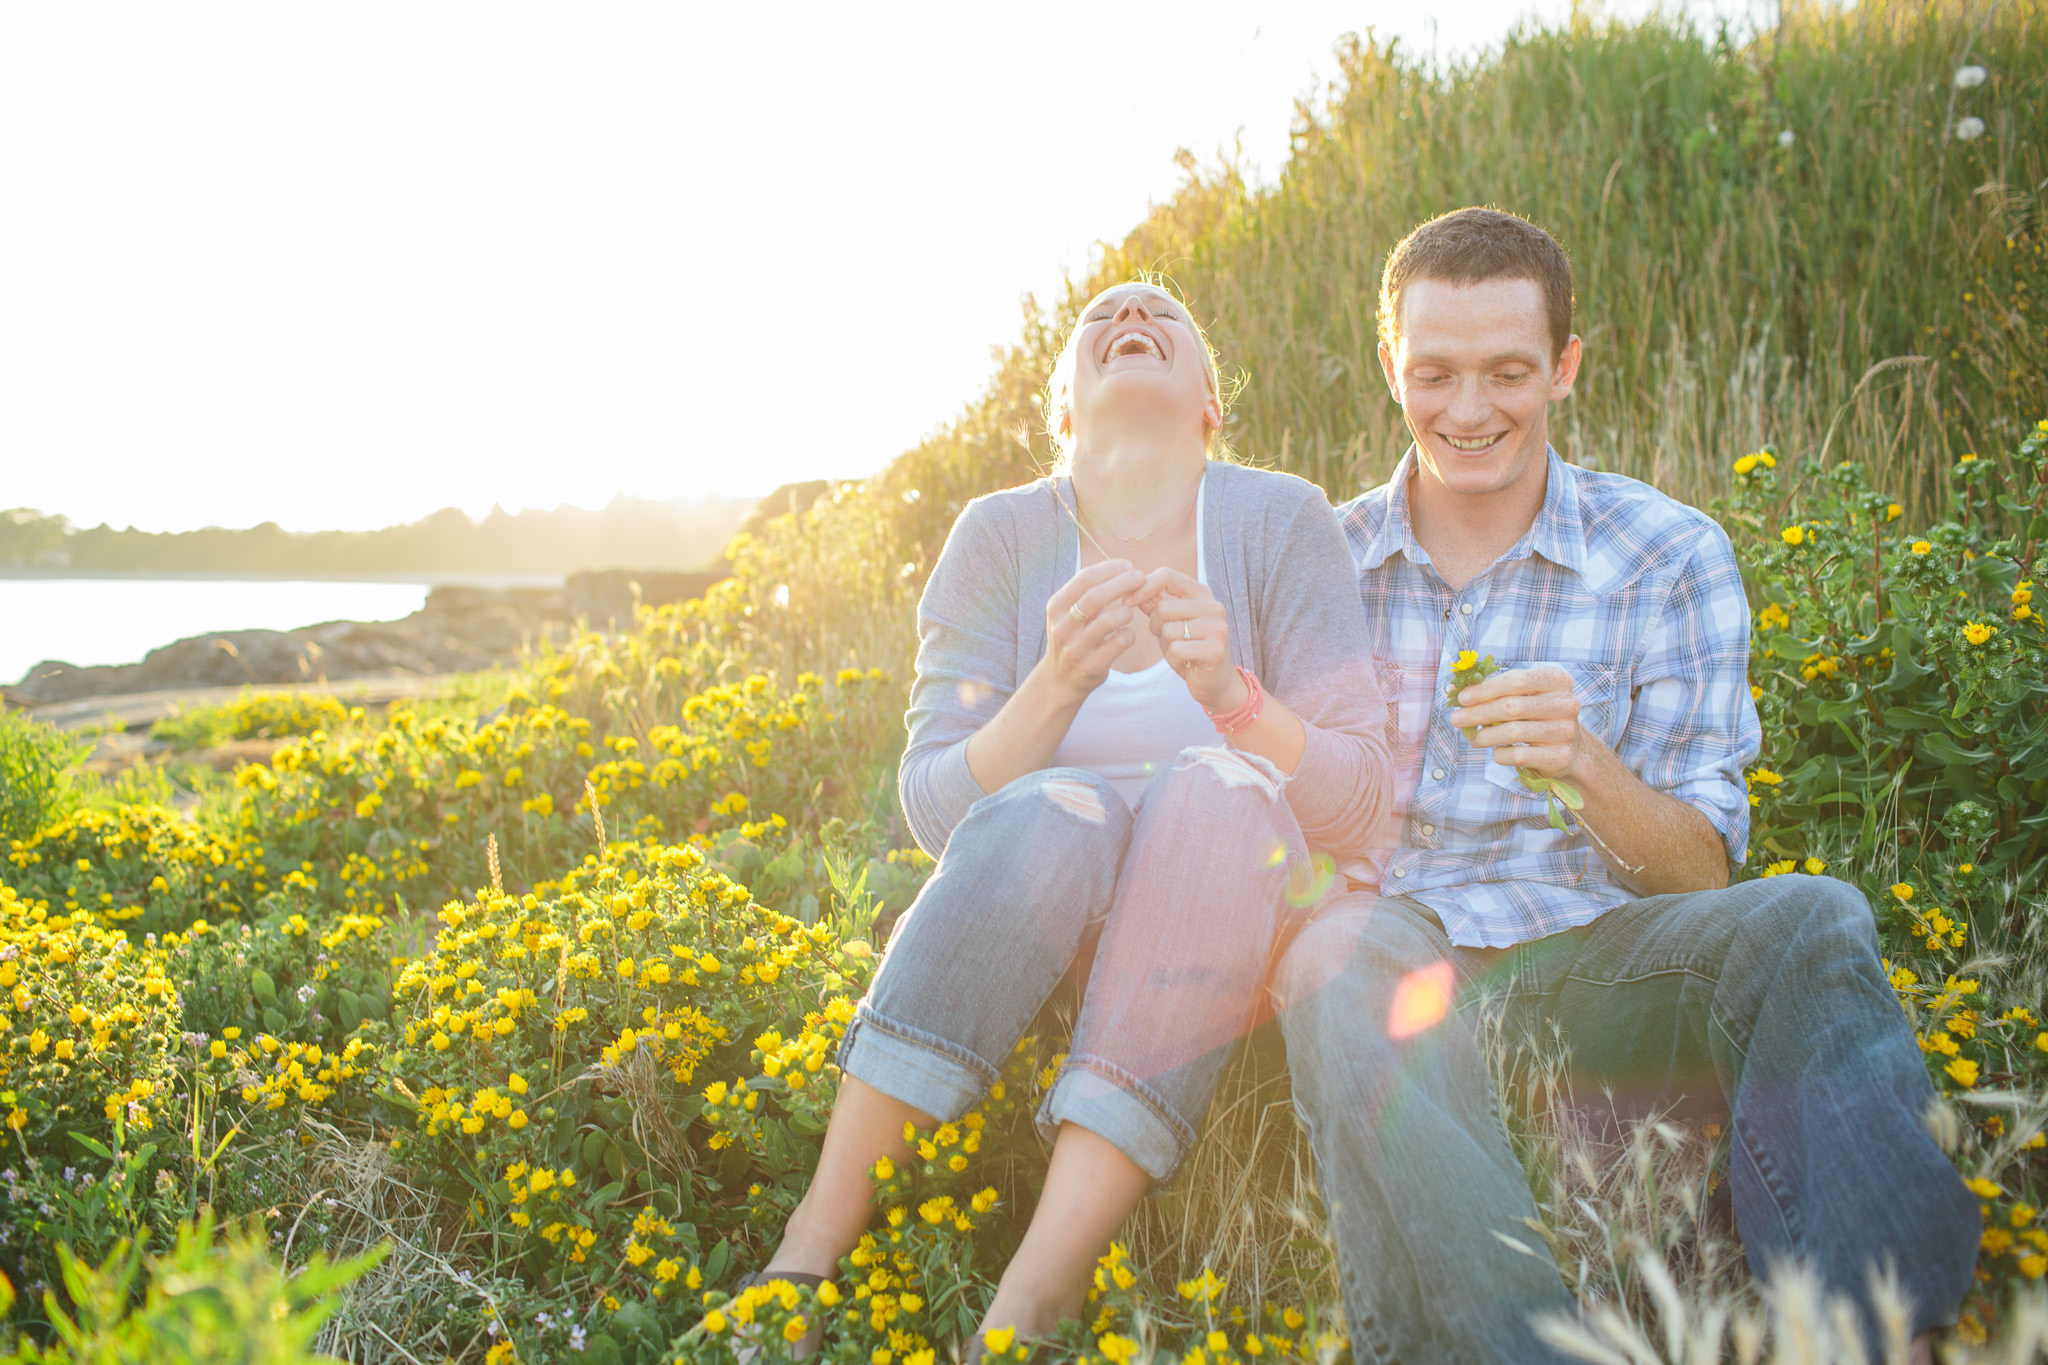
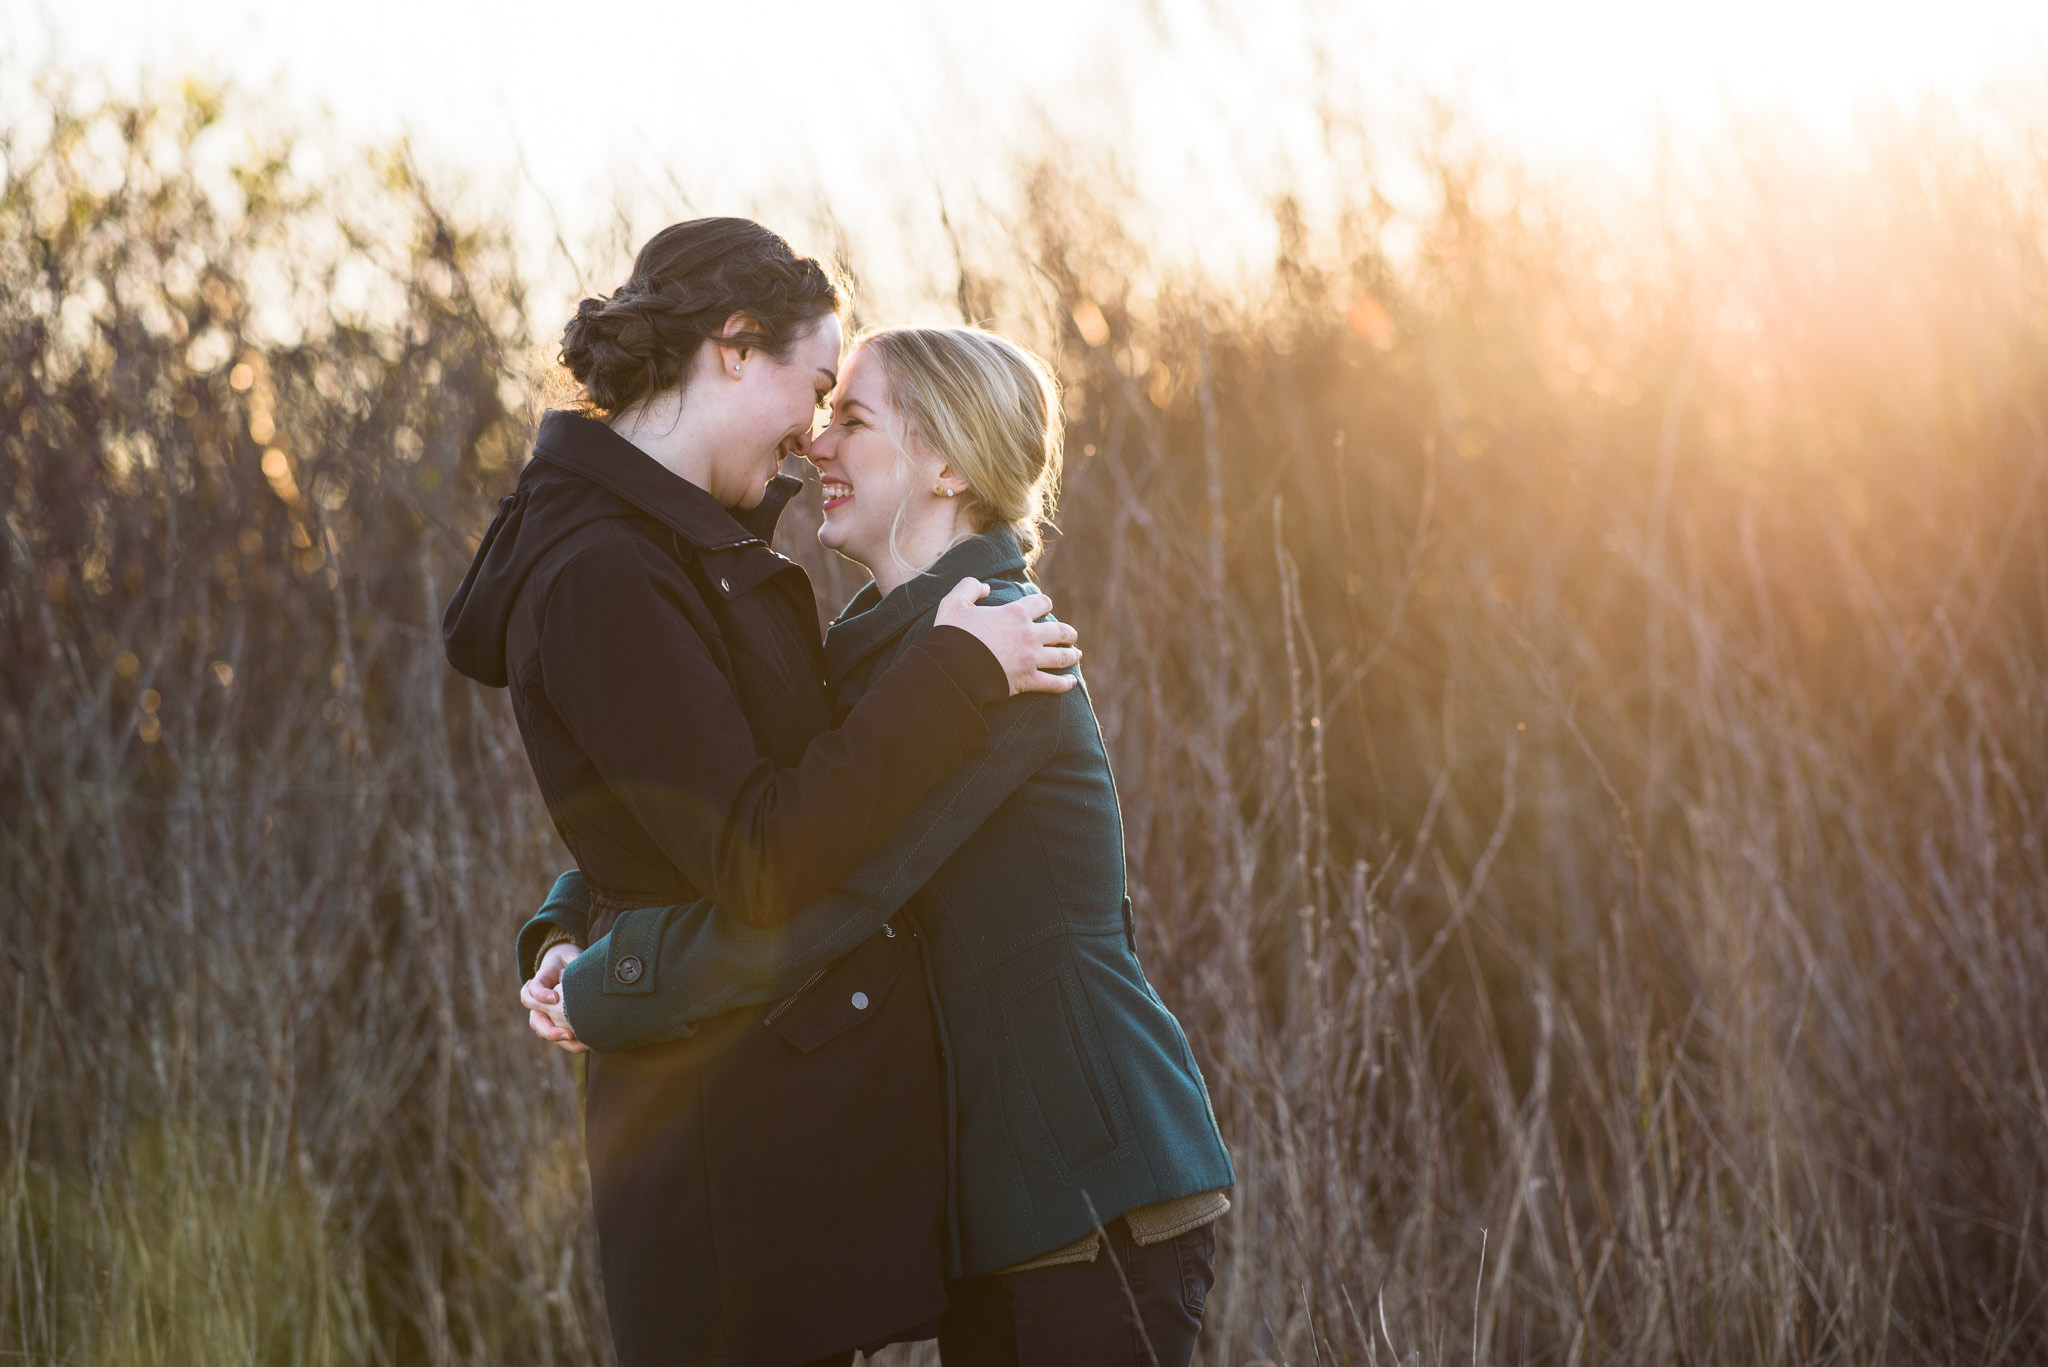
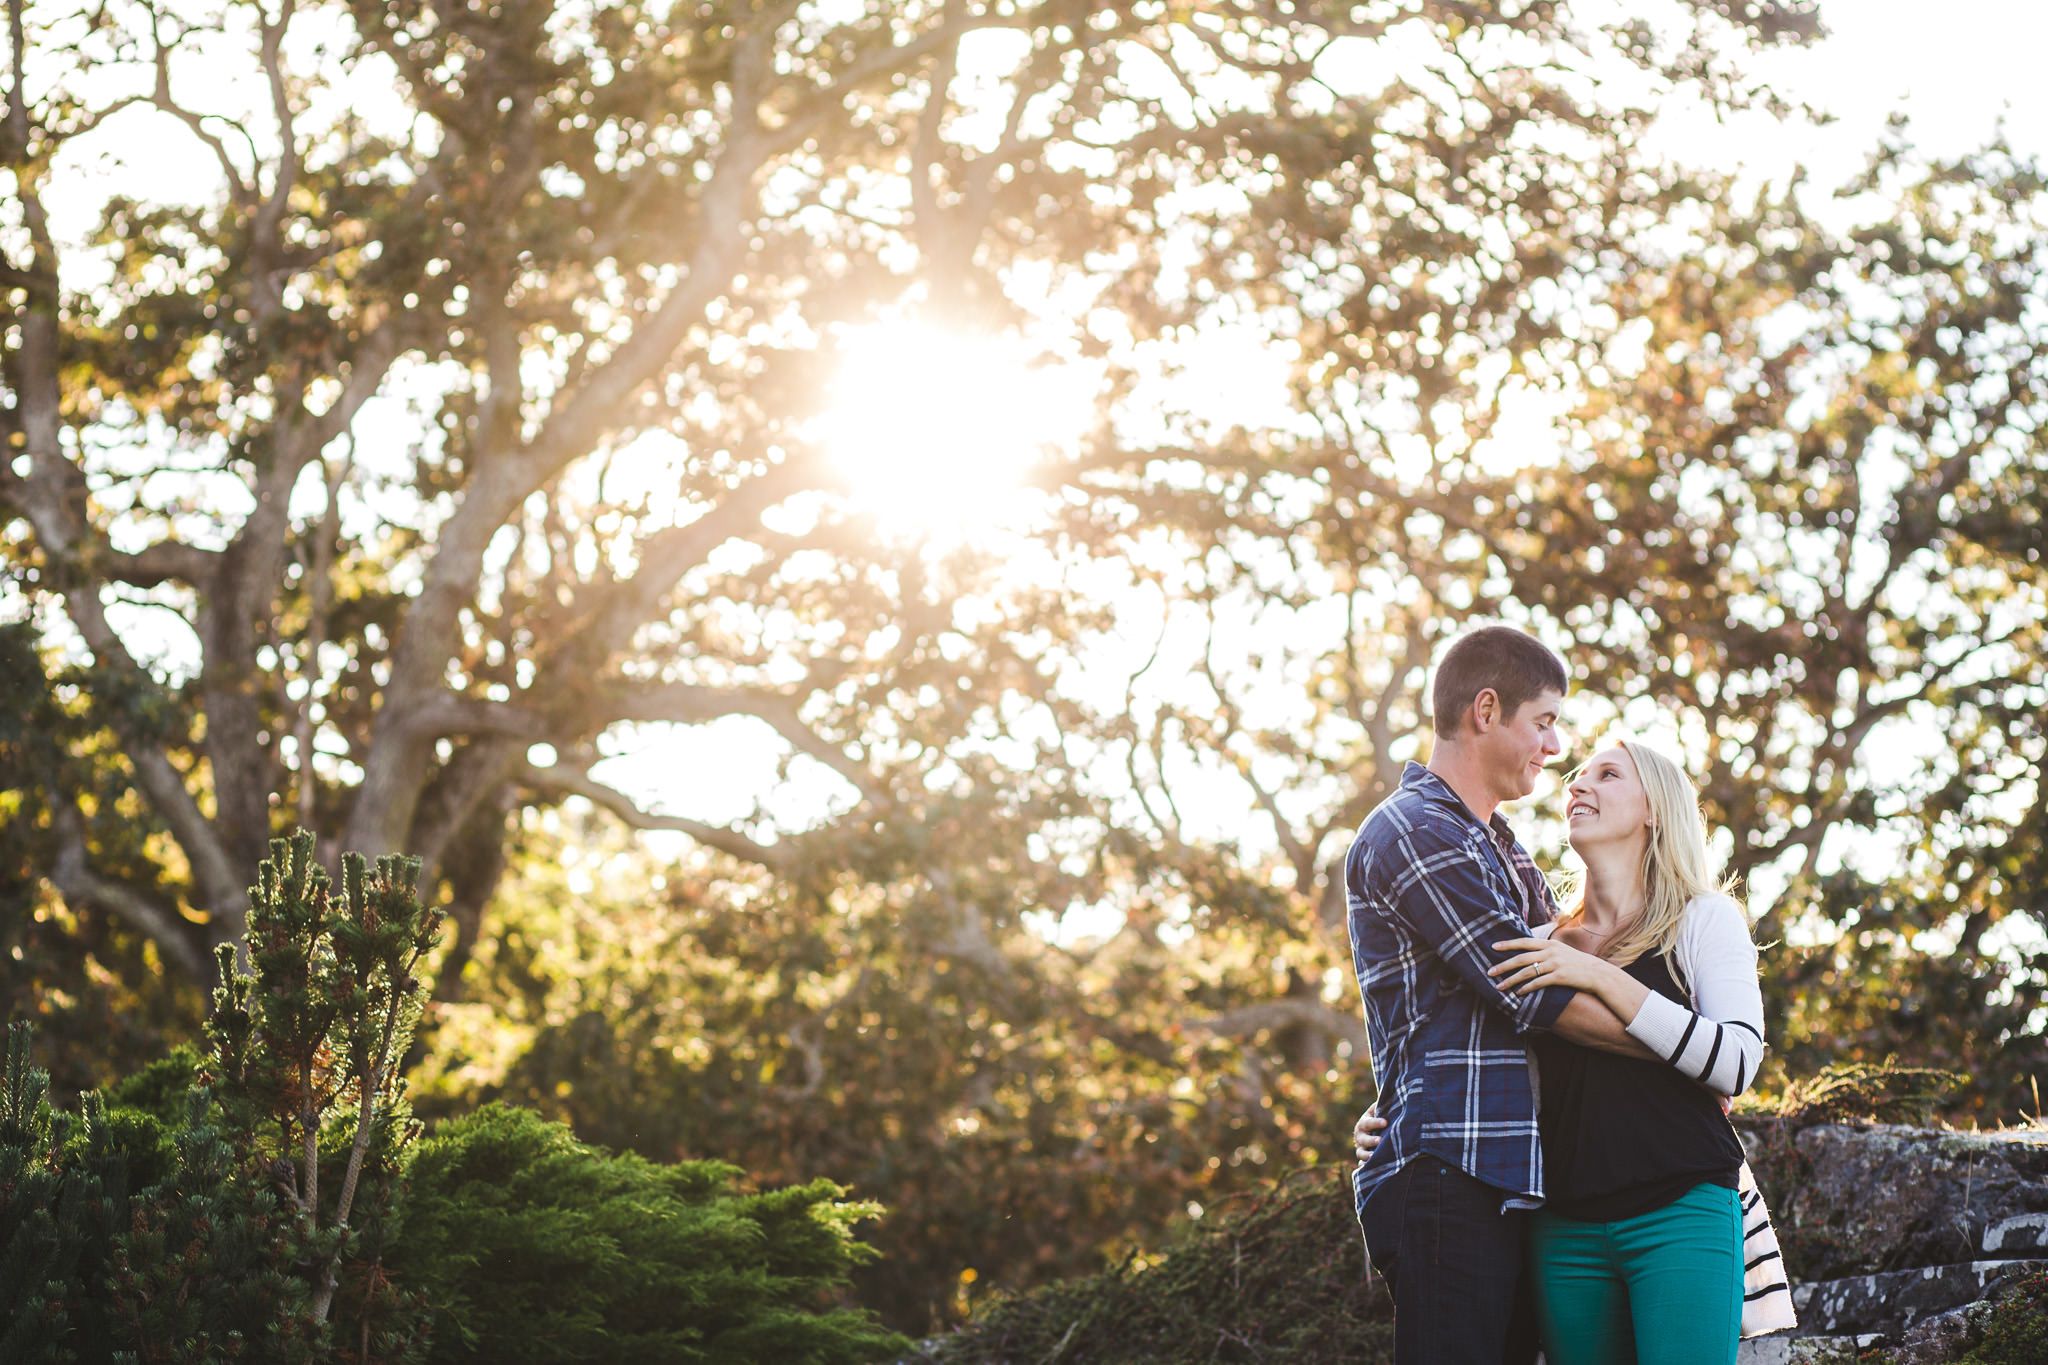
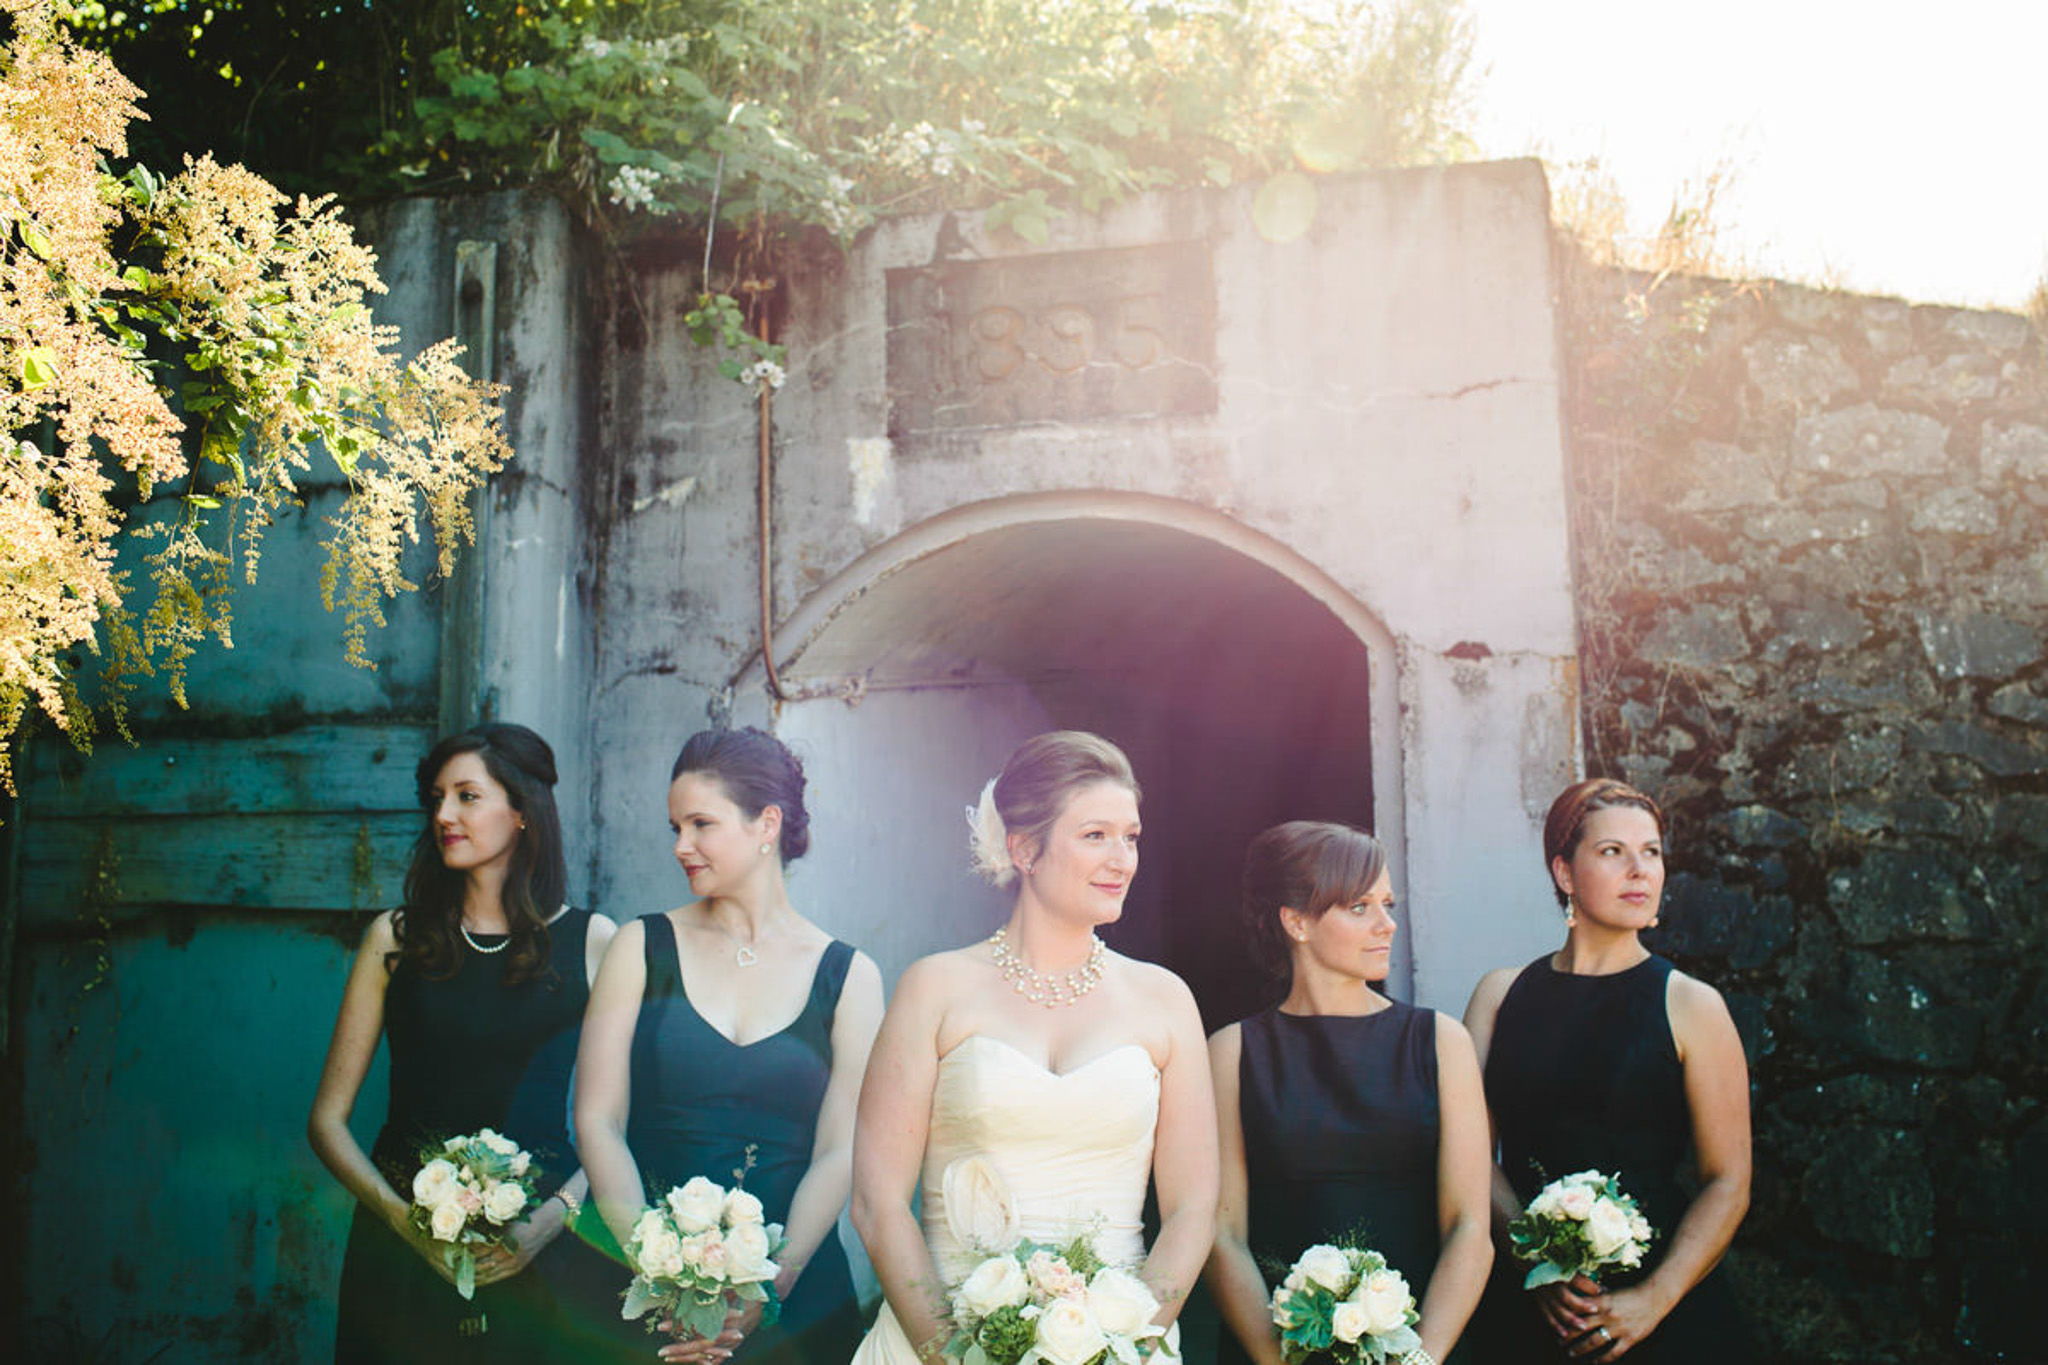
This week’s theme is sun flare or lens flare. Sun flare usually happens when the sun hits the front of your lens, creating effects including starbursts, colourful lens flare shapes or streaks, and haze. Below are some examples of each of these, followed by some tips on how to achieve it.

Here are some tips on getting sun flare in your images:
- Place your subject with their back to the sun (i.e. have the sun in front of your camera). I’d recommend aiming at something in front of the sun, not at the sun itself. Looking at the sun through your camera can be very bad for your eyes.
- Watch the flare through your viewfinder or LCD while composing your image. You should be able to see it, especially the colourful shapes created by it. Move your camera around to change the location and effect of the flare.
- If you want flare, you need to let the sun hit the lens. Things that can prevent this are lens hoods (the plastic cylinder that you can remove from the front of your lens – they come with some lenses), standing under an overhang, or blocking the sun with trees or other objects. So, of course, if you want flare, avoid those things.
- Lens flare is often considered undesirable, so more expensive and modern lenses are designed to avoid it. You may get more flare using an older or cheaper lens. A cheap filter that screws onto the front of the lens can also cause flare.
- If you want a starburst effect, try using a higher aperture. The top left image here was taken at f13. It also helps to hide the sun partly behind something, so the rays are more obvious against the background.
- It can be tough to focus with a lot of light coming into the lens. You can block the sun temporarily by holding your hand up in front of and above the lens to get your focus, the remove it before taking the photo. Once you’ve focused once, you can lock focus by switching to manual focus or using autofocus lock (look up AF lock or AF-on in the manual or Google) so you don’t have to keep refocusing, assuming you’re keeping the same distance from your subject for multiple photos.
- Golden hour is a good time to get this effect because the sun is lower in the sky, so you can aim at the sun without crazy angles.
If you have any questions, join us in the community. I’ll be checking in there daily to see your work and help you achieve the best results.
If you’re just finding this now, you can check out the full list and more information on the challenge here. You can follow me on Instagram at @documentyourdaytoday and use the hashtag #dtd52weeks so others doing the challenge can see your work.