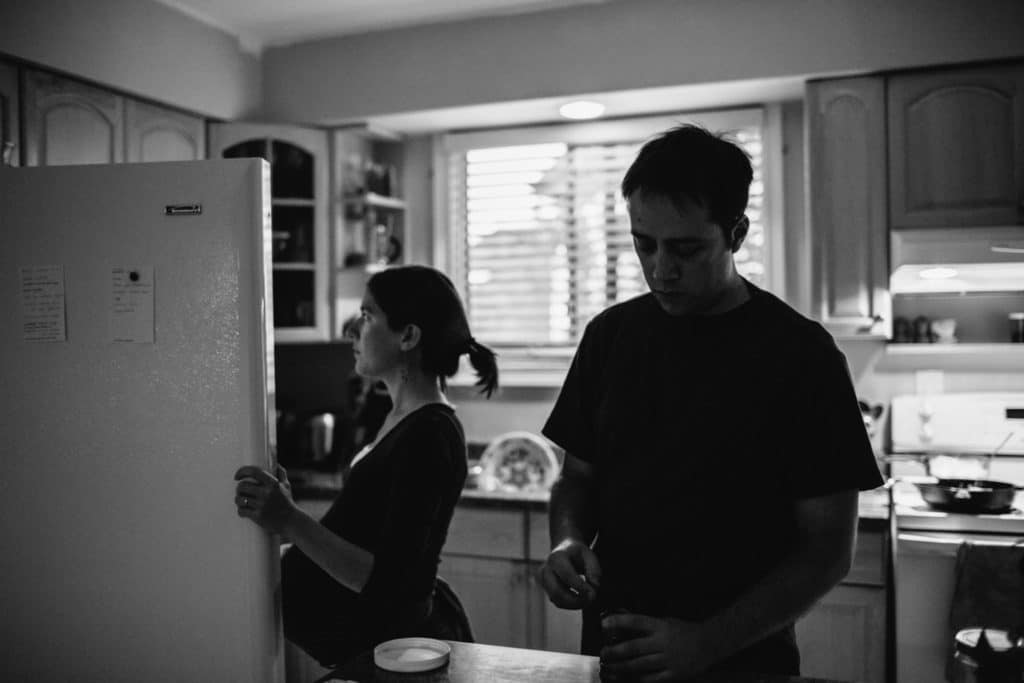
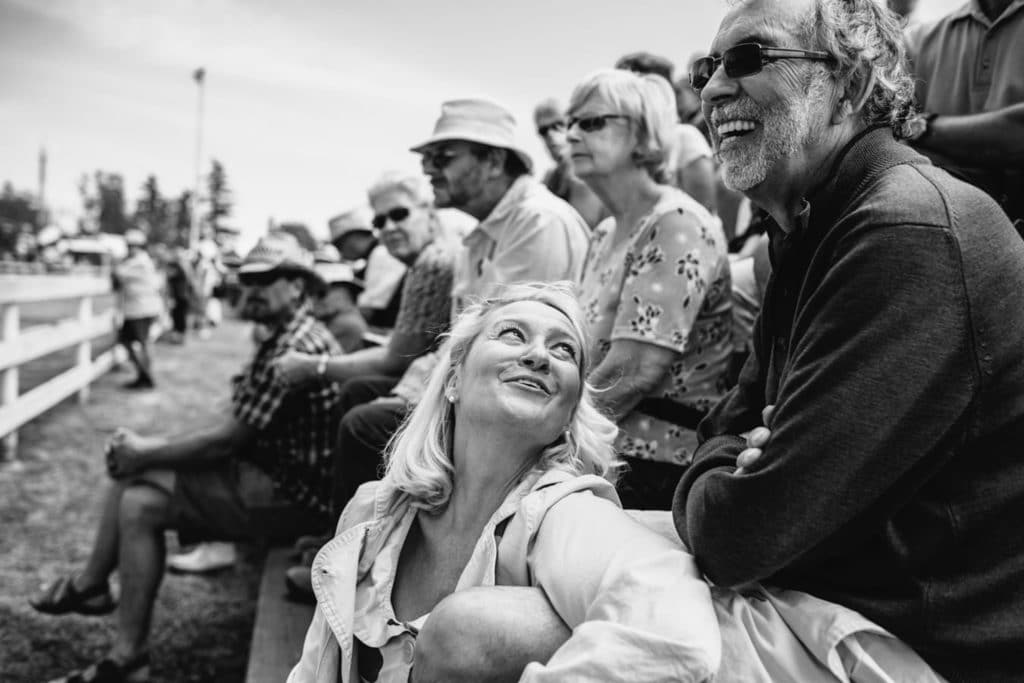
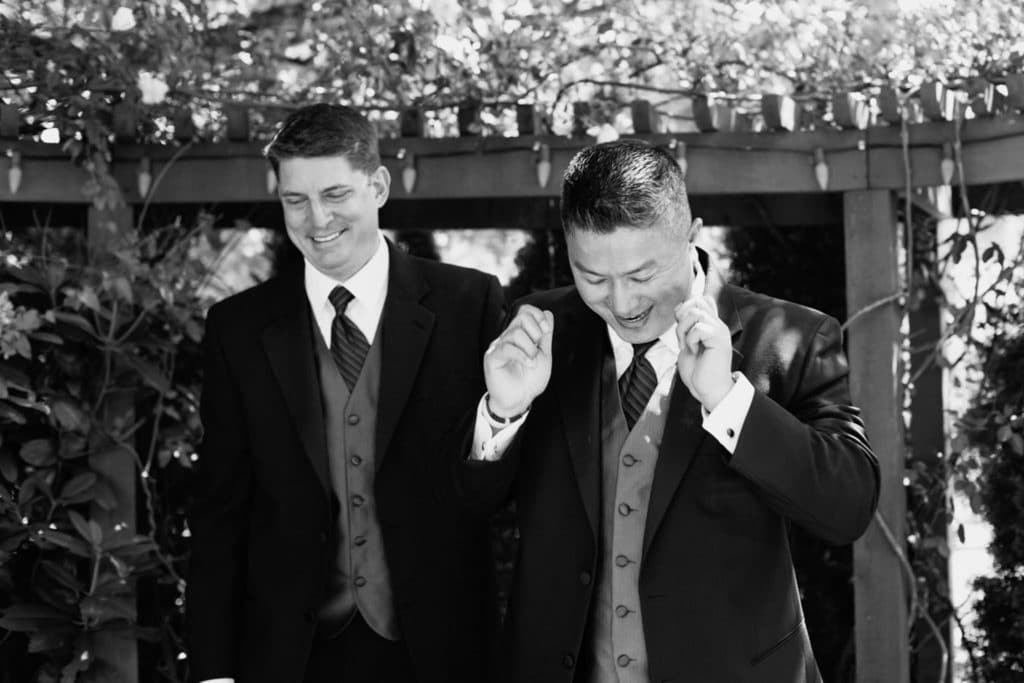
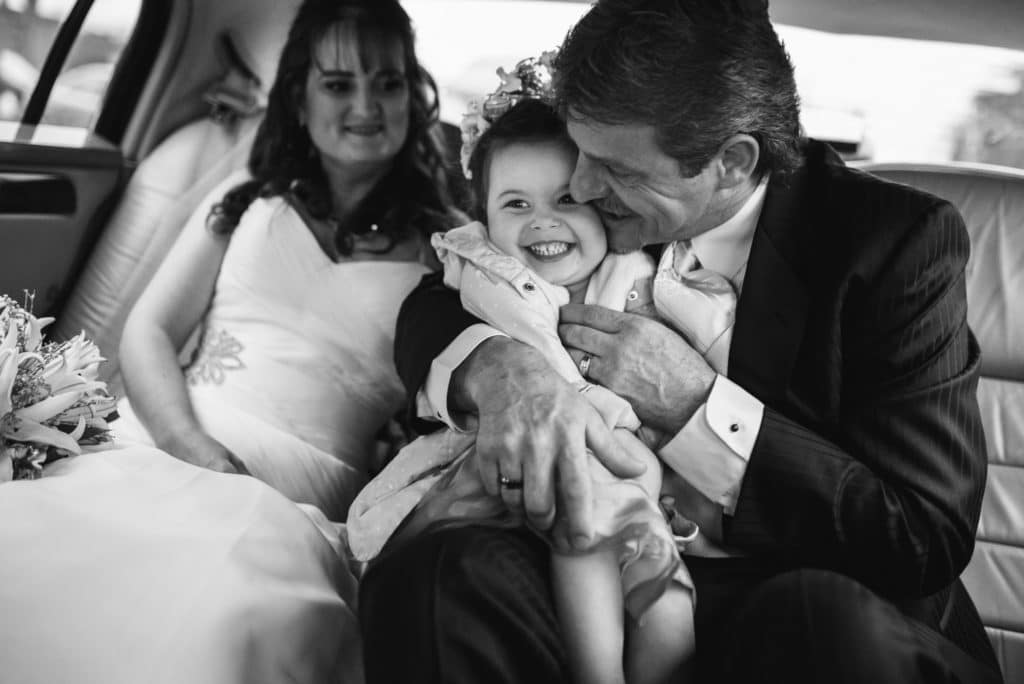
This week’s theme is black and white. This is pretty simple since you can take a photo of pretty much anything and edit it in black and white, or make it black and white in camera. I tend to deliver my clients’ photos all in colour and just use black and white when it really calls for it. Below are some of my fave black and white images from my work.
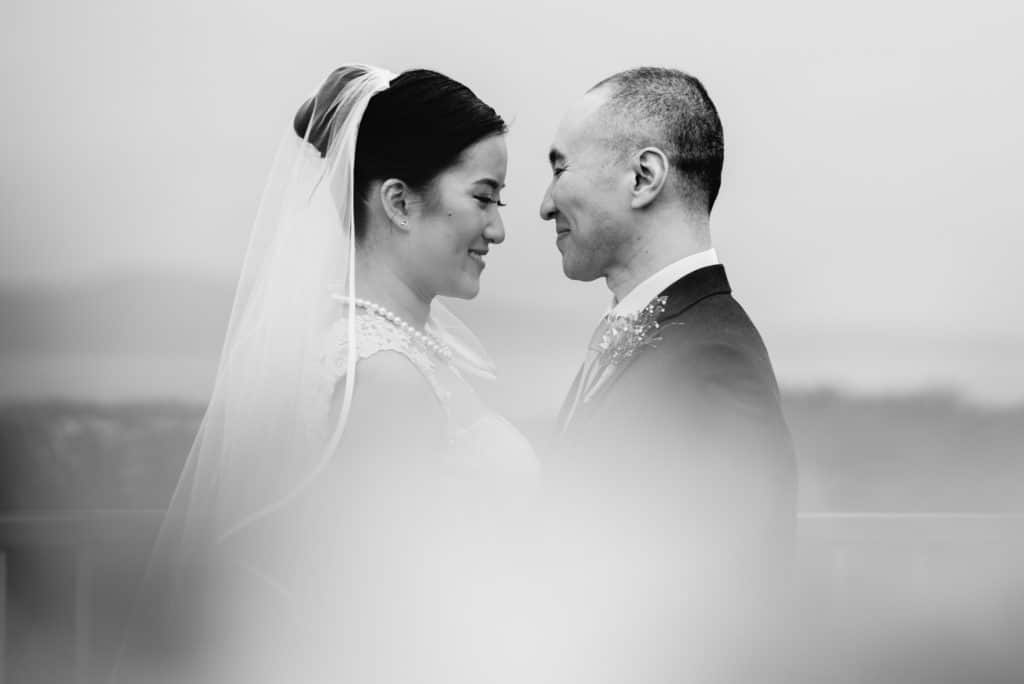
Black and white can be used to “fix” a technically imperfect photo that has too much noise/grain, weird colour (often due to mixed lighting), or even a lack of sharpness, but it can also be used to put the focus on the moment or composition. Some people say if colour doesn’t add anything to an image, then make it black and white. I tend to approach my work from the opposite perspective (if the colour doesn’t take anything away from the image, keep the colour), but they do have a point.
Here are some tips on getting better black and white photos:
- If you set your camera to shoot in black and white, you can get a better idea of what the finished image will look like. Some photographers even set their camera to black and white so they can focus on light and composition without the distraction of colour, then edit the RAW file (which can be edited in colour or black and white, no matter what the camera is set to). You can set most digital cameras to monochrome in the picture styles menu.
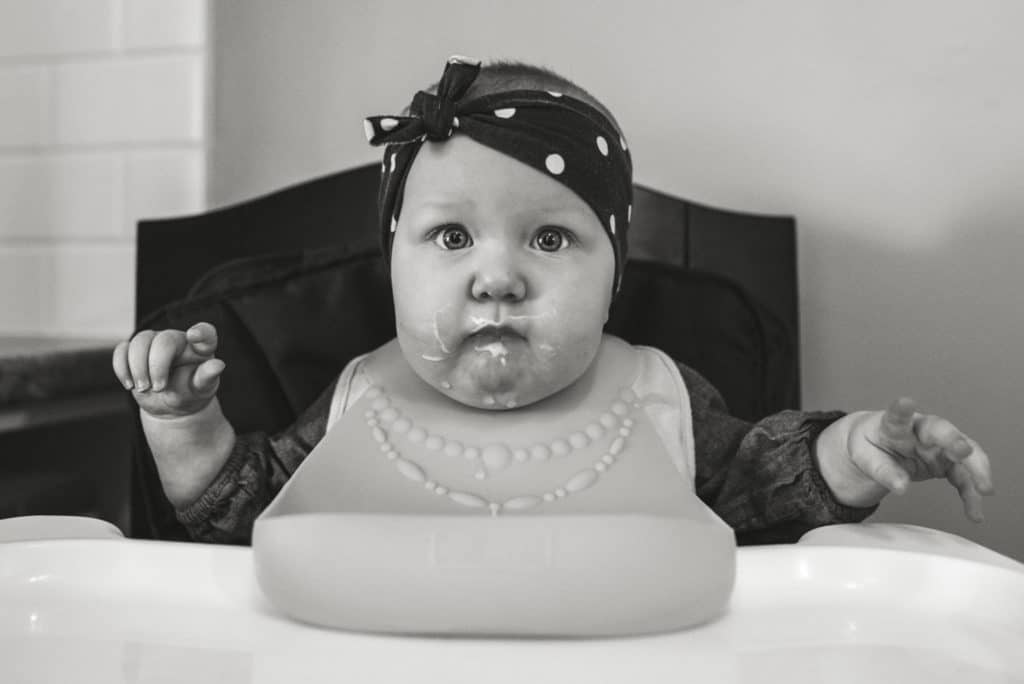
- Look for contrast. Whether it’s differences in colour or dramatic lighting, contrast can have a big impact in black and white.
- Pay attention to composition. Removing the element of colour leaves you primarily with composition, lighting, and focus to control where the eye goes in your image. Look for strong lines, shapes, and shadows/highlights when composing.
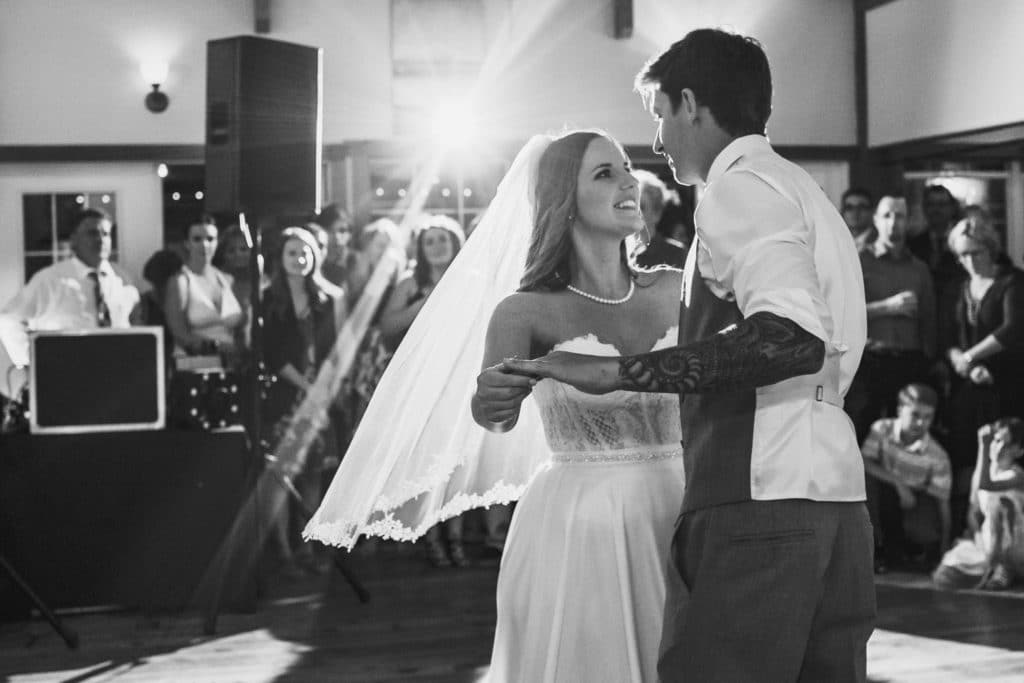
- If there’s a busy background in your image, it’ll be harder to differentiate it from the subject in black and white. Try to hide or crop out distractions. You can also use backlighting to separate the subject from the background (see the dancing photo with flash behind them).
- Play with some different editing methods, even if you have little experience with editing. For example, in Adobe Lightroom (which I use to edit), you can try adjusting the clarity to add more definition, adjusting the curve to add contrast to specific tones, or use the HSL/grayscale tools to make certain colours brighter or darker.
If you have any questions, join us in the community. I’ll be checking in there daily to see your work and help you achieve the best results.
If you’re just finding this now, you can check out the full list and more information on the challenge here. You can follow me on Instagram at @documentyourdaytoday and use the hashtag #dtd52weeks so others doing the challenge can see your work.