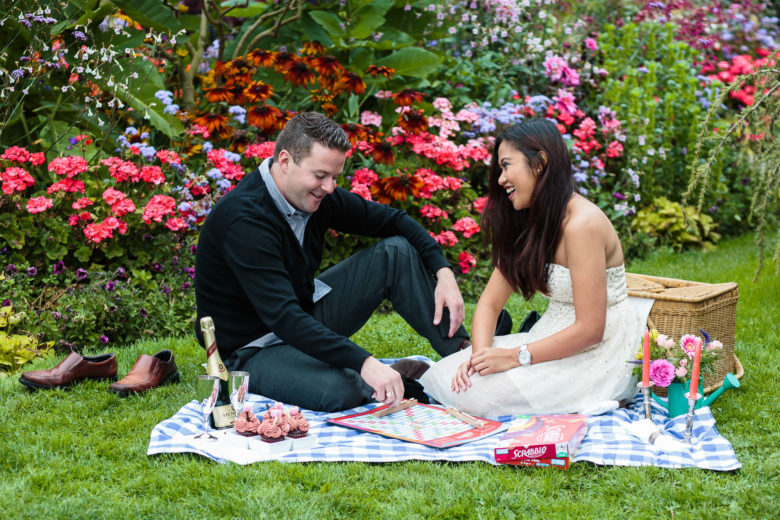
This week’s theme is foreground focus. What I mean by that is focusing on something that isn’t the main subject of the image or story. Or focusing on one of two subjects/elements of your image while the other is blurred.
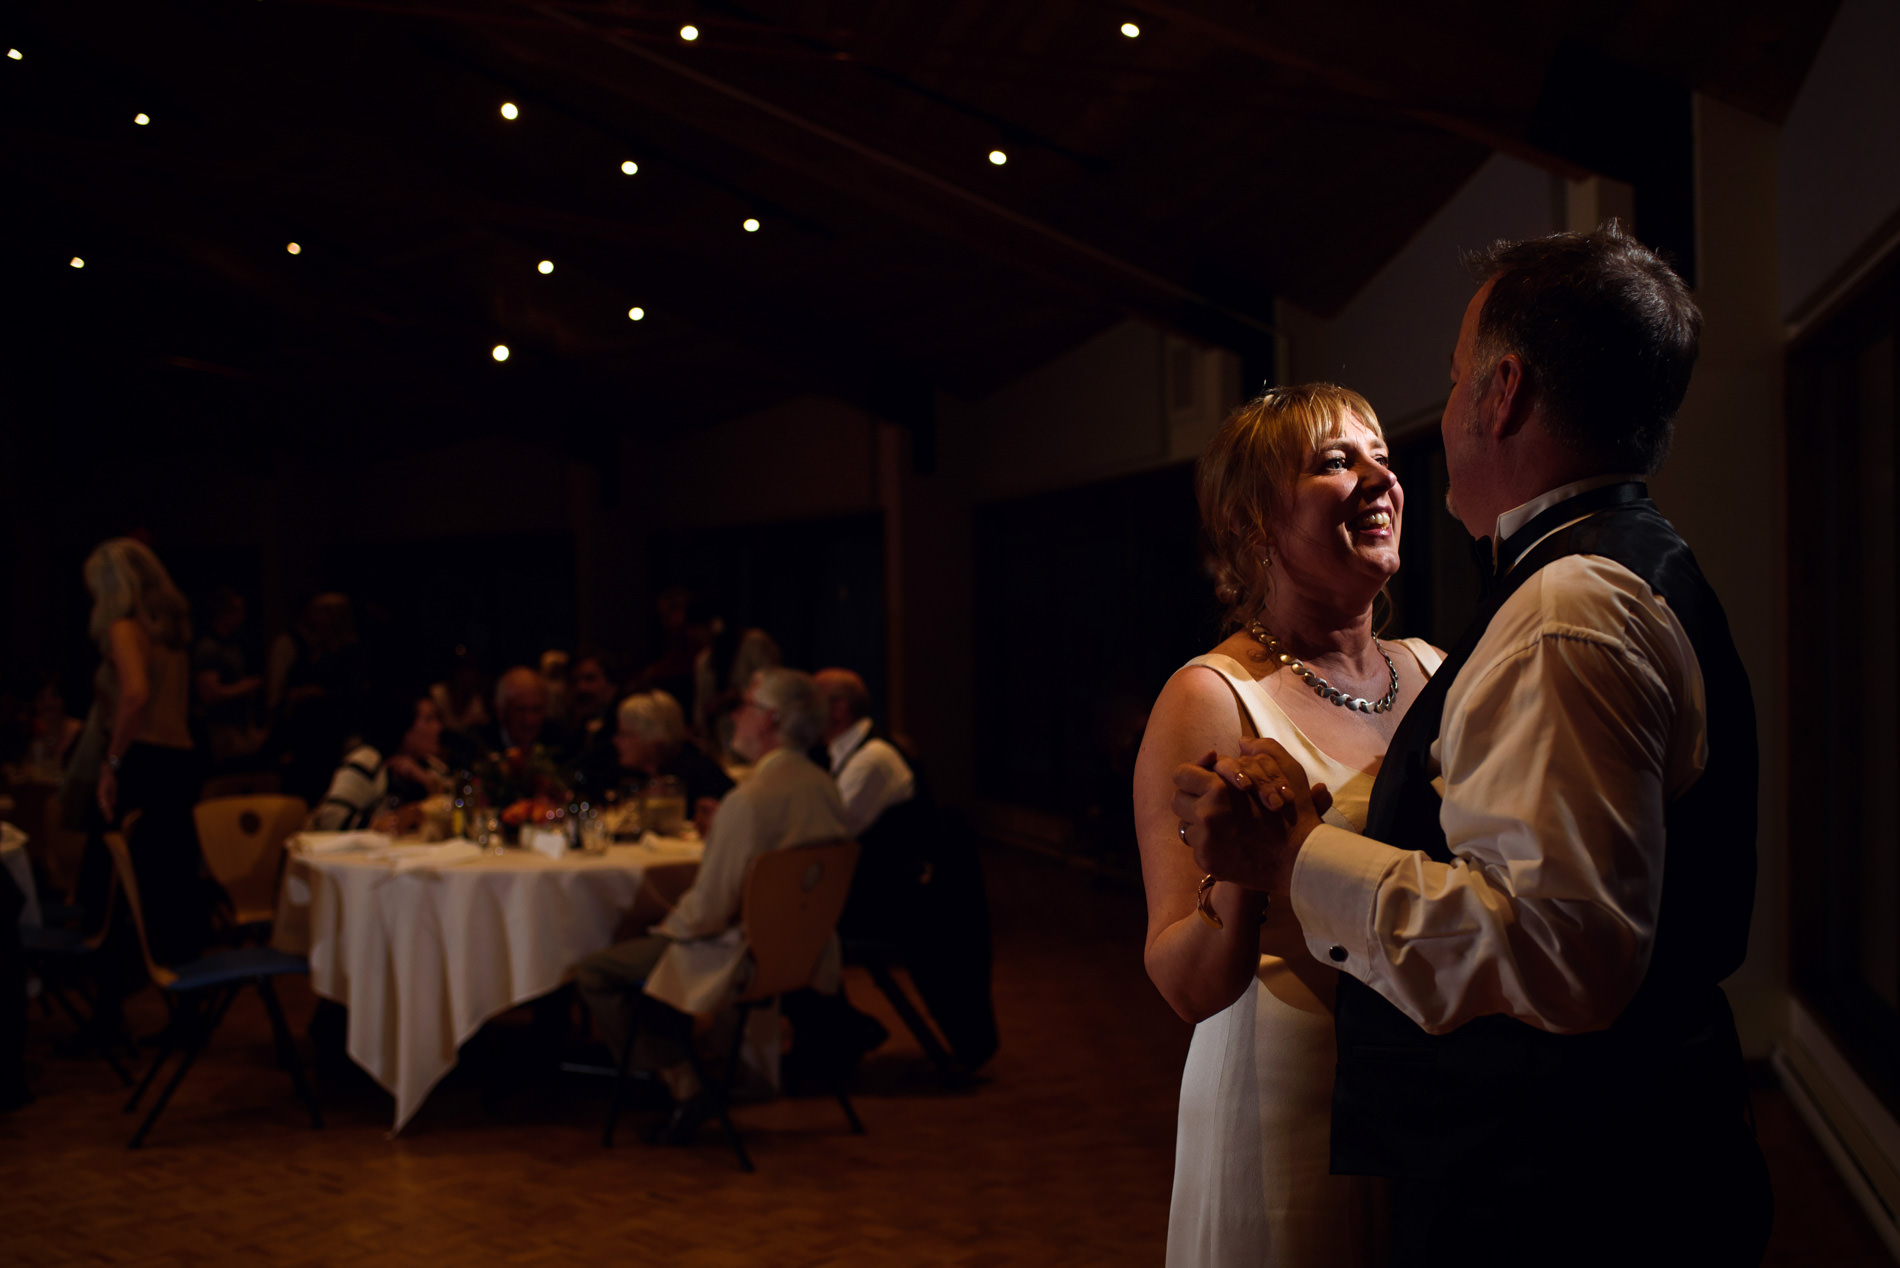
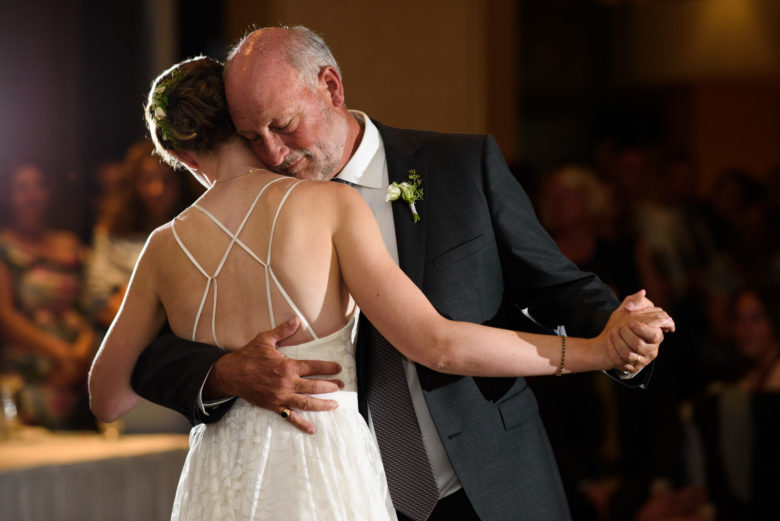
I’m going to do my best to explain it with a few examples. Below is a good example of one thing happening while another closely-related thing happens in the background. The story of the image is this relative taking photos of the wedding ceremony and the focus is on that. The couple in the background provides balance to the composition and a mirror image of her LCD.

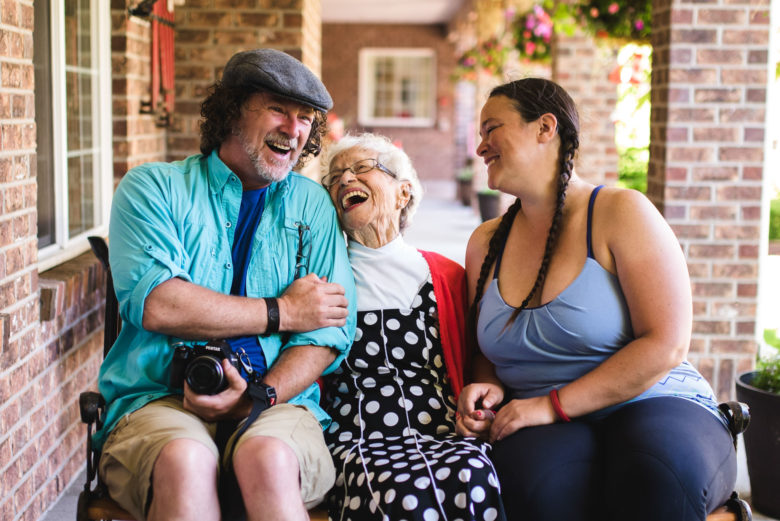
The below image is focused on the speaker, whose face you can’t see. He becomes the most important thing here because he’s the most in focus, but the crowd listening is also a part of the story.

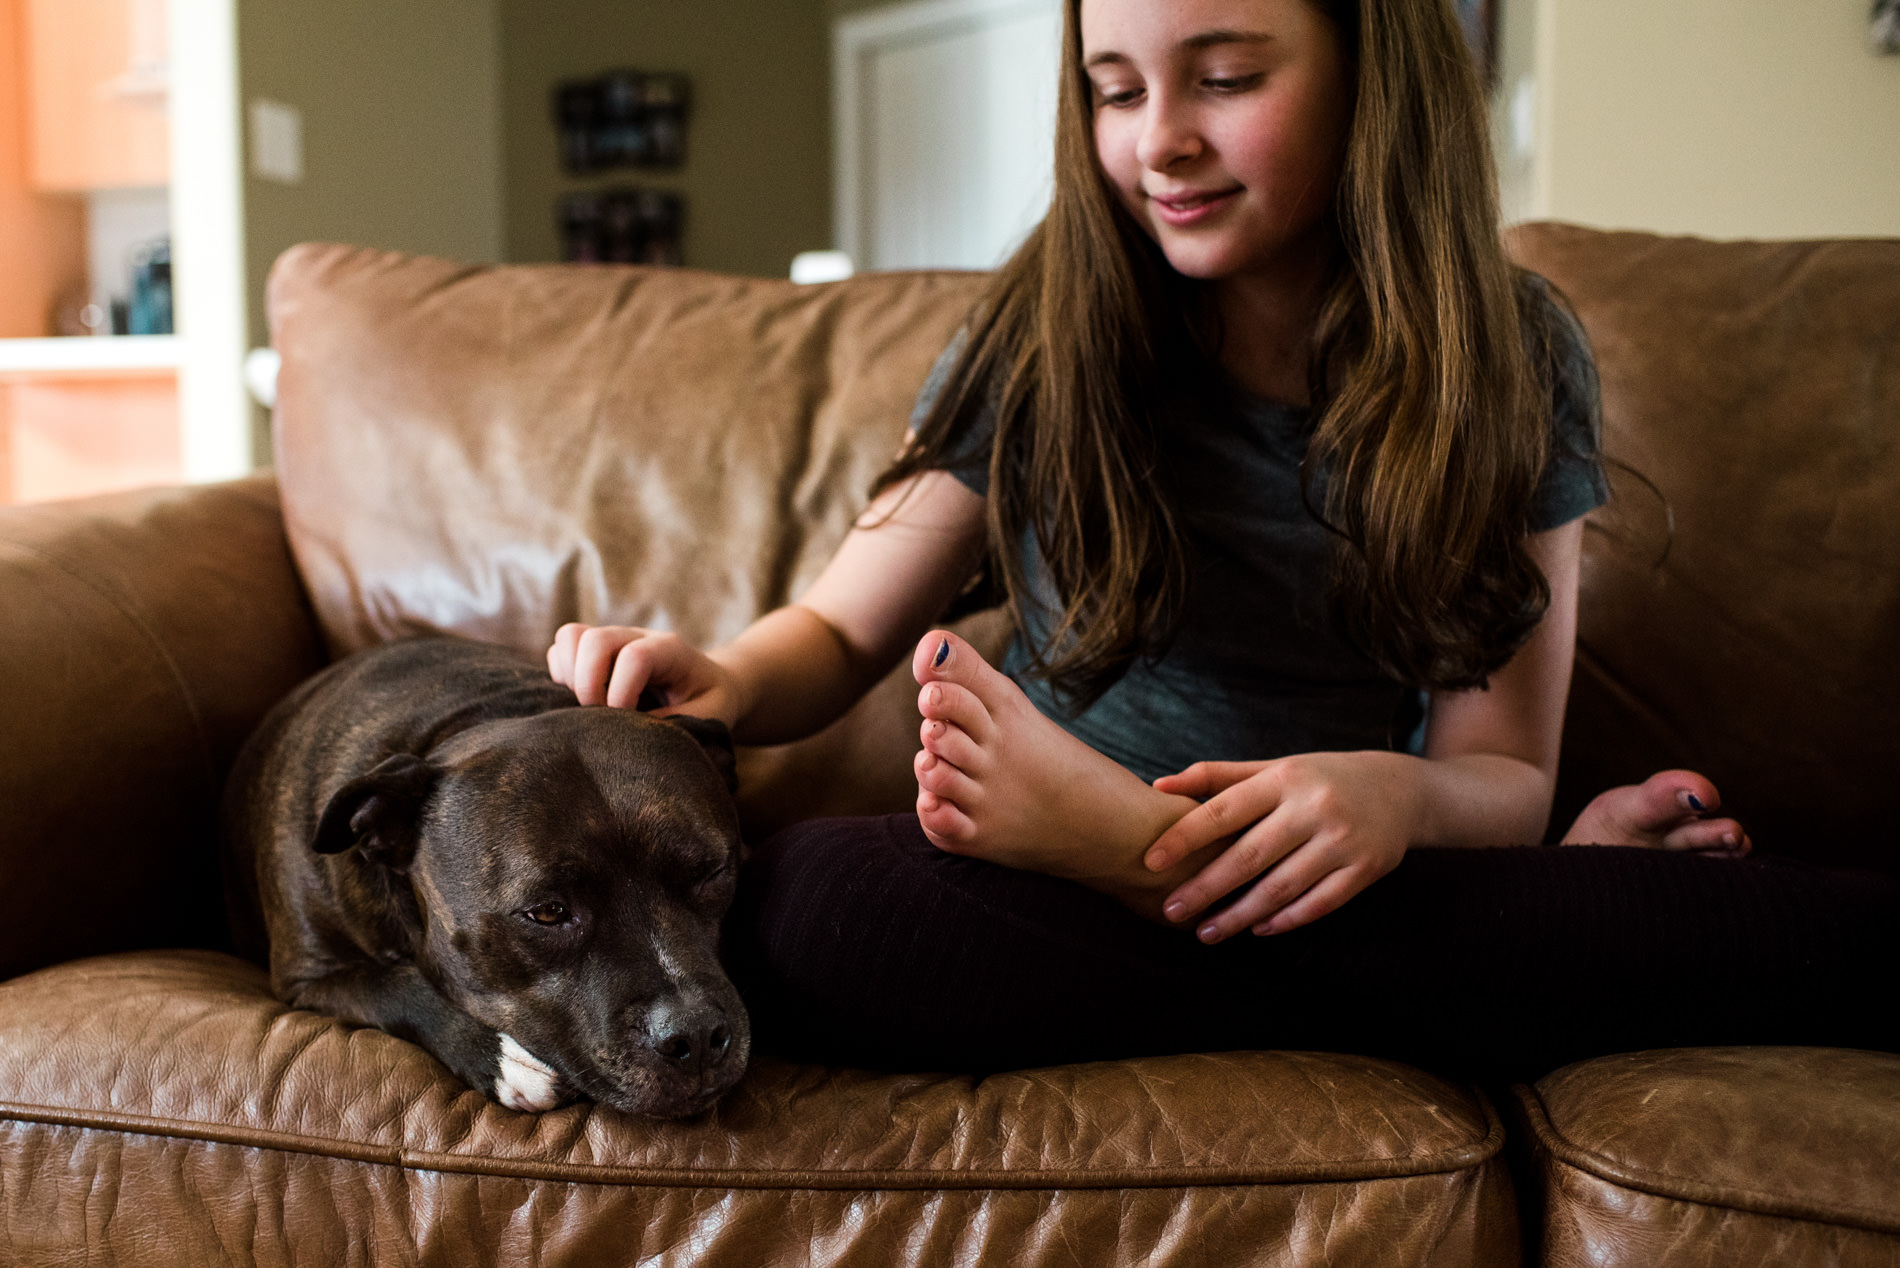
The below image is a bit different because it’s the same group of subjects in focus and out of focus, but putting the focus on the child’s feet creates a more visually interesting image than the reverse. You can also get a clearer idea of what they’re reading with this focus and angle than you would if I tried to get their faces sharp and in full view. Plus, her toes are super cute.

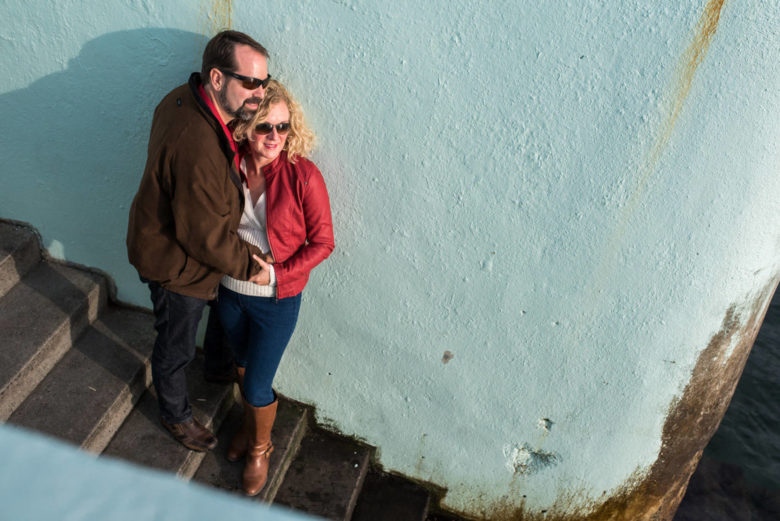
Here’s an example where in hindsight, I think focusing on the foreground would have been better. I just wasn’t quick enough. This kid ran by the couple and past me as we were taking some portraits. You can still make out her expression, but I kind of wish she was the focus of the photo.

So the main idea is to start telling stories with multiple components. Try photographing a scene where you could get a good photo by focusing on the background instead, but changing the focus changes what the viewer sees as important.
If you have any questions, join us in the community. I’ll be checking in there daily to see your work and help you achieve the best results.
If you’re just finding this now, you can check out the full list and more information on the challenge here. You can follow me on Instagram at @documentyourdaytoday and use the hashtag #dtd52weeks so others doing the challenge can see your work.