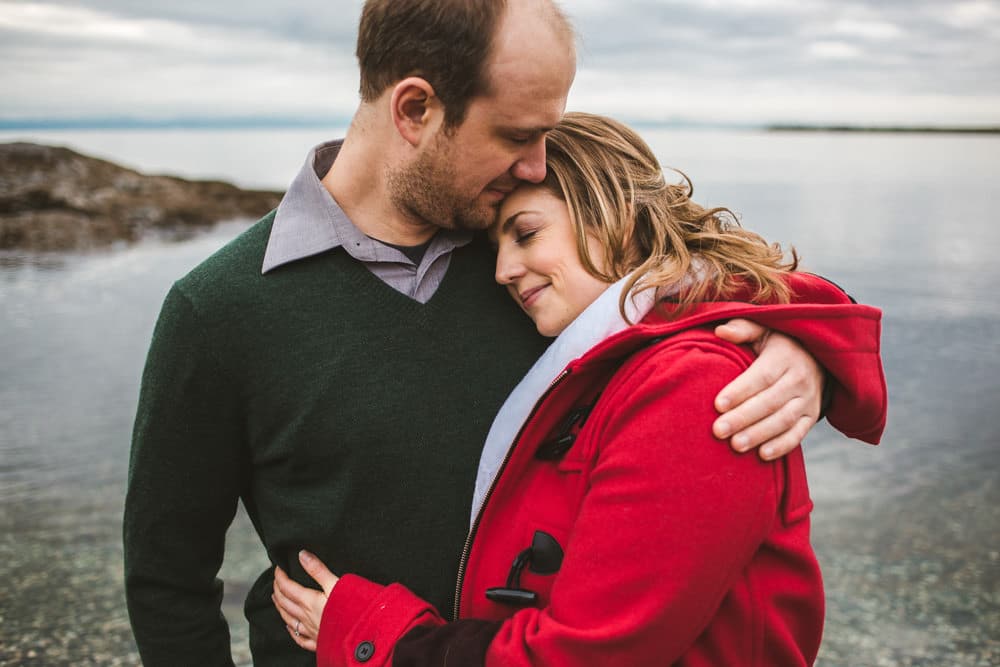
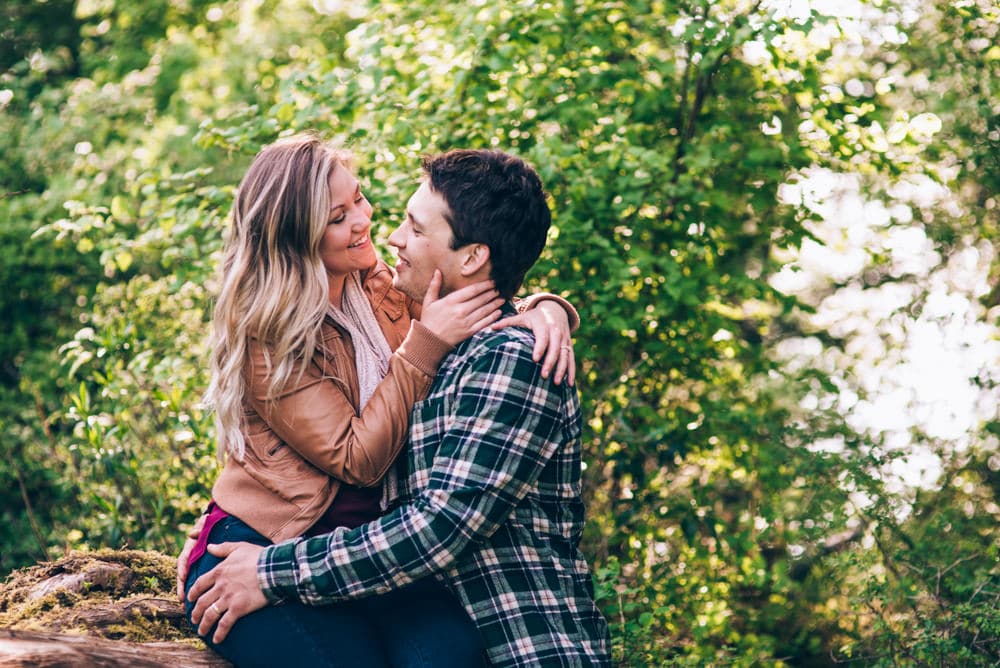
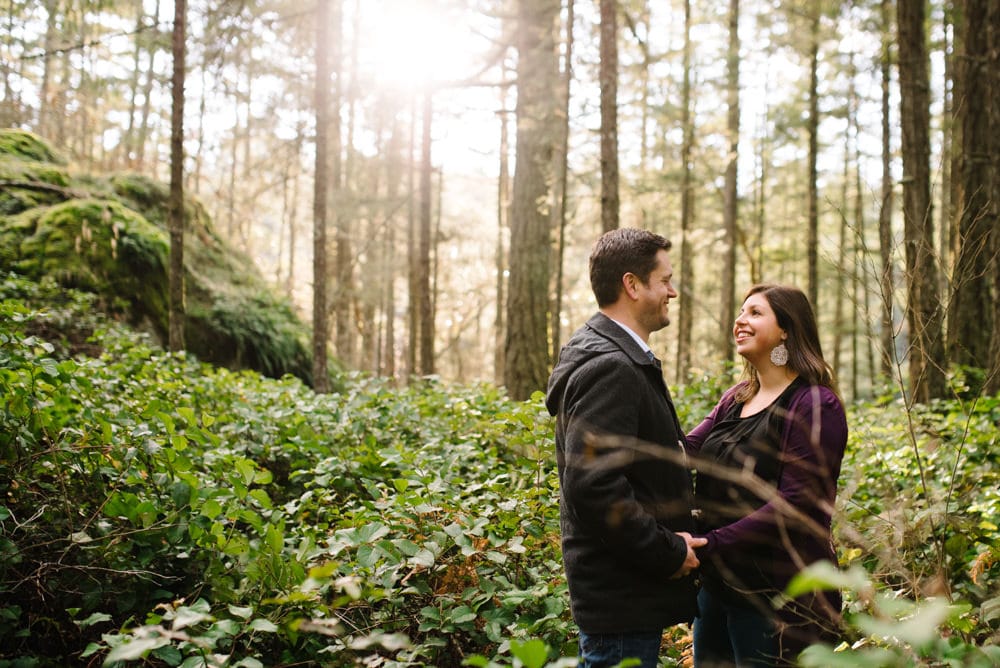
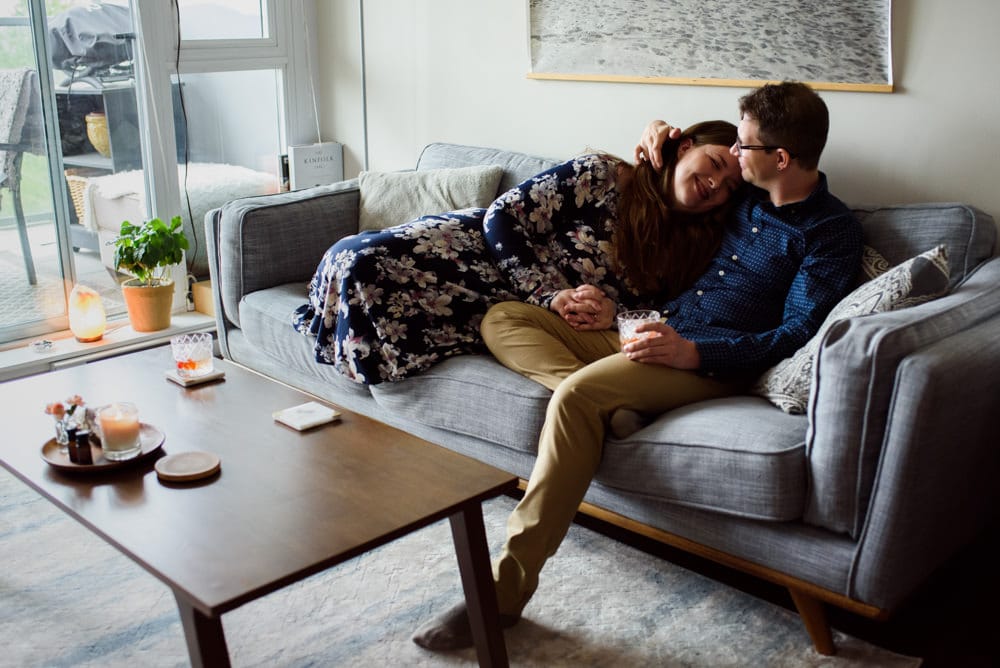
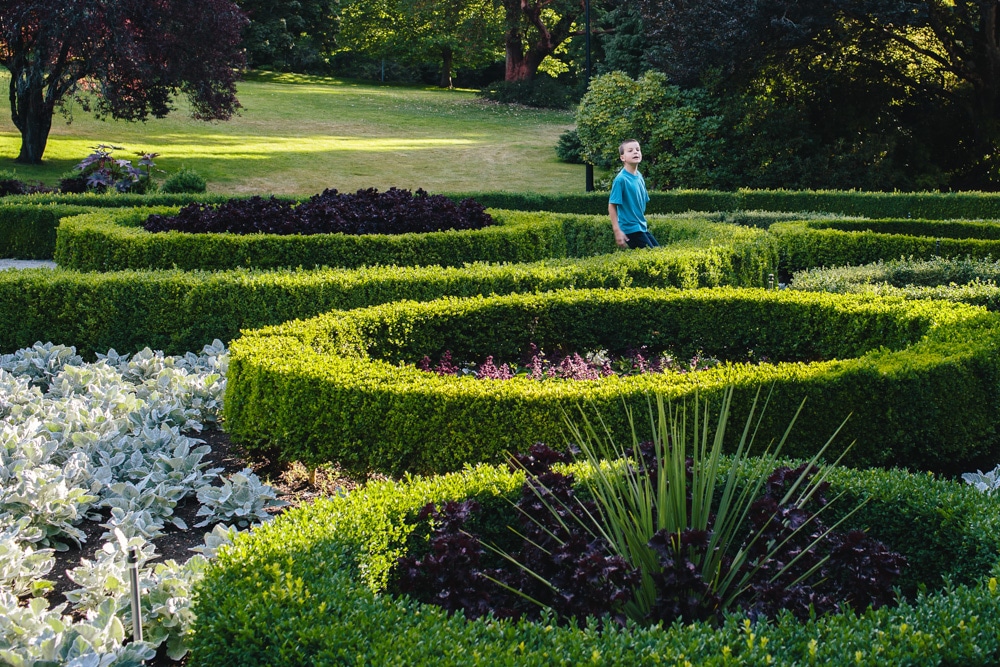
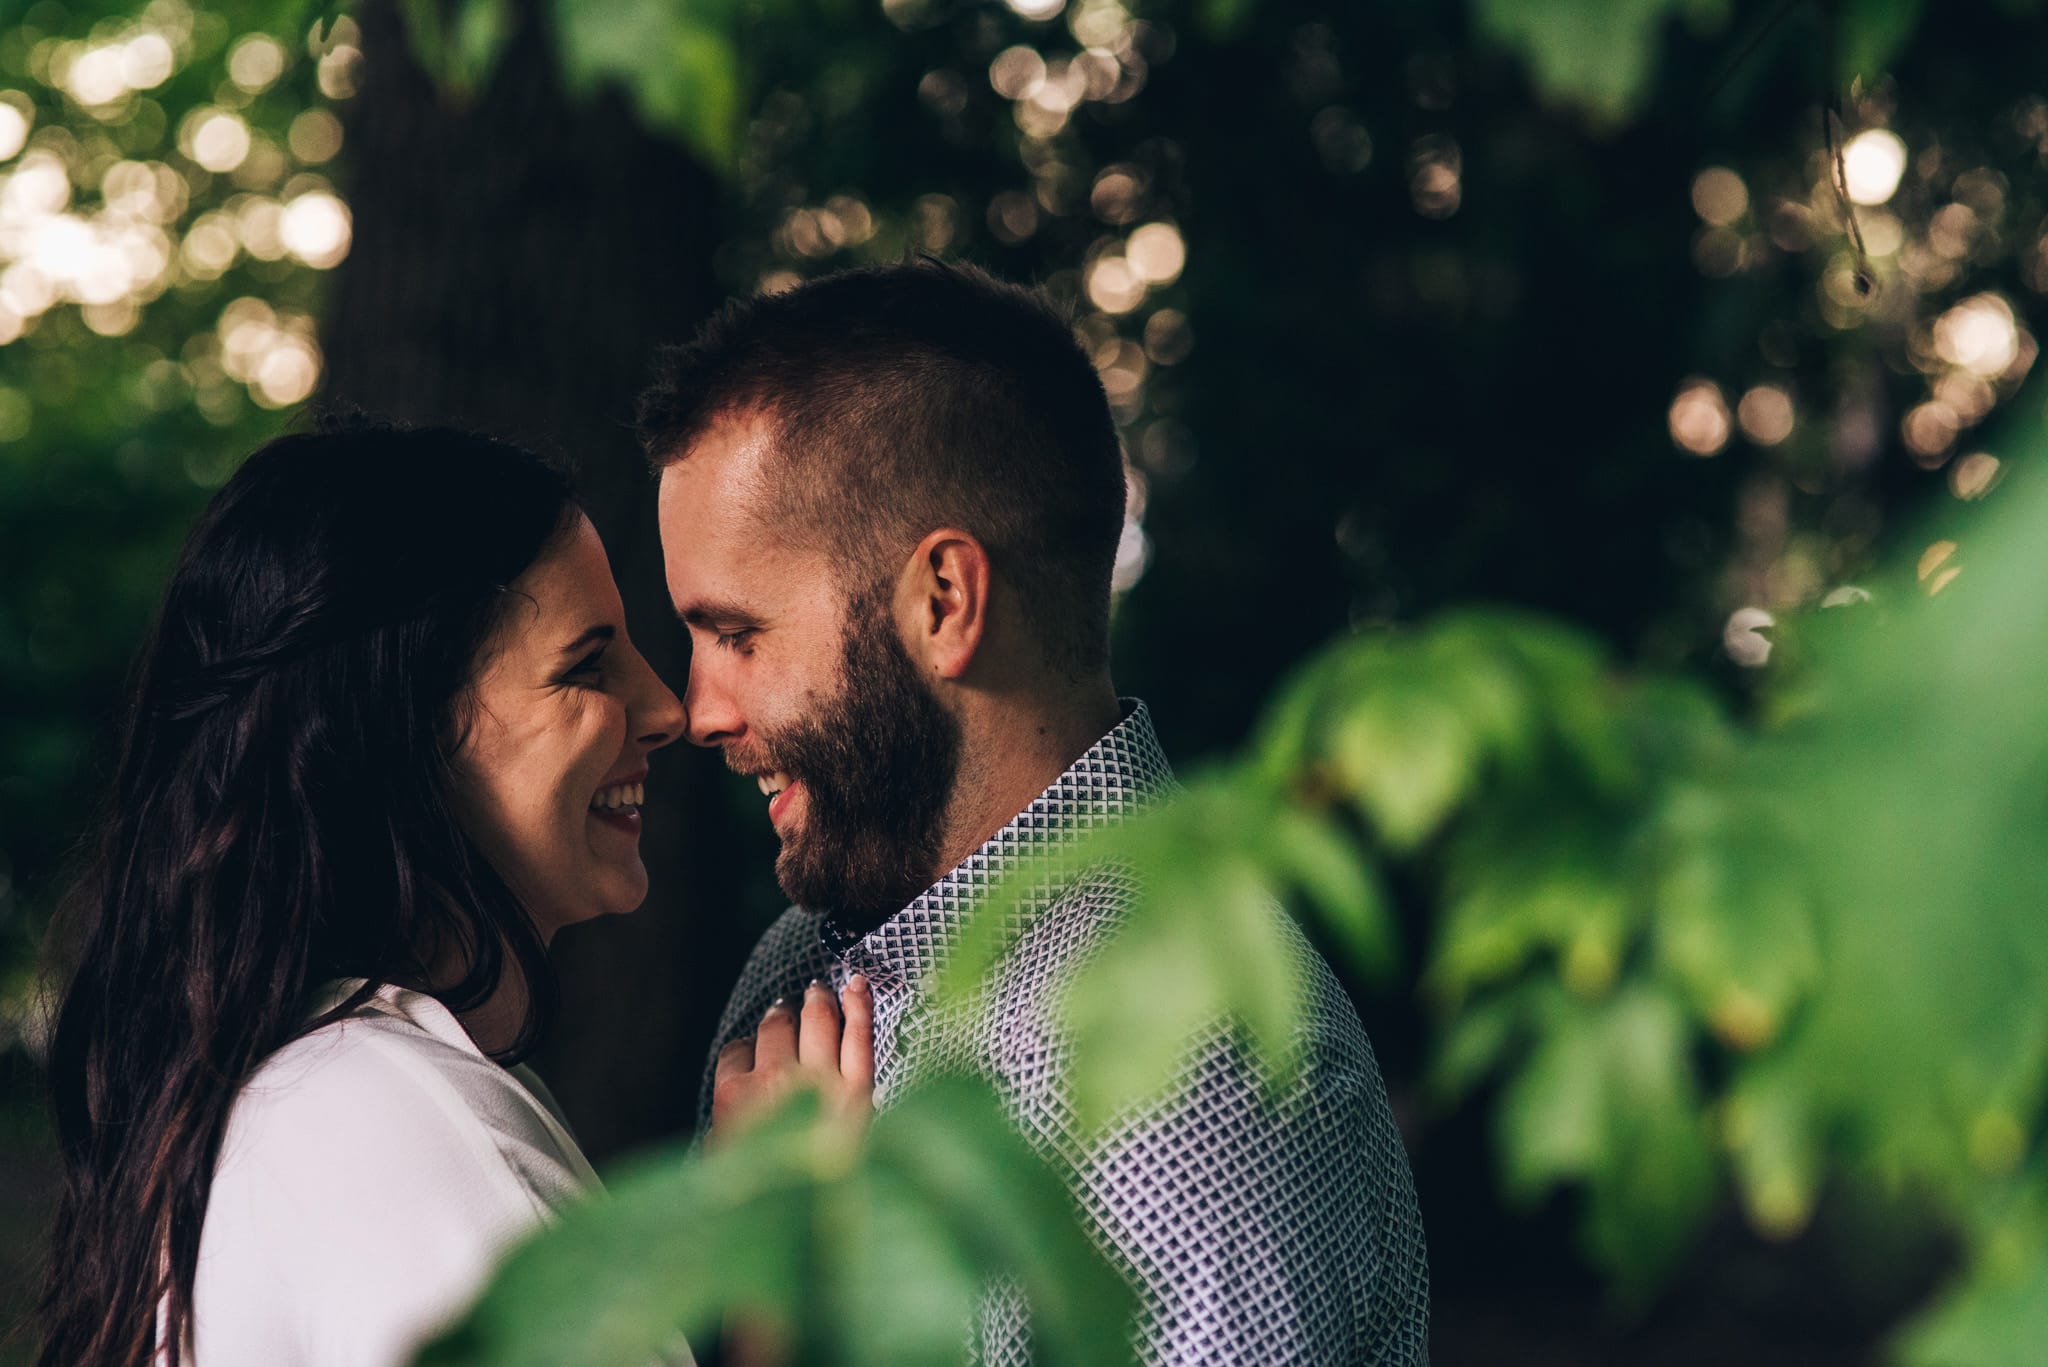
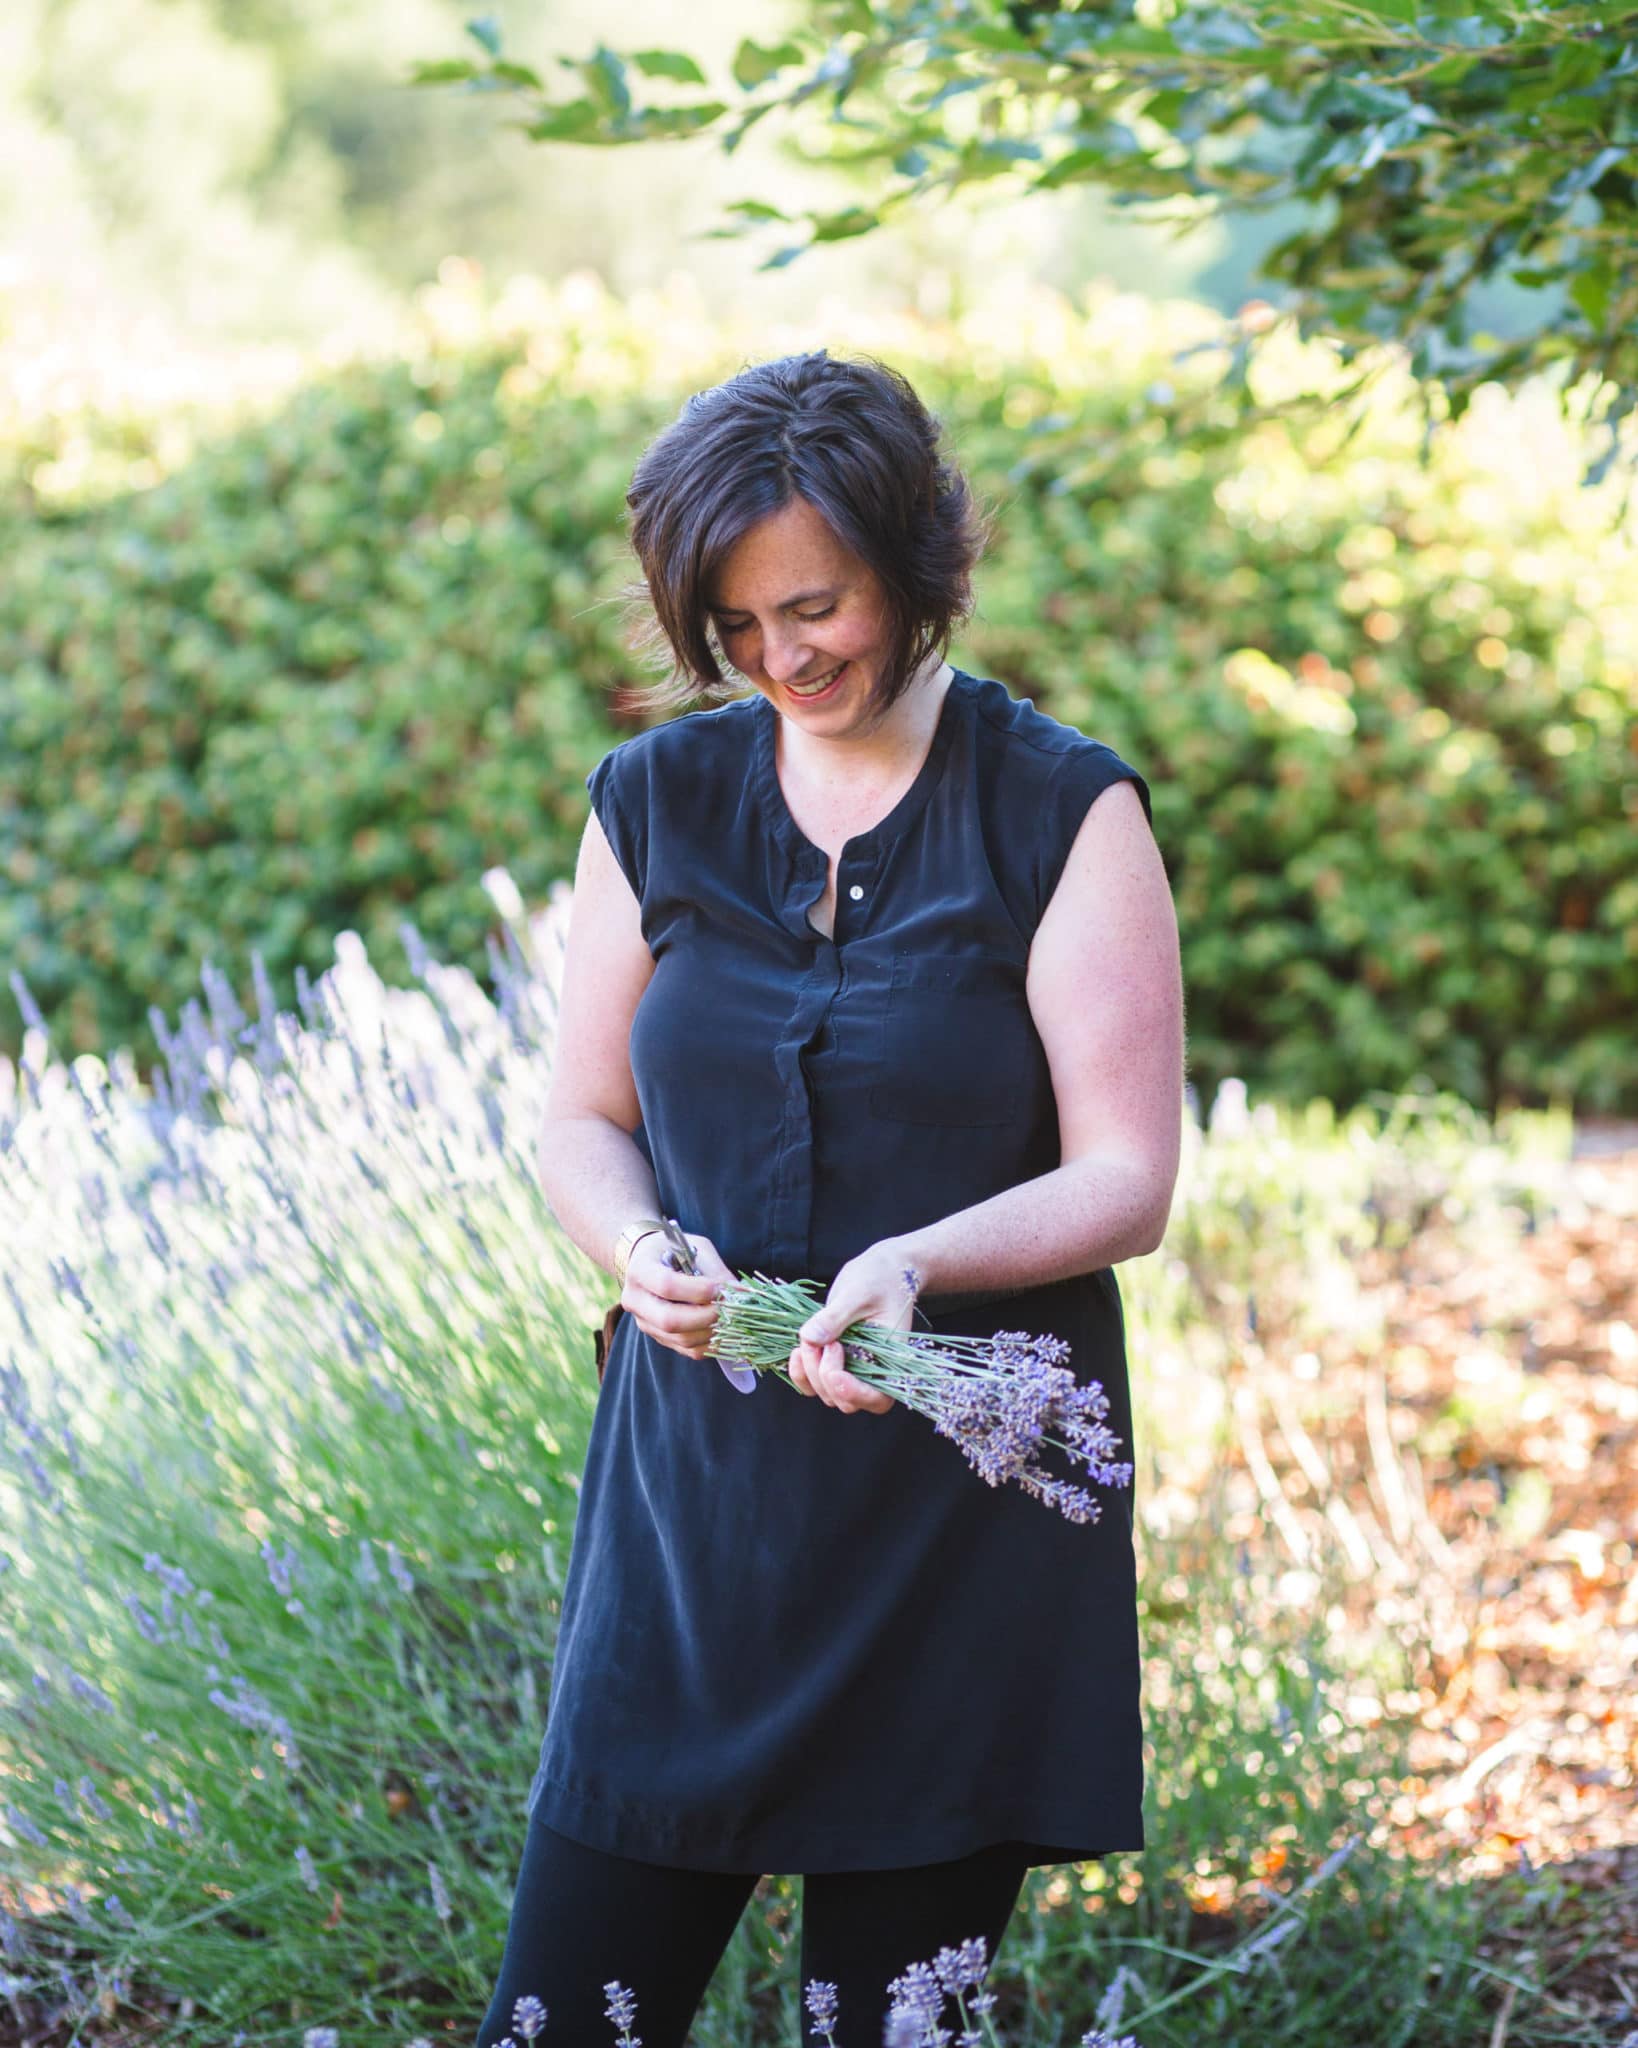
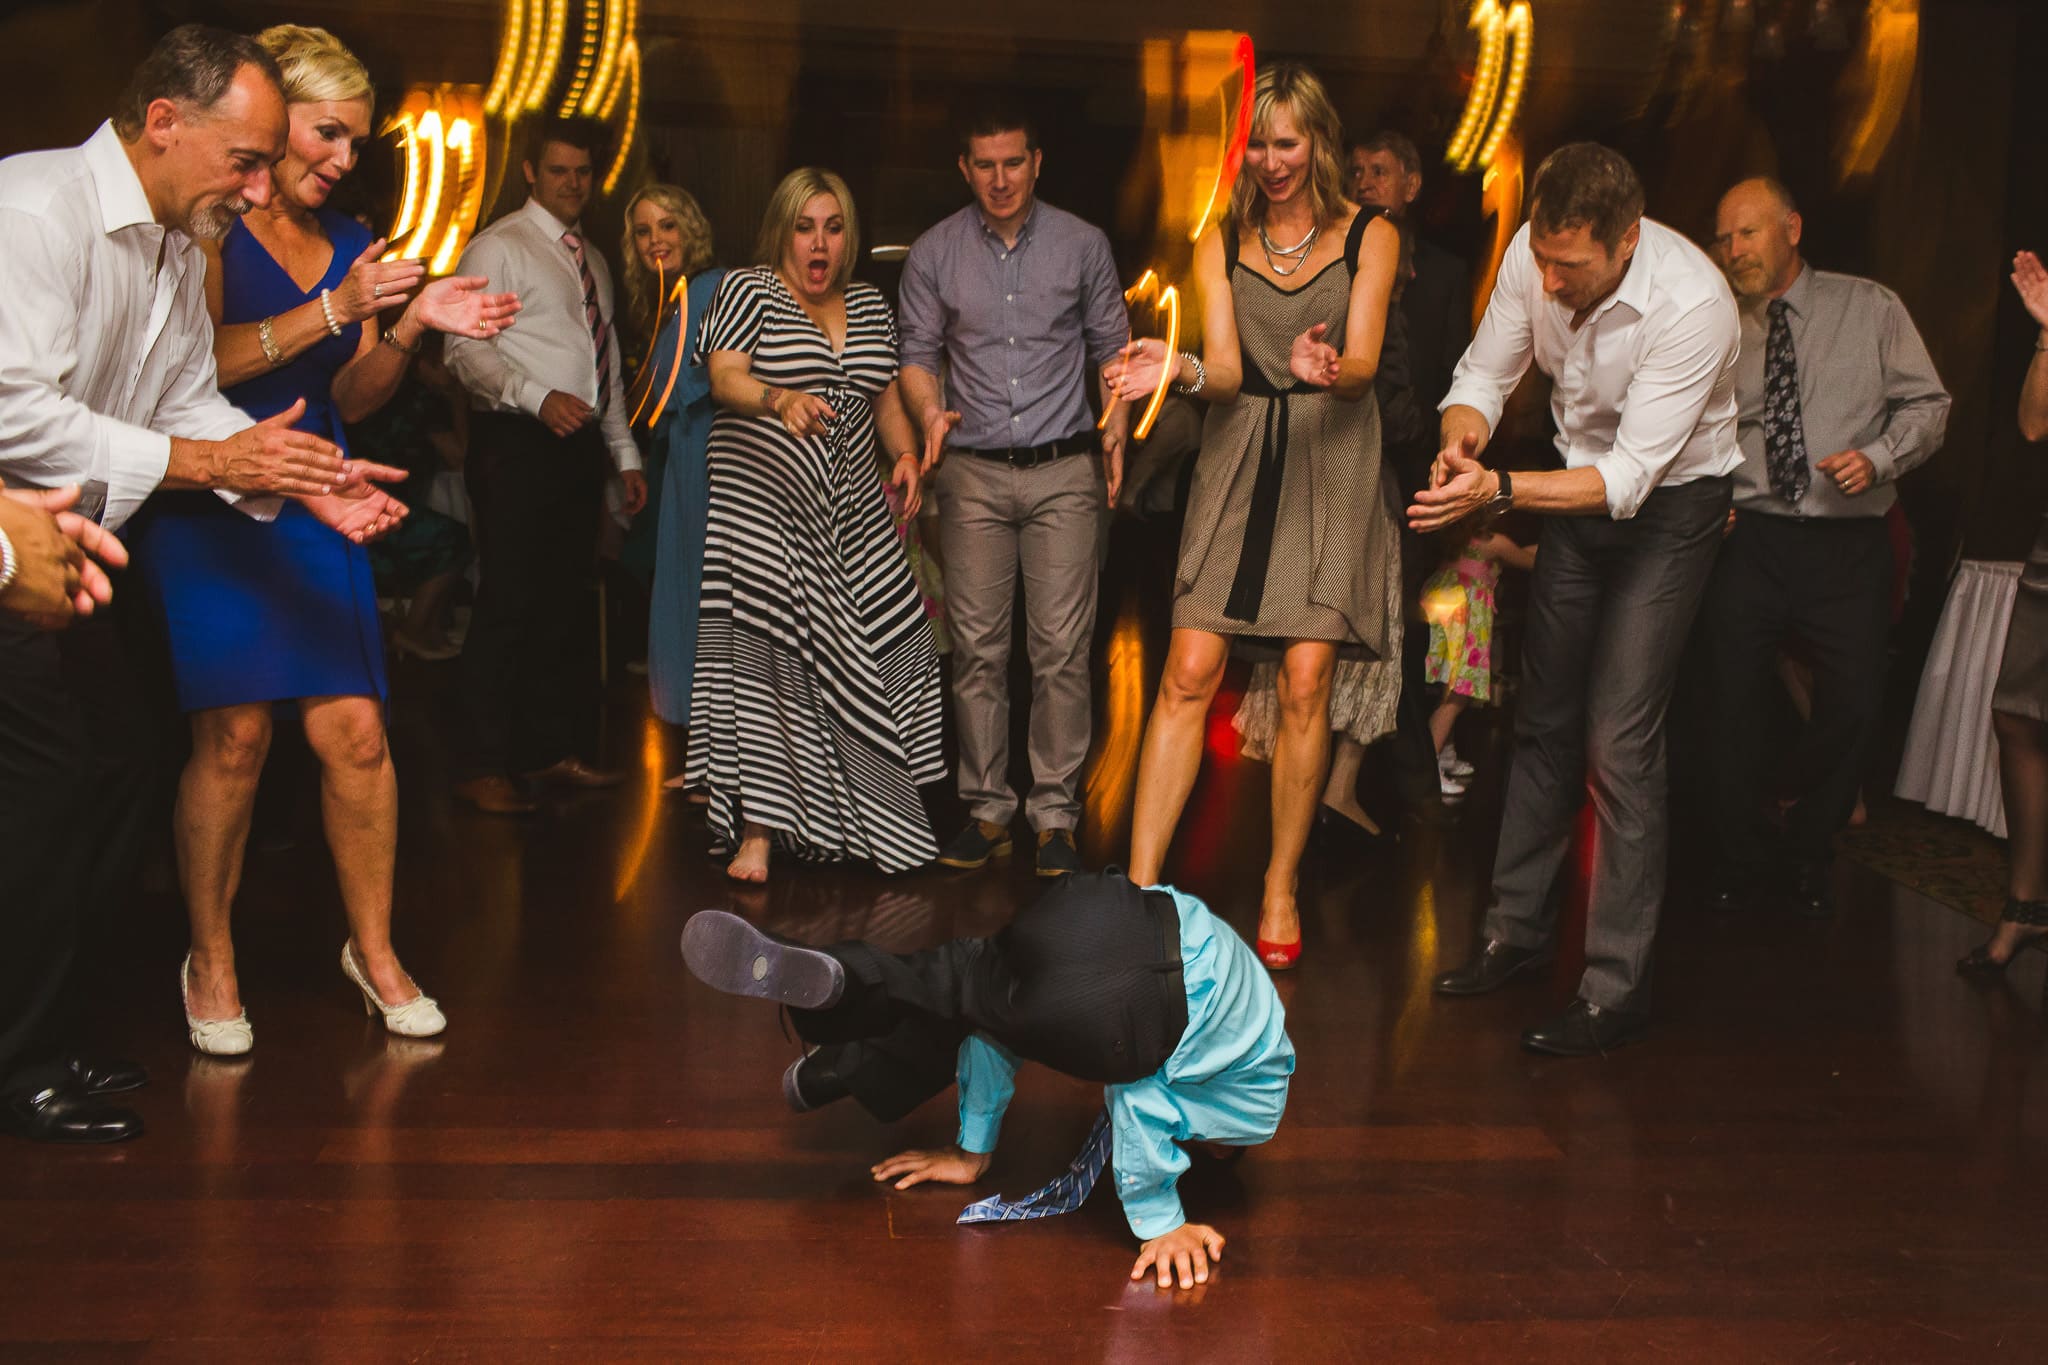
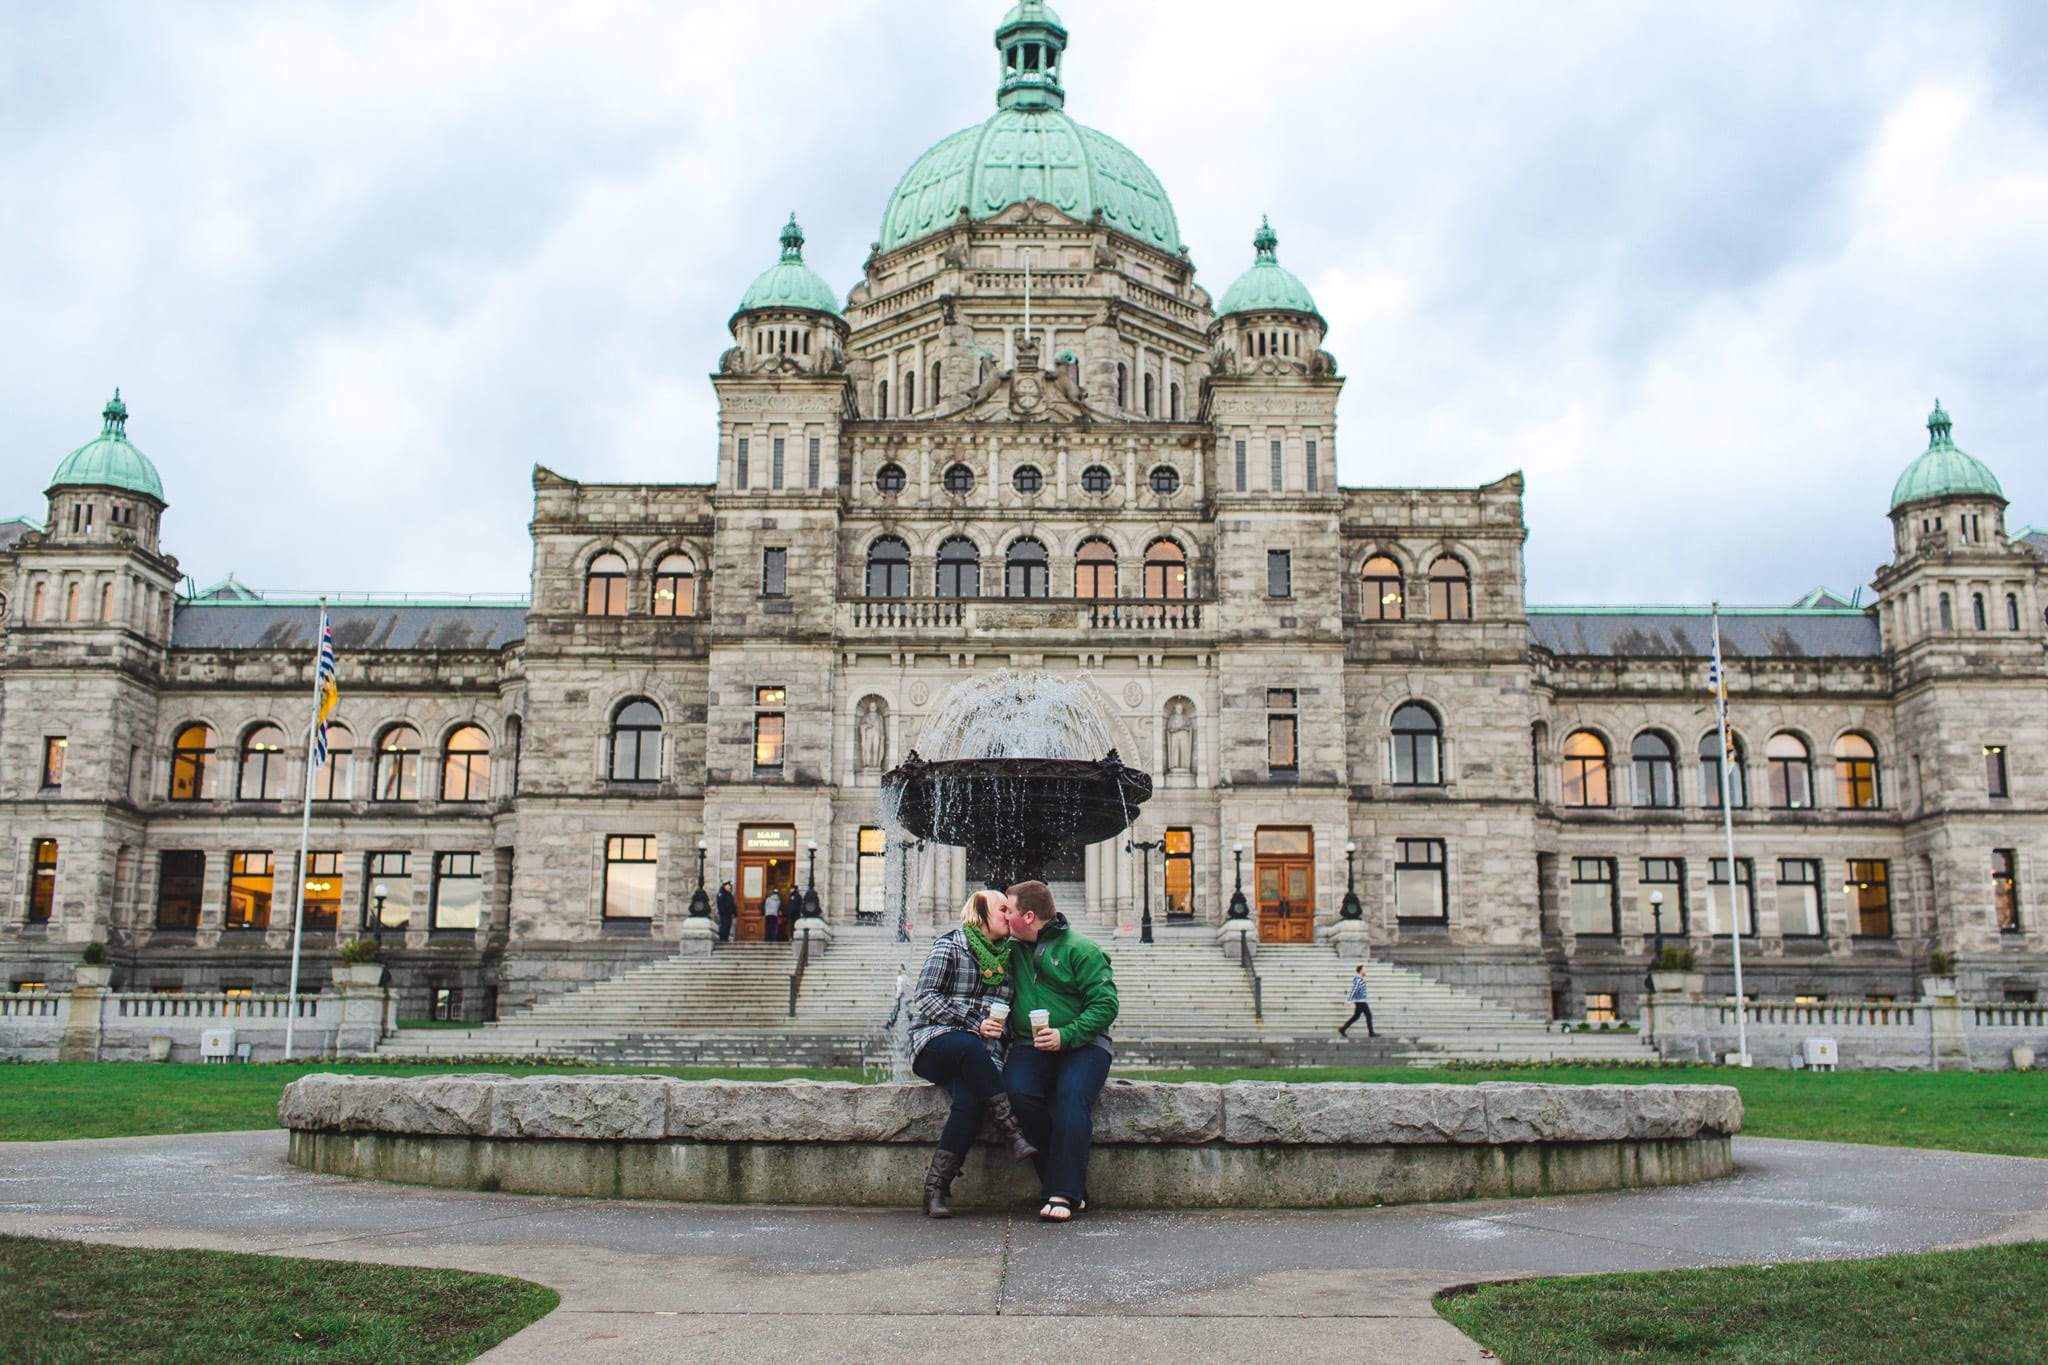
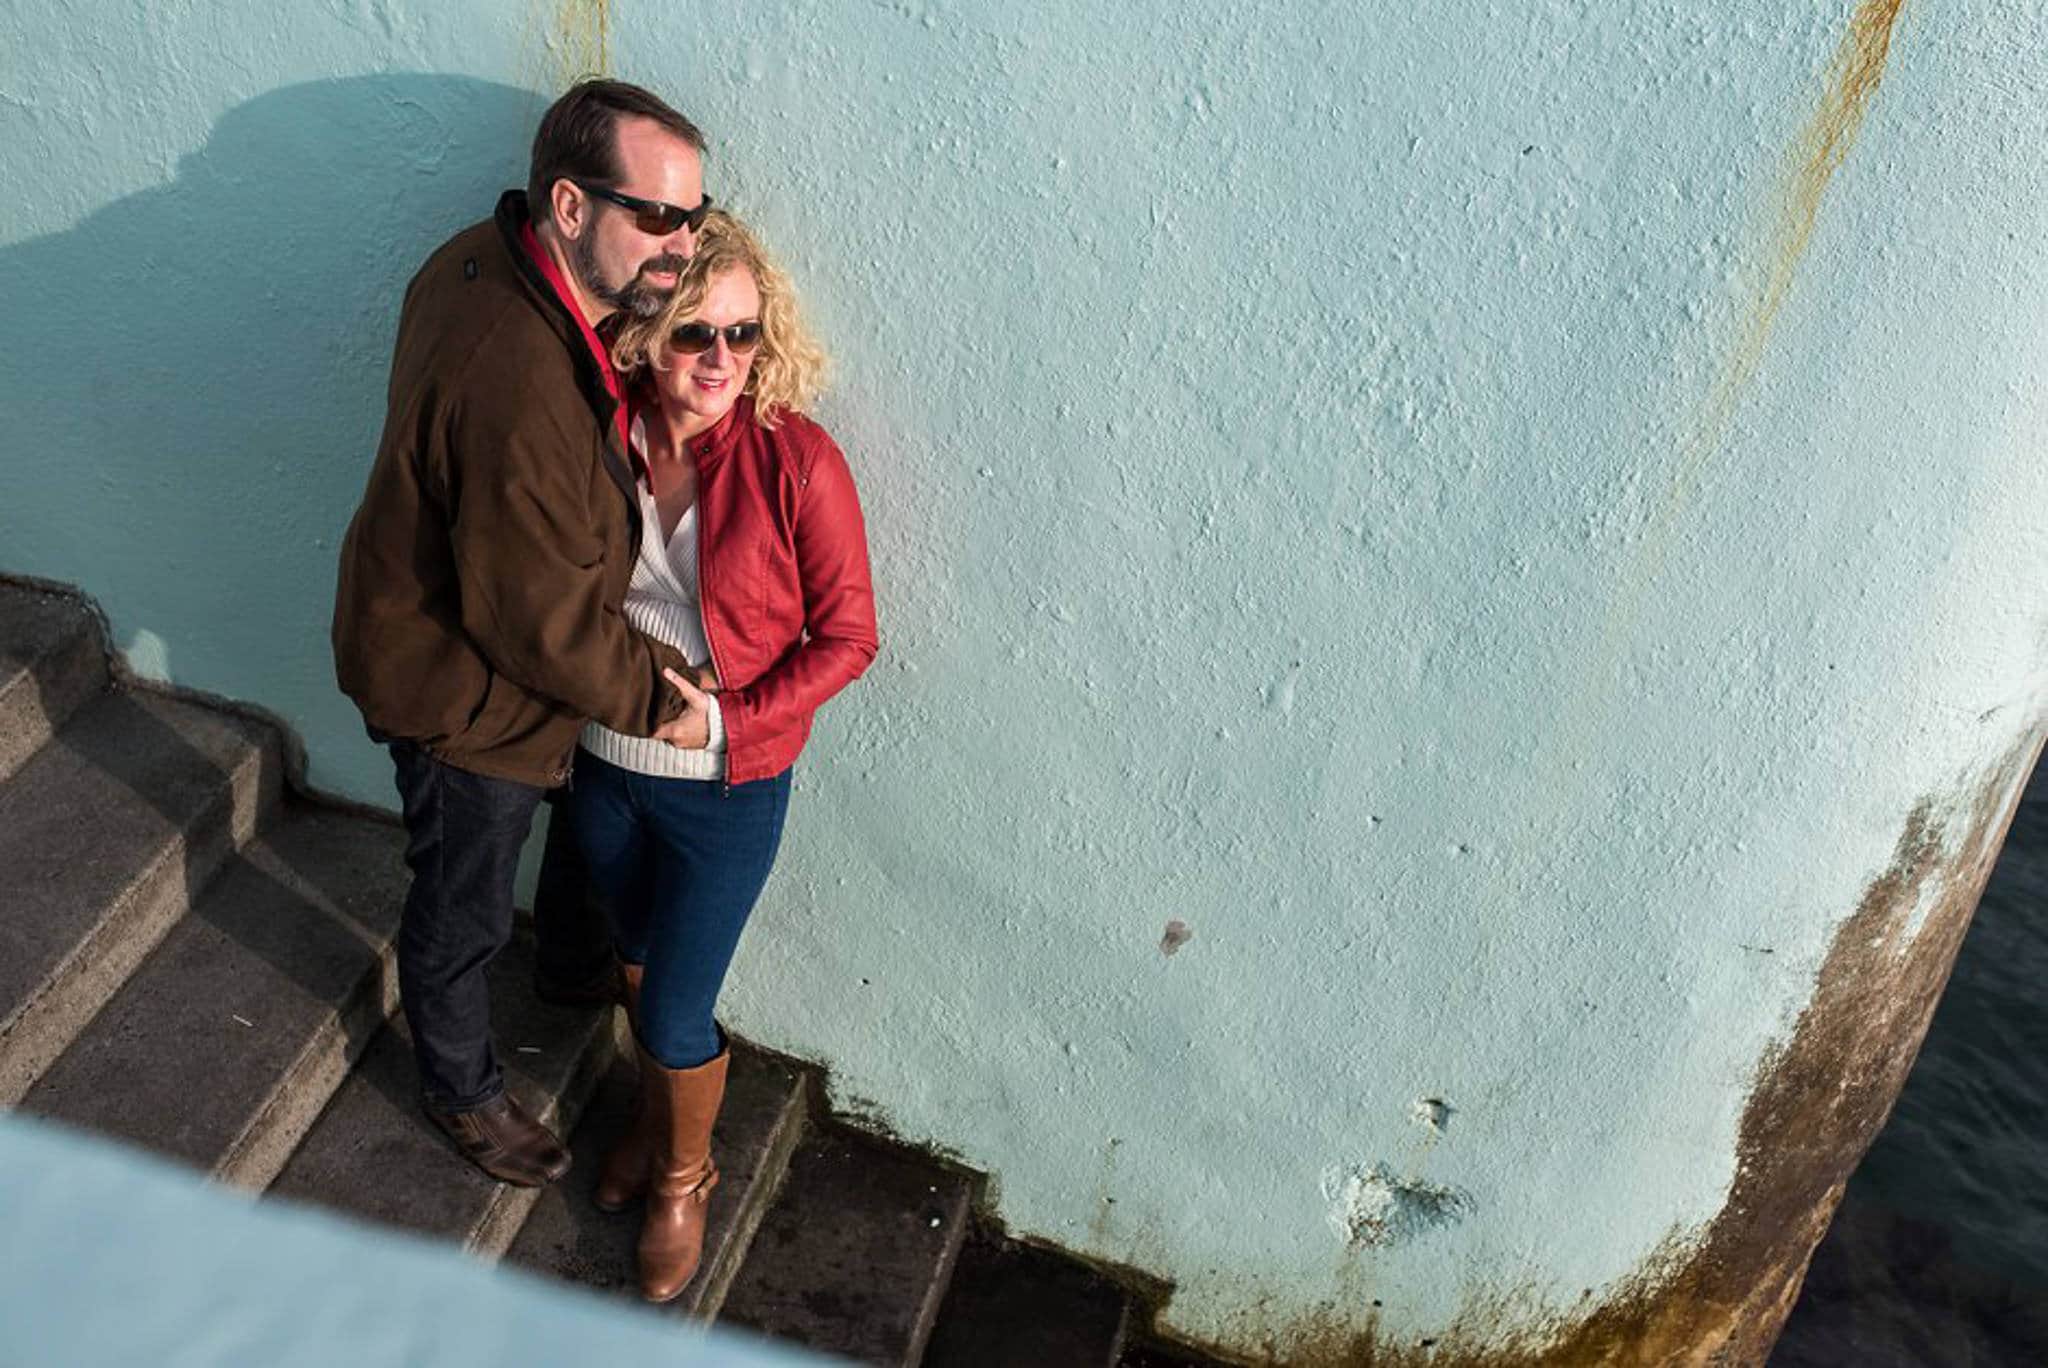
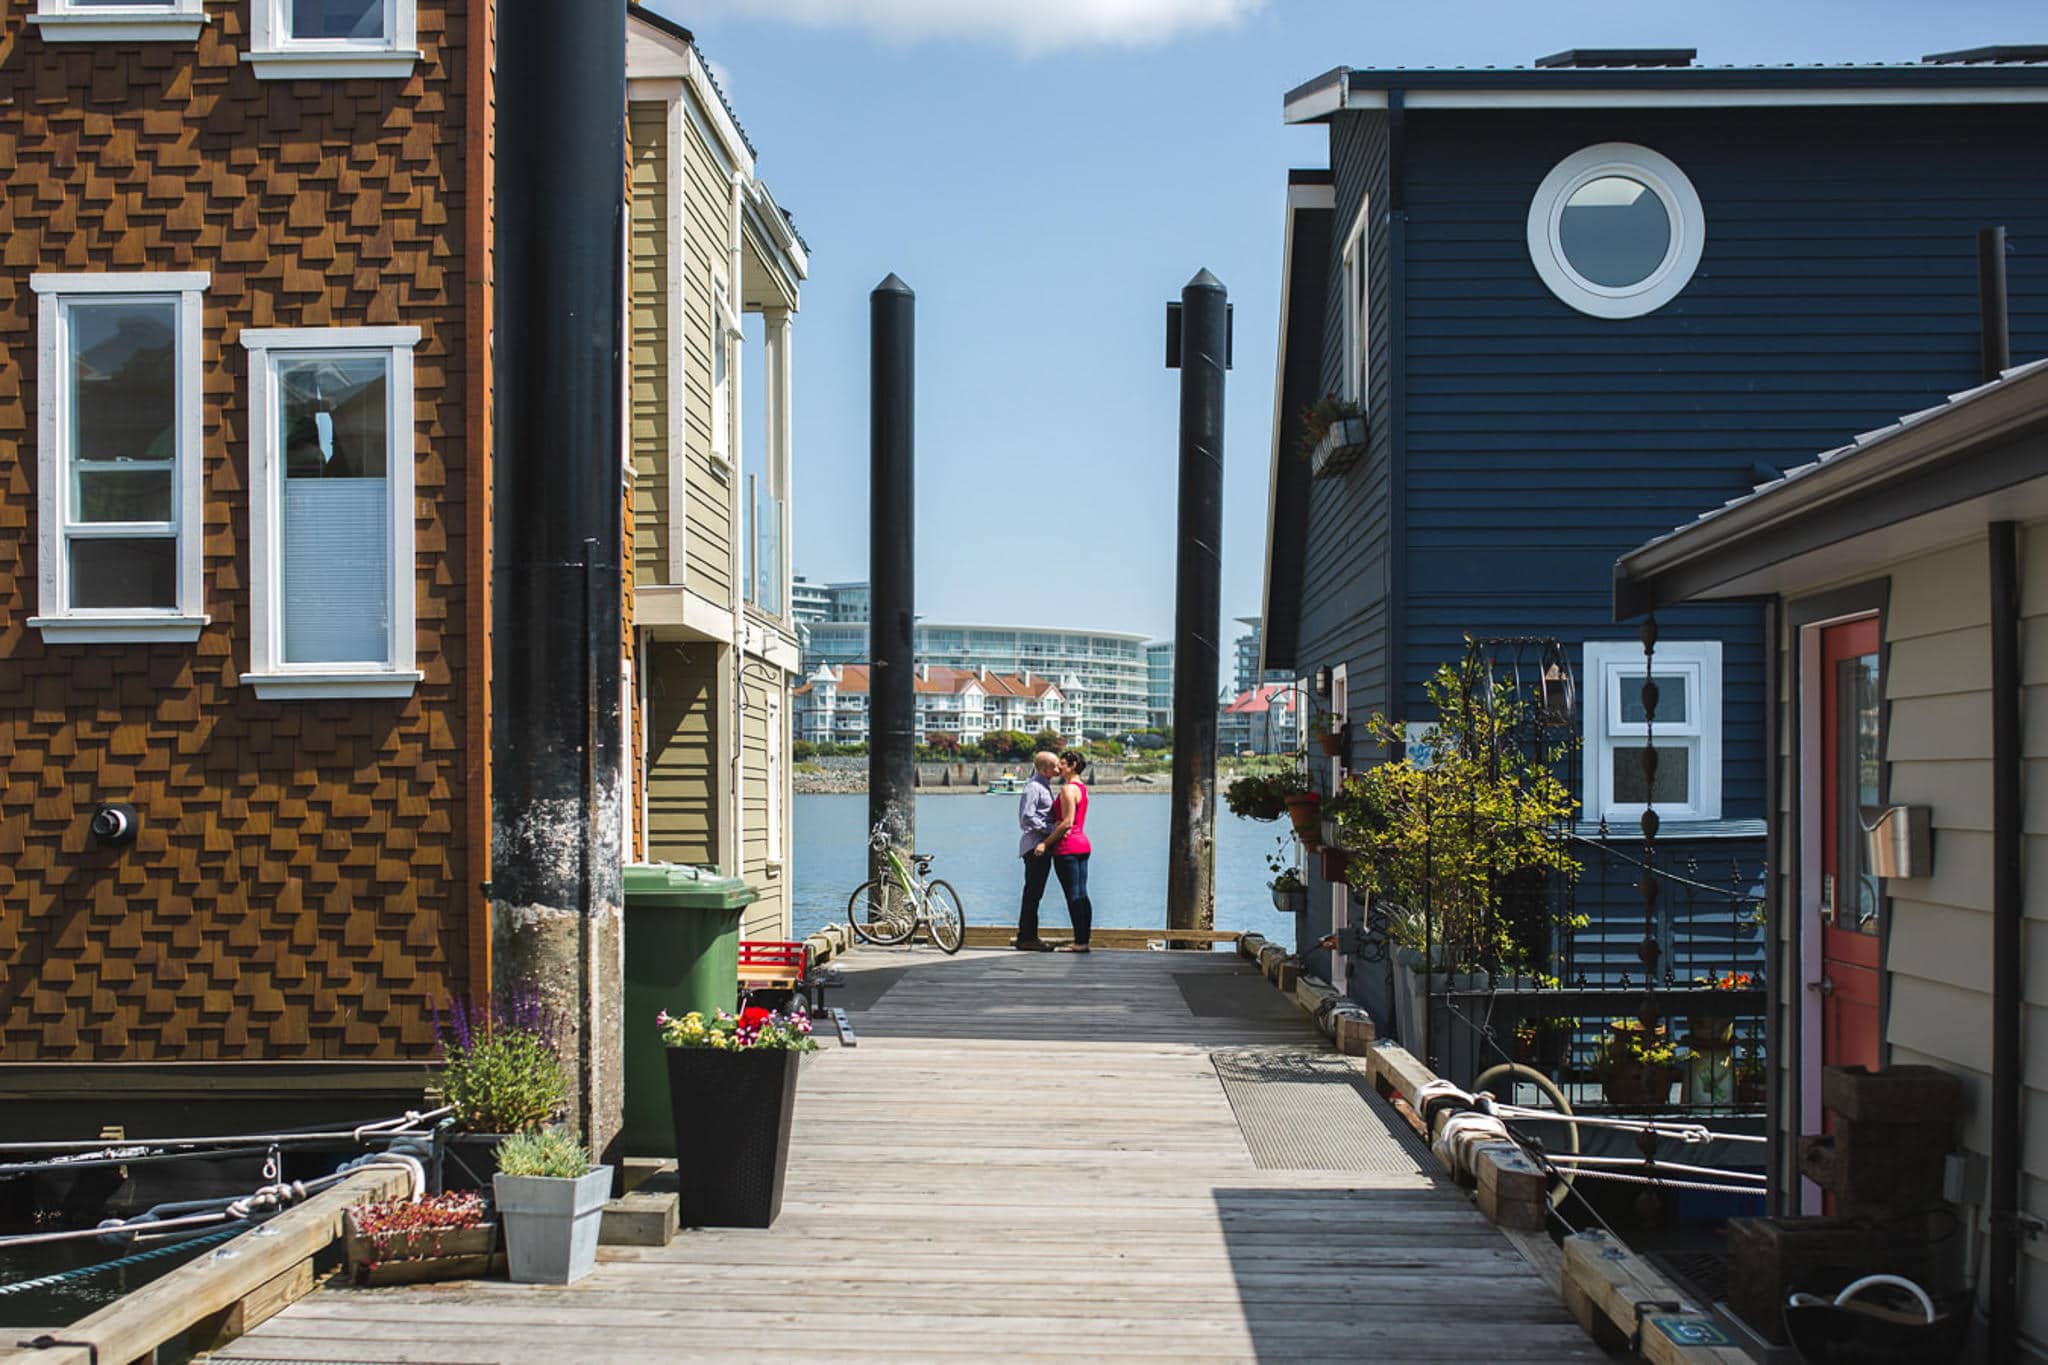
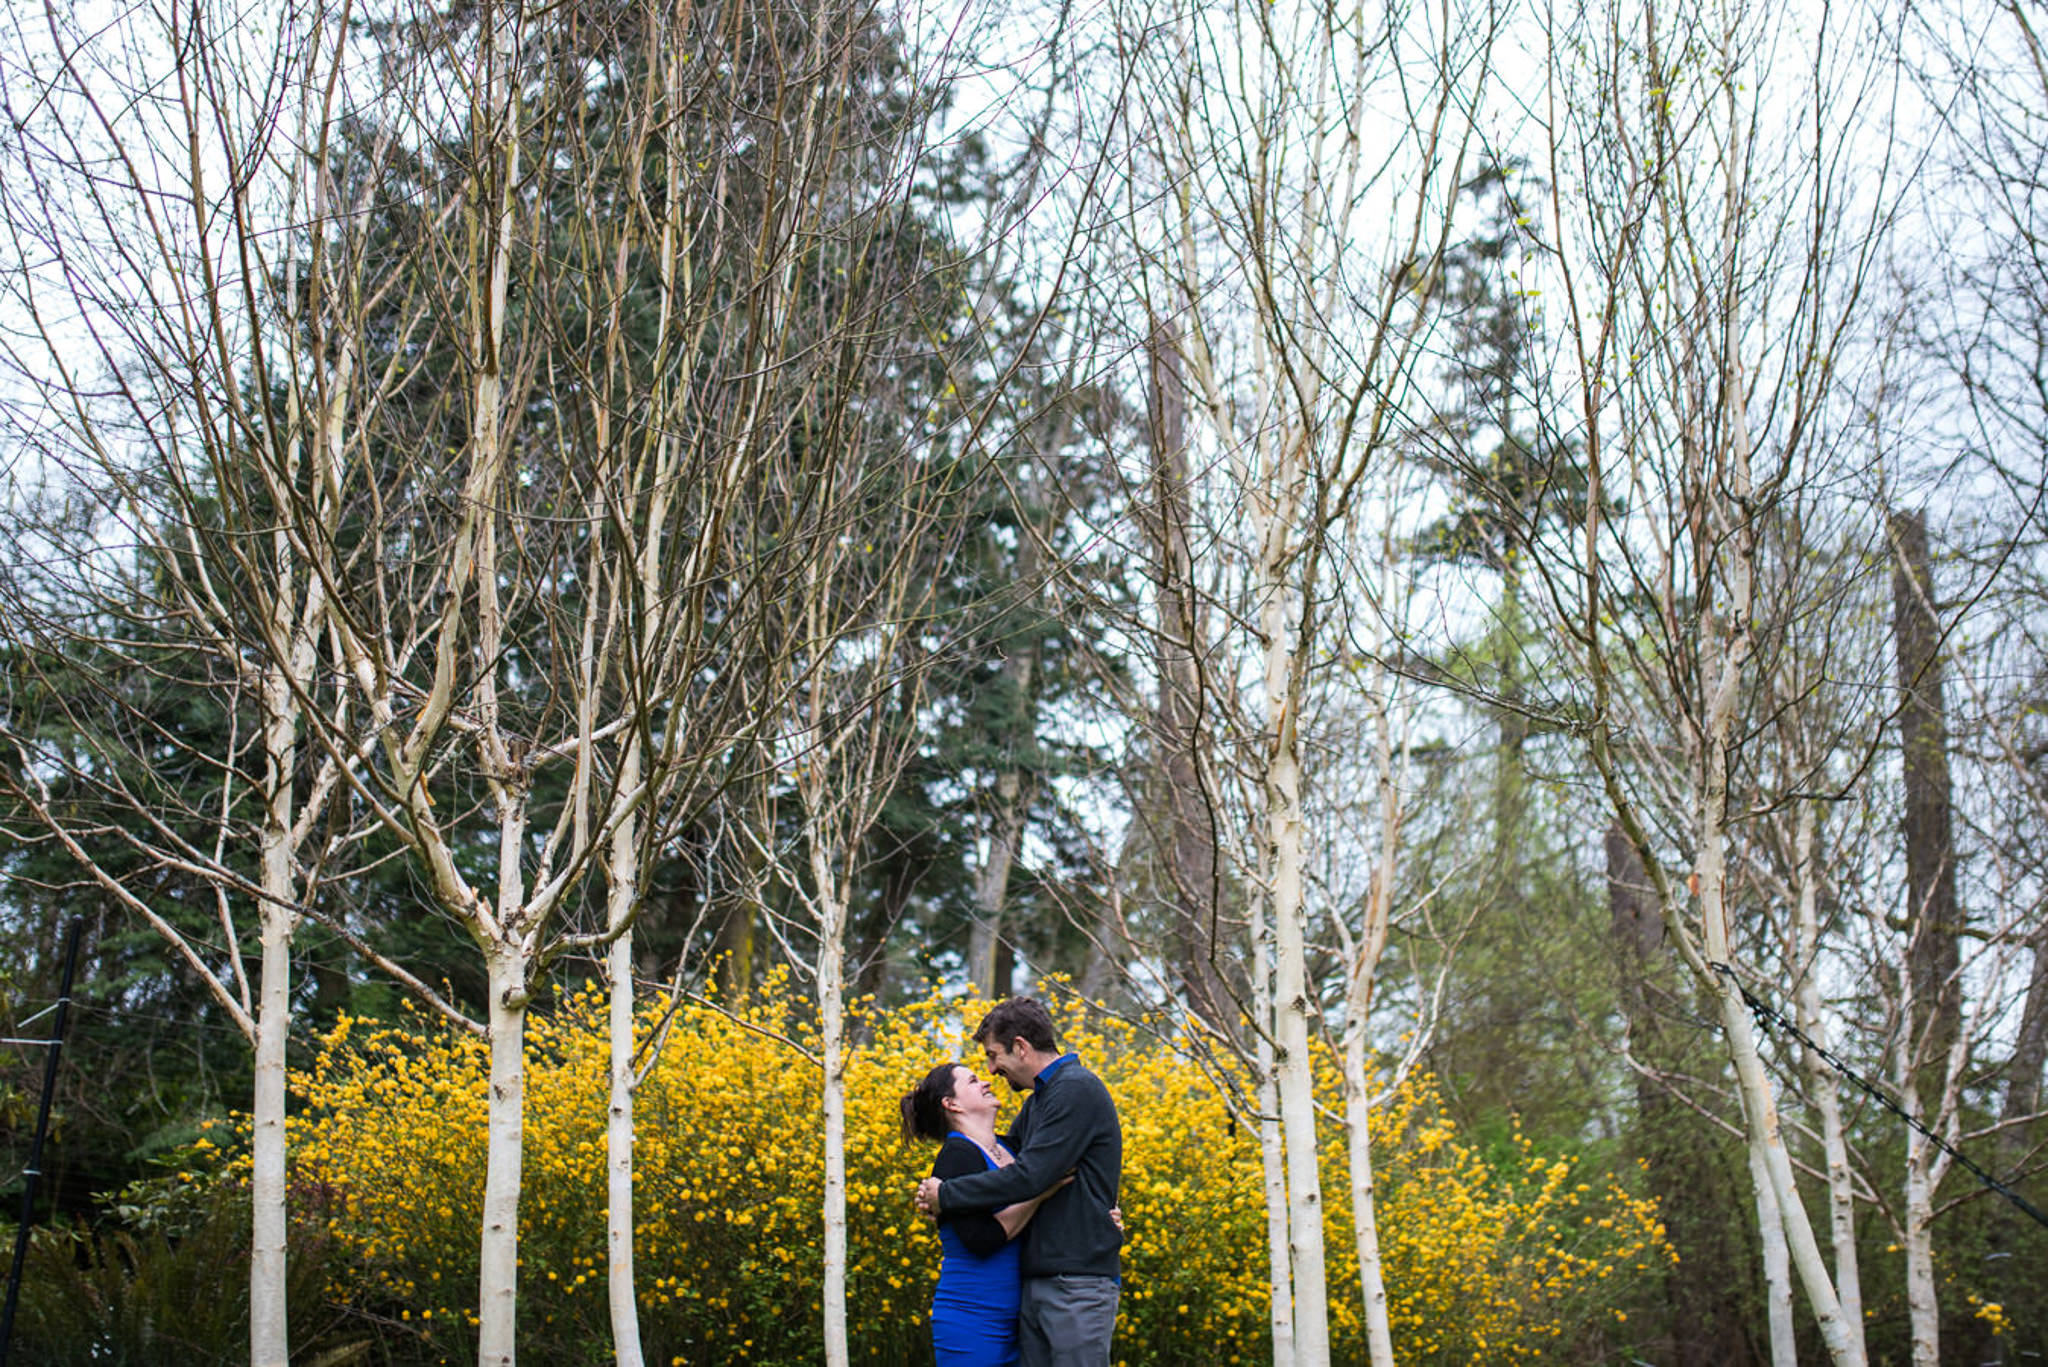
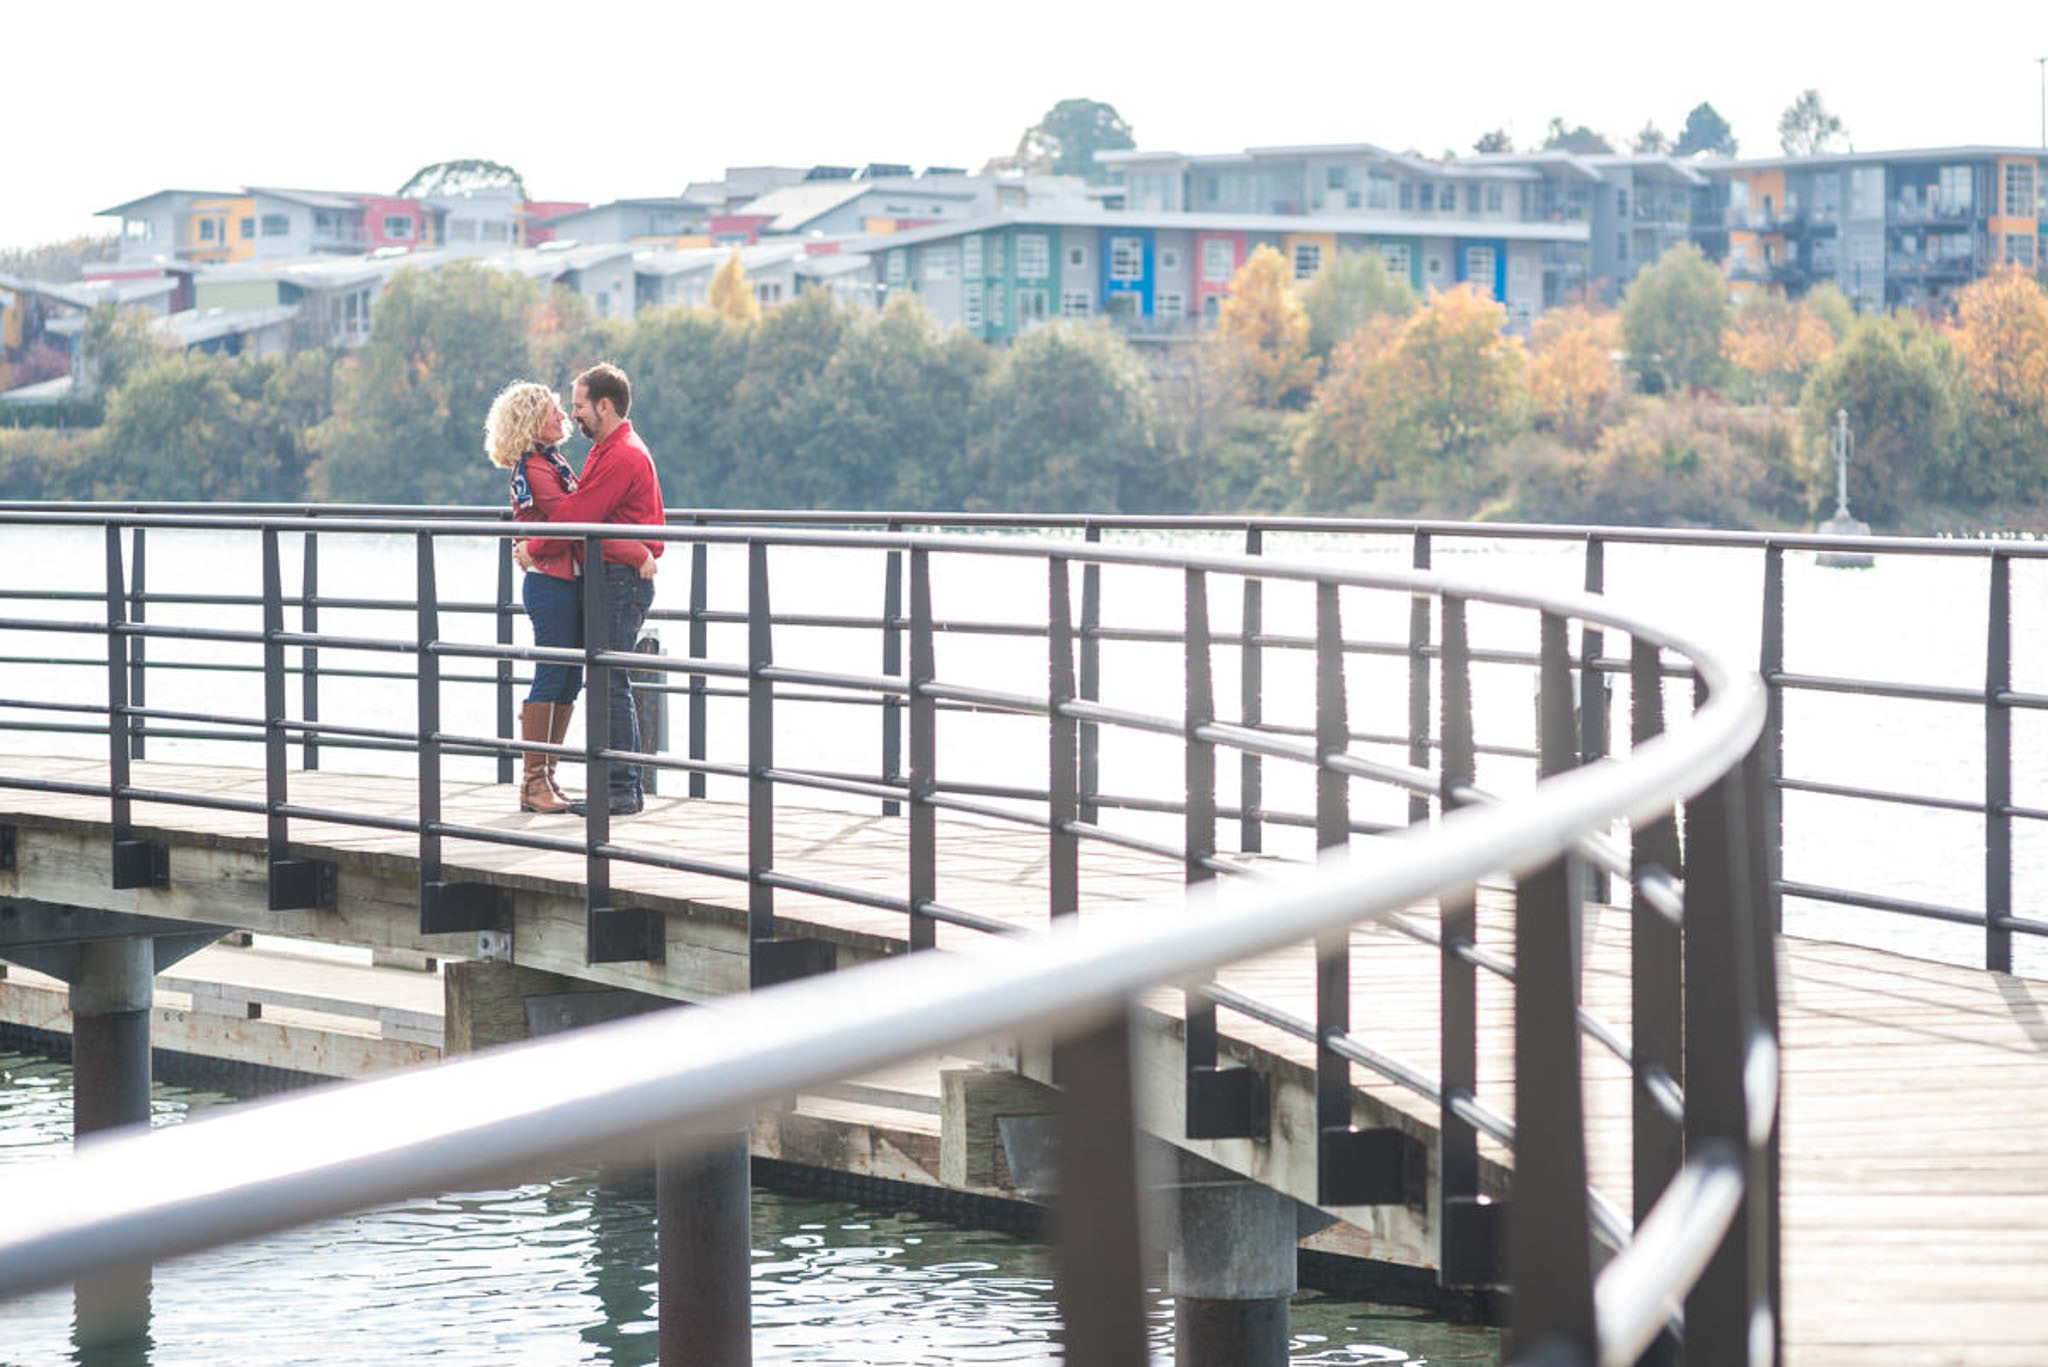
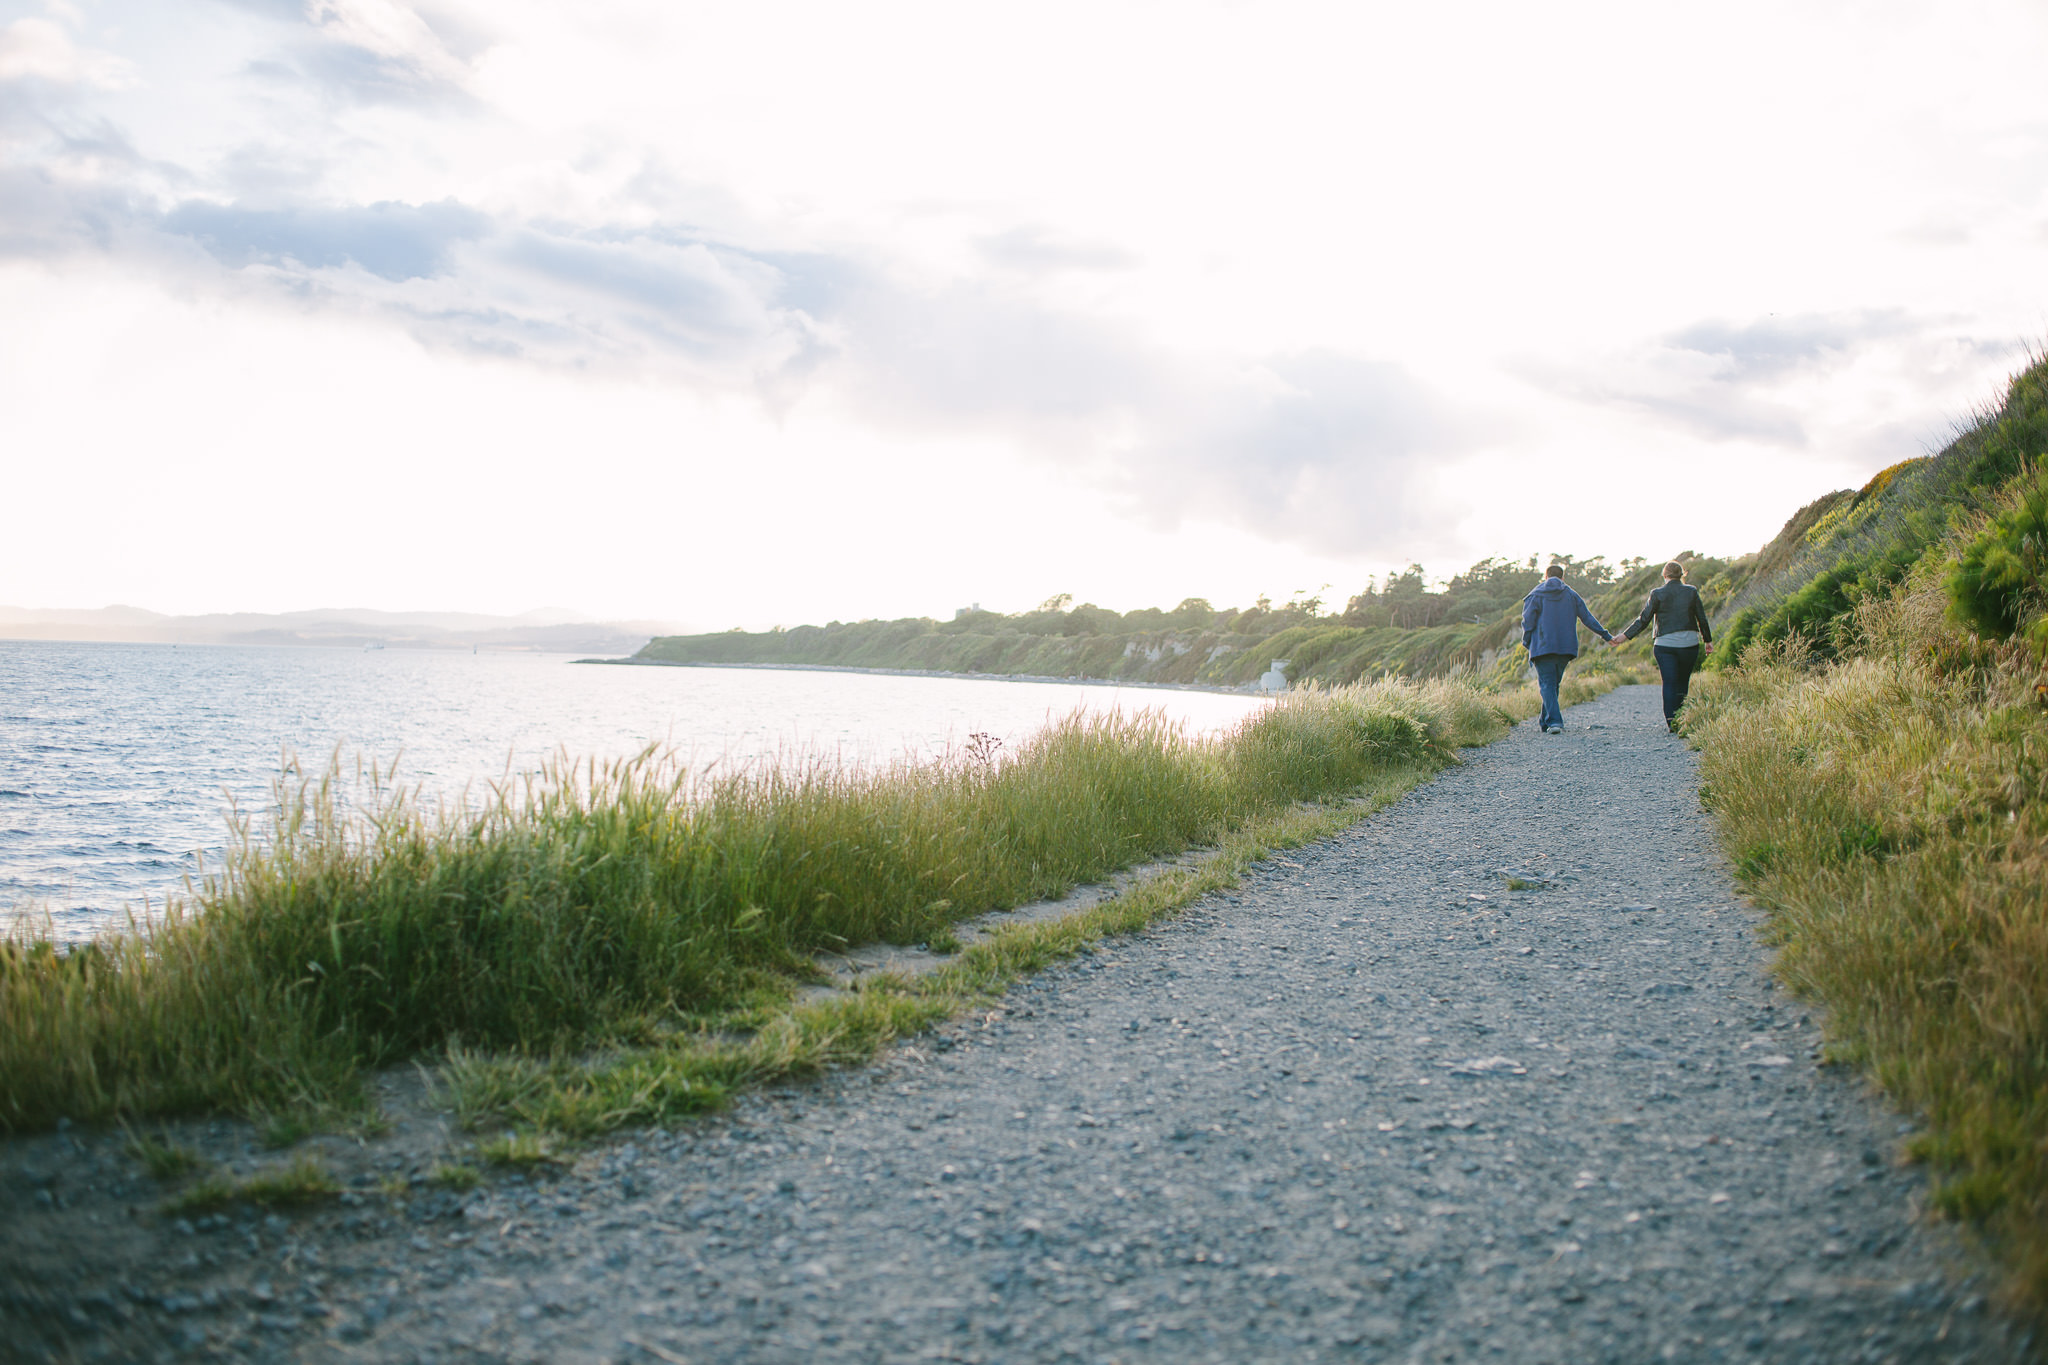
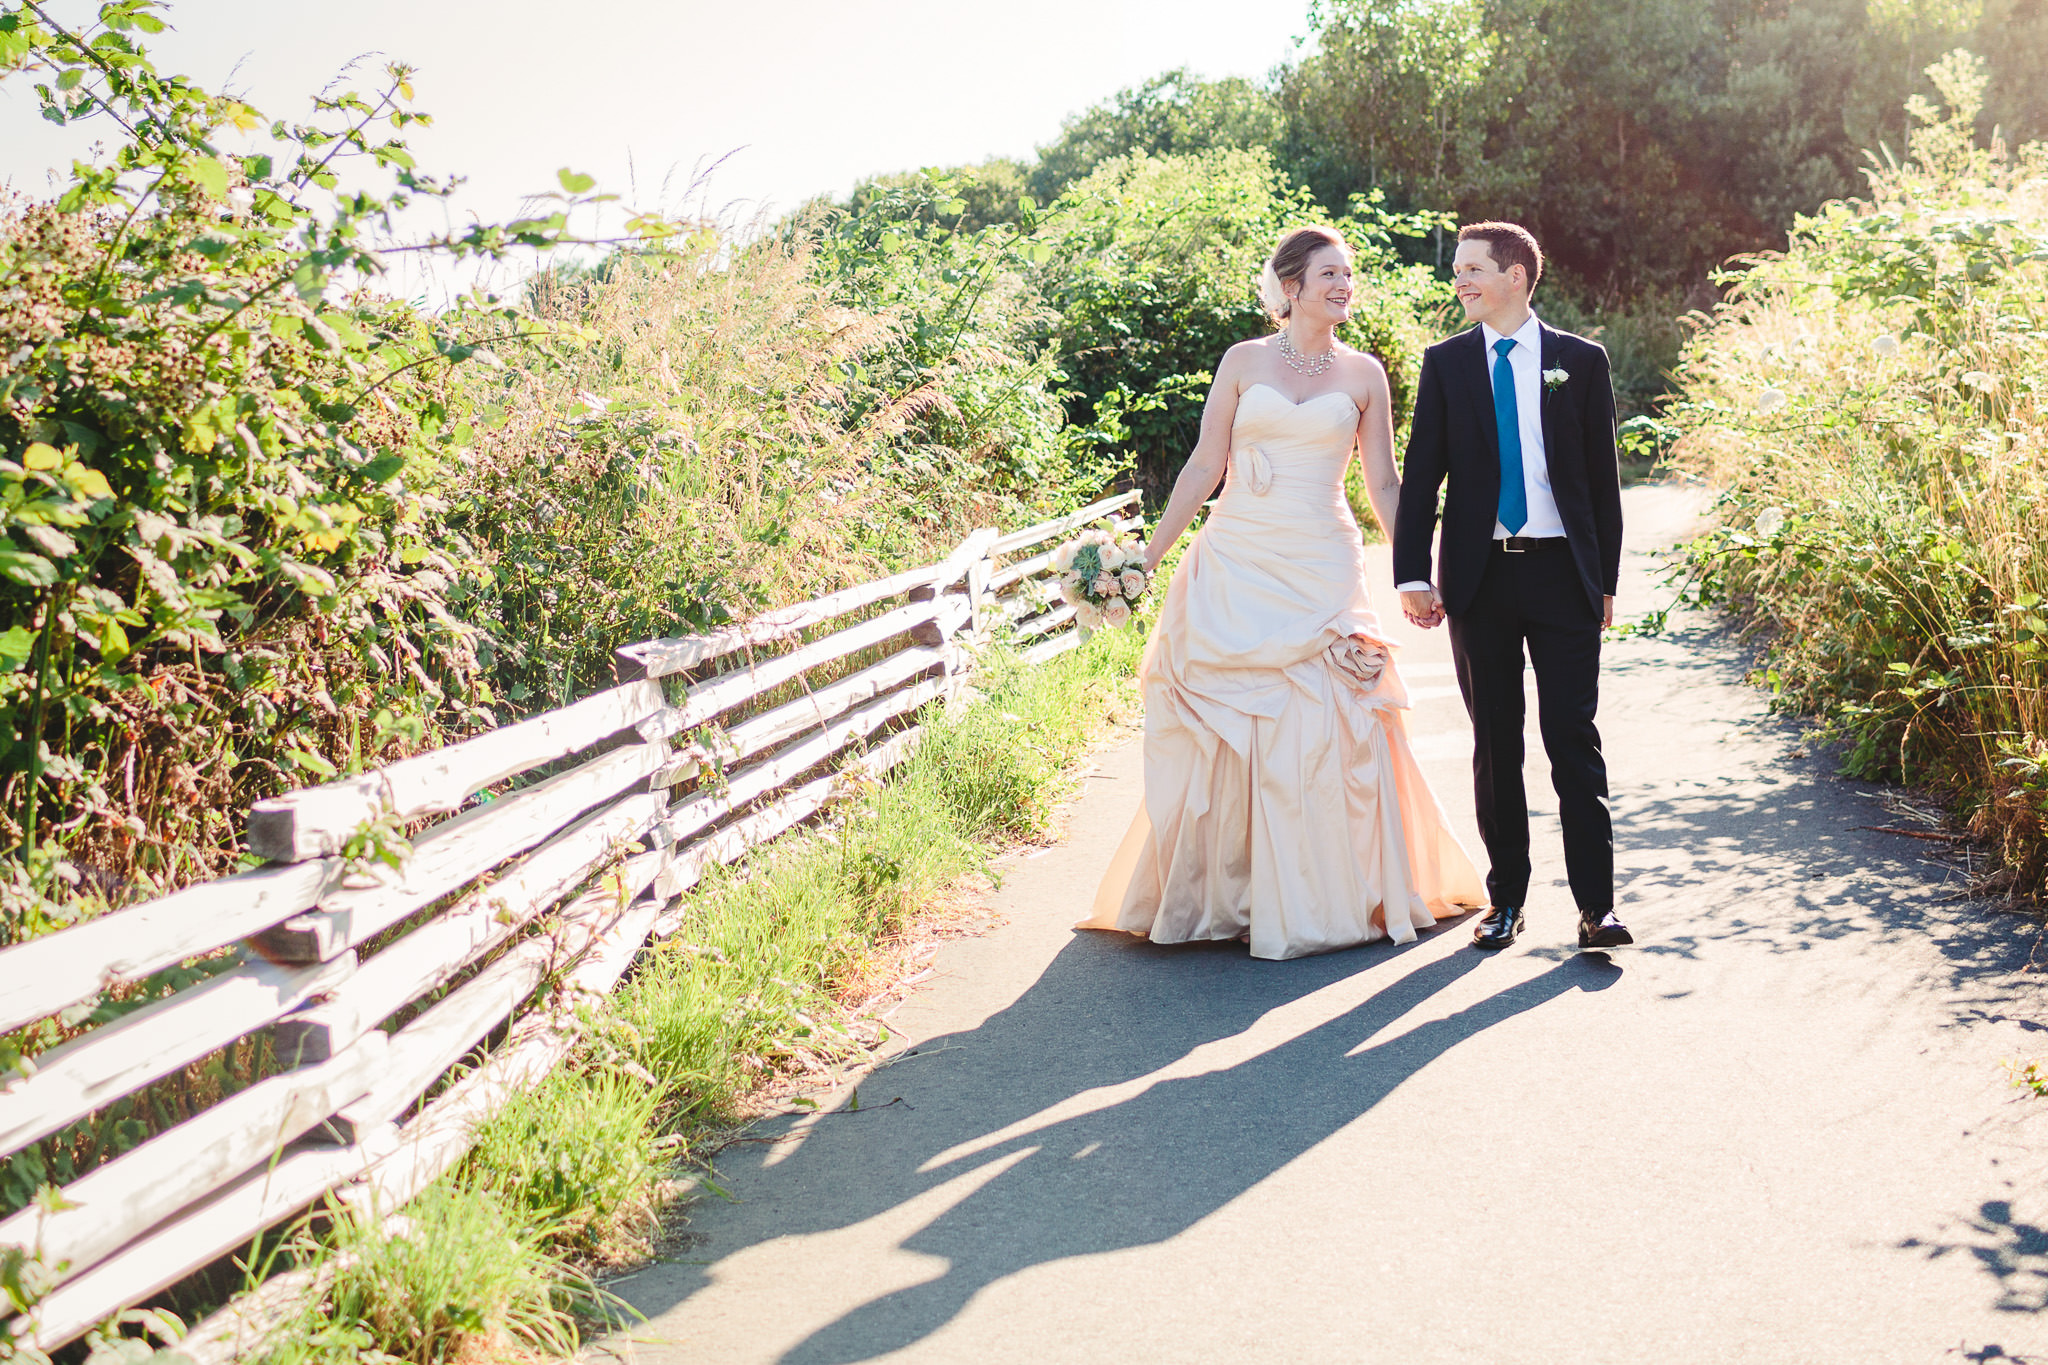
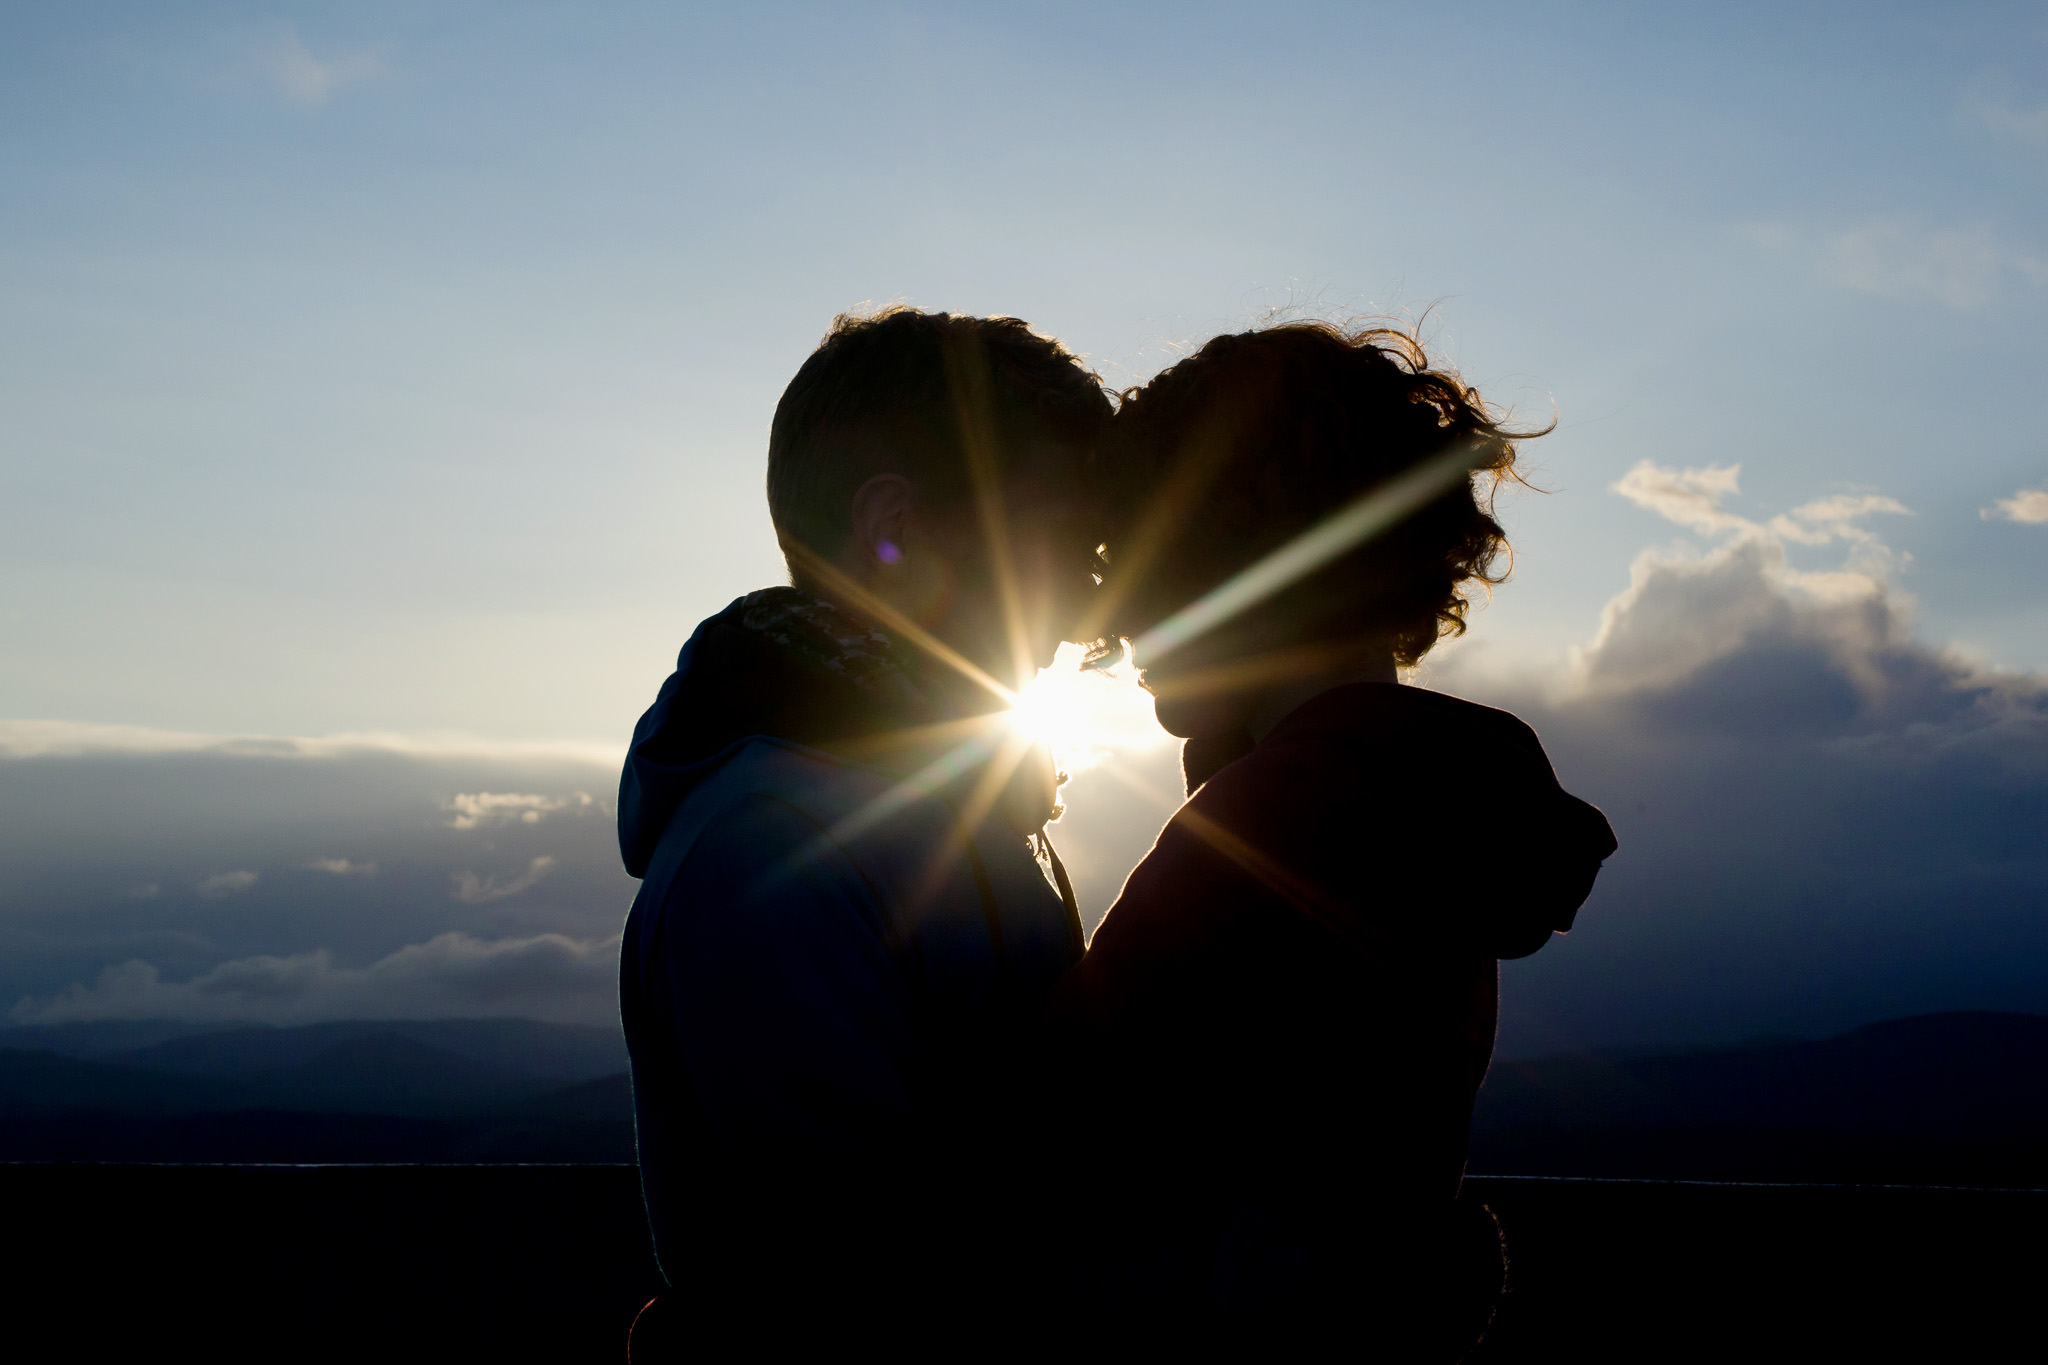
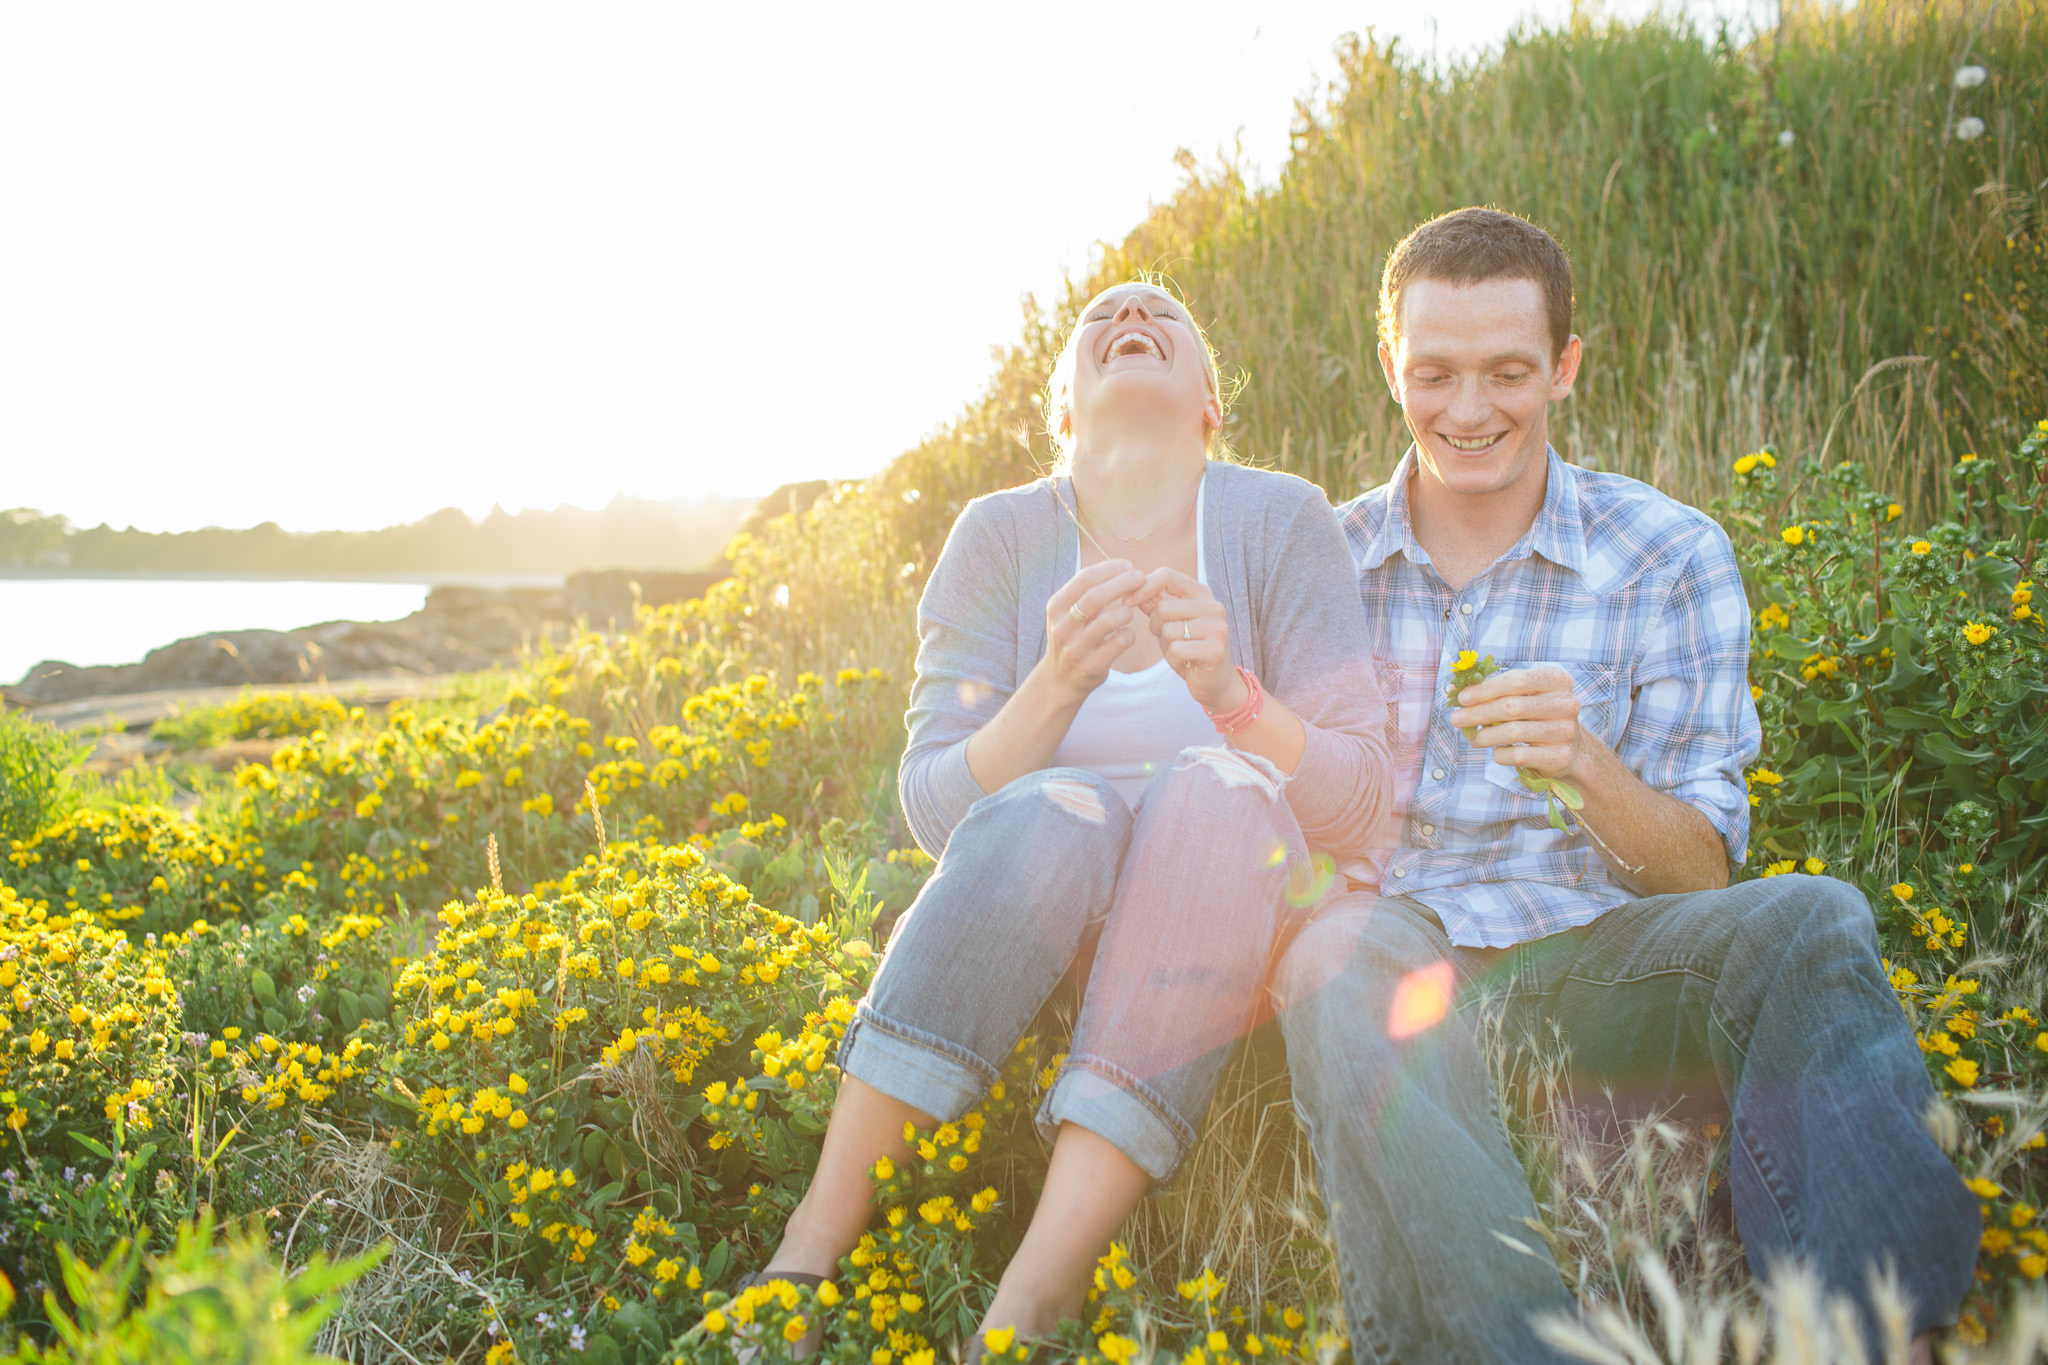
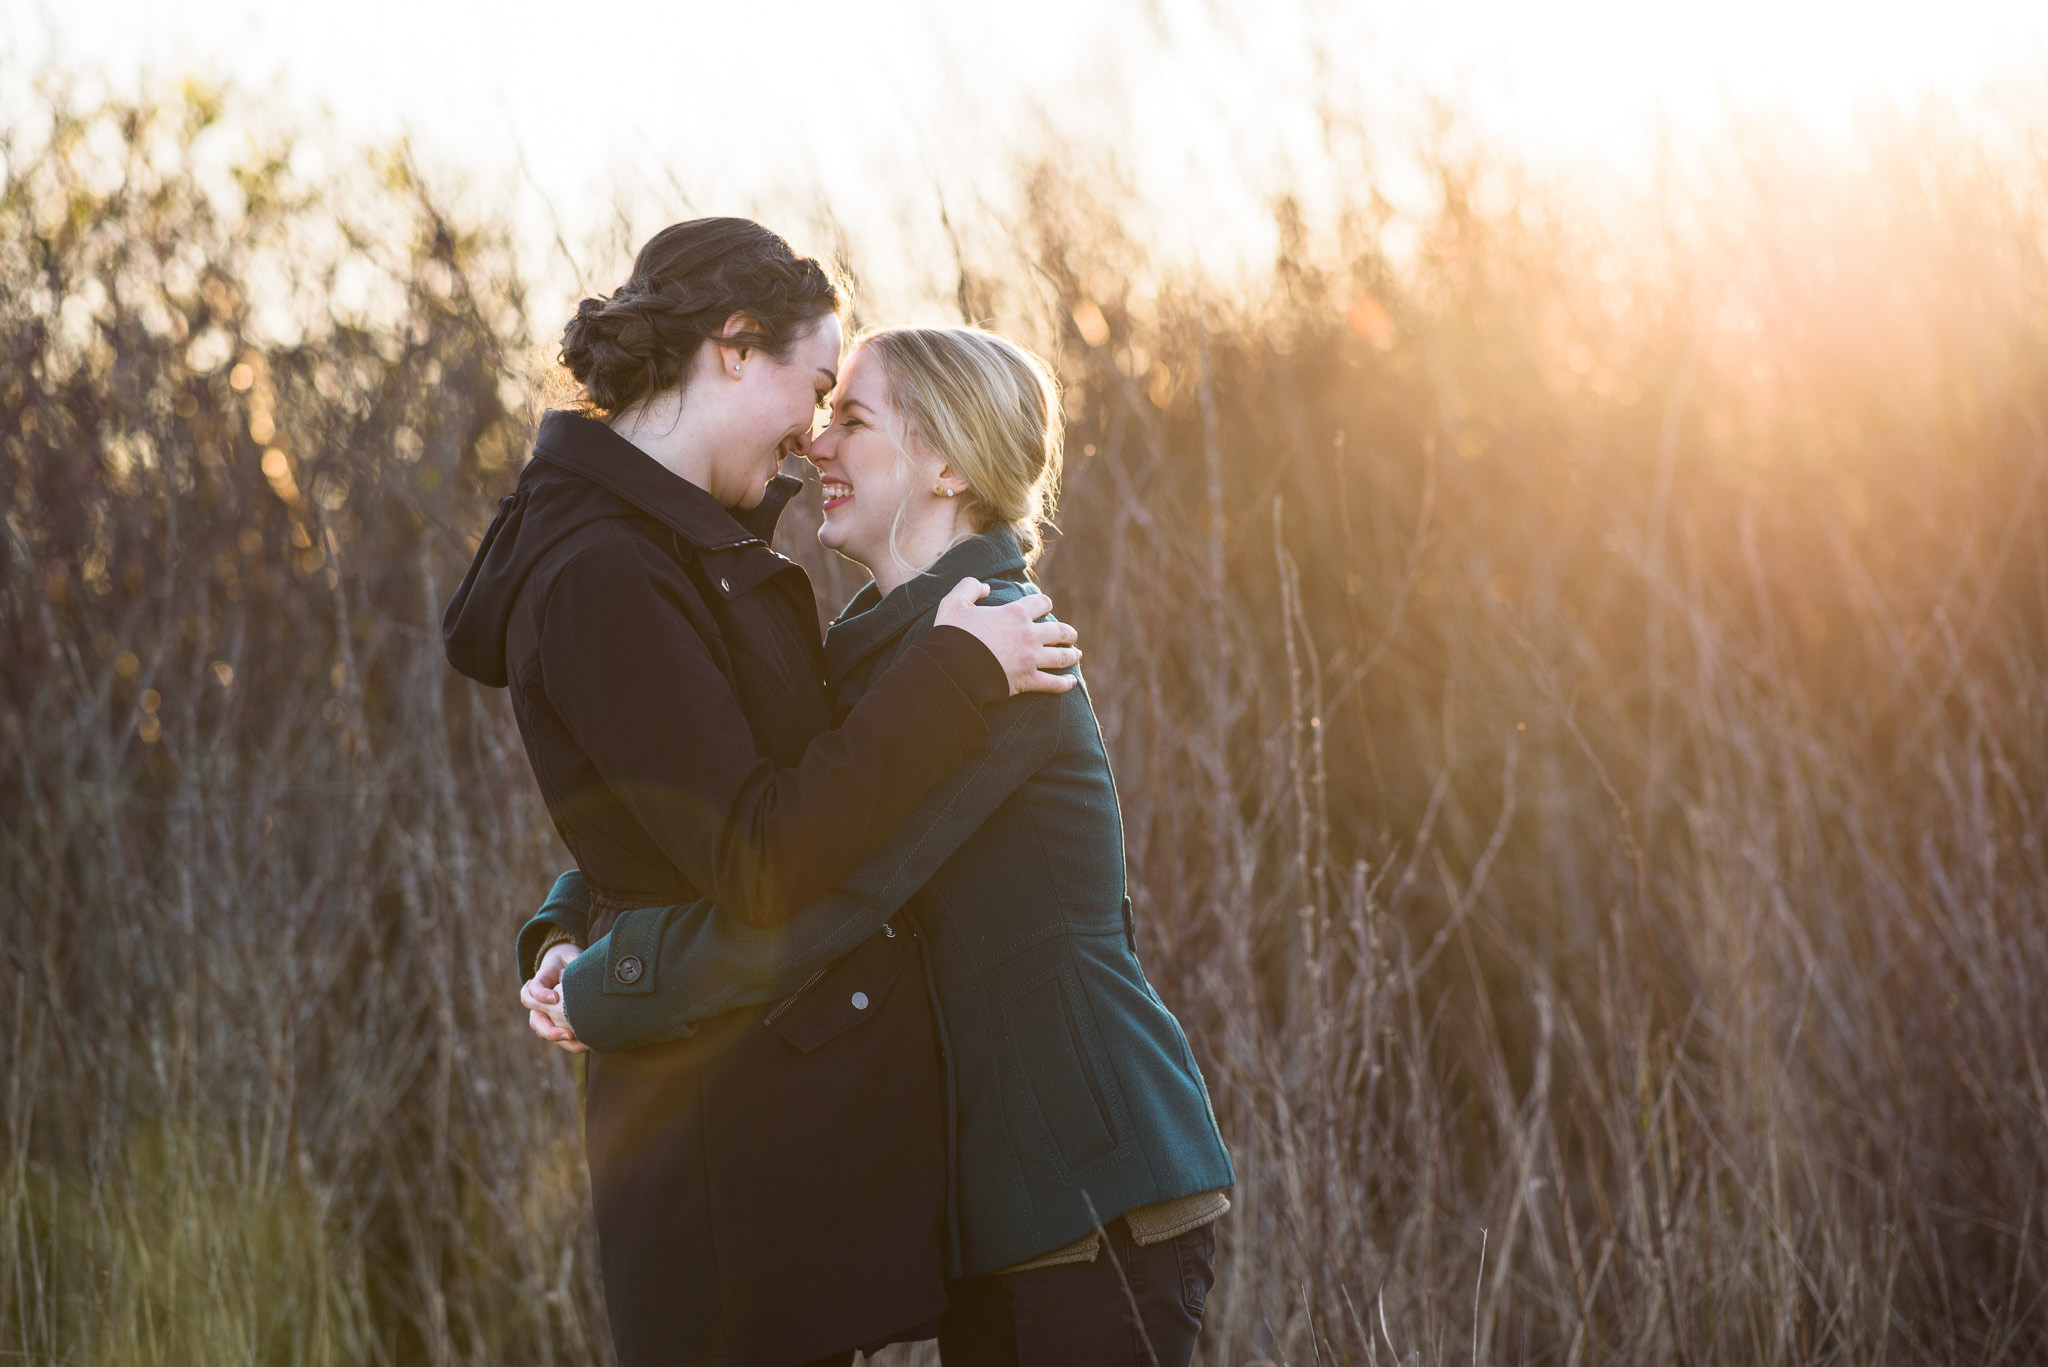
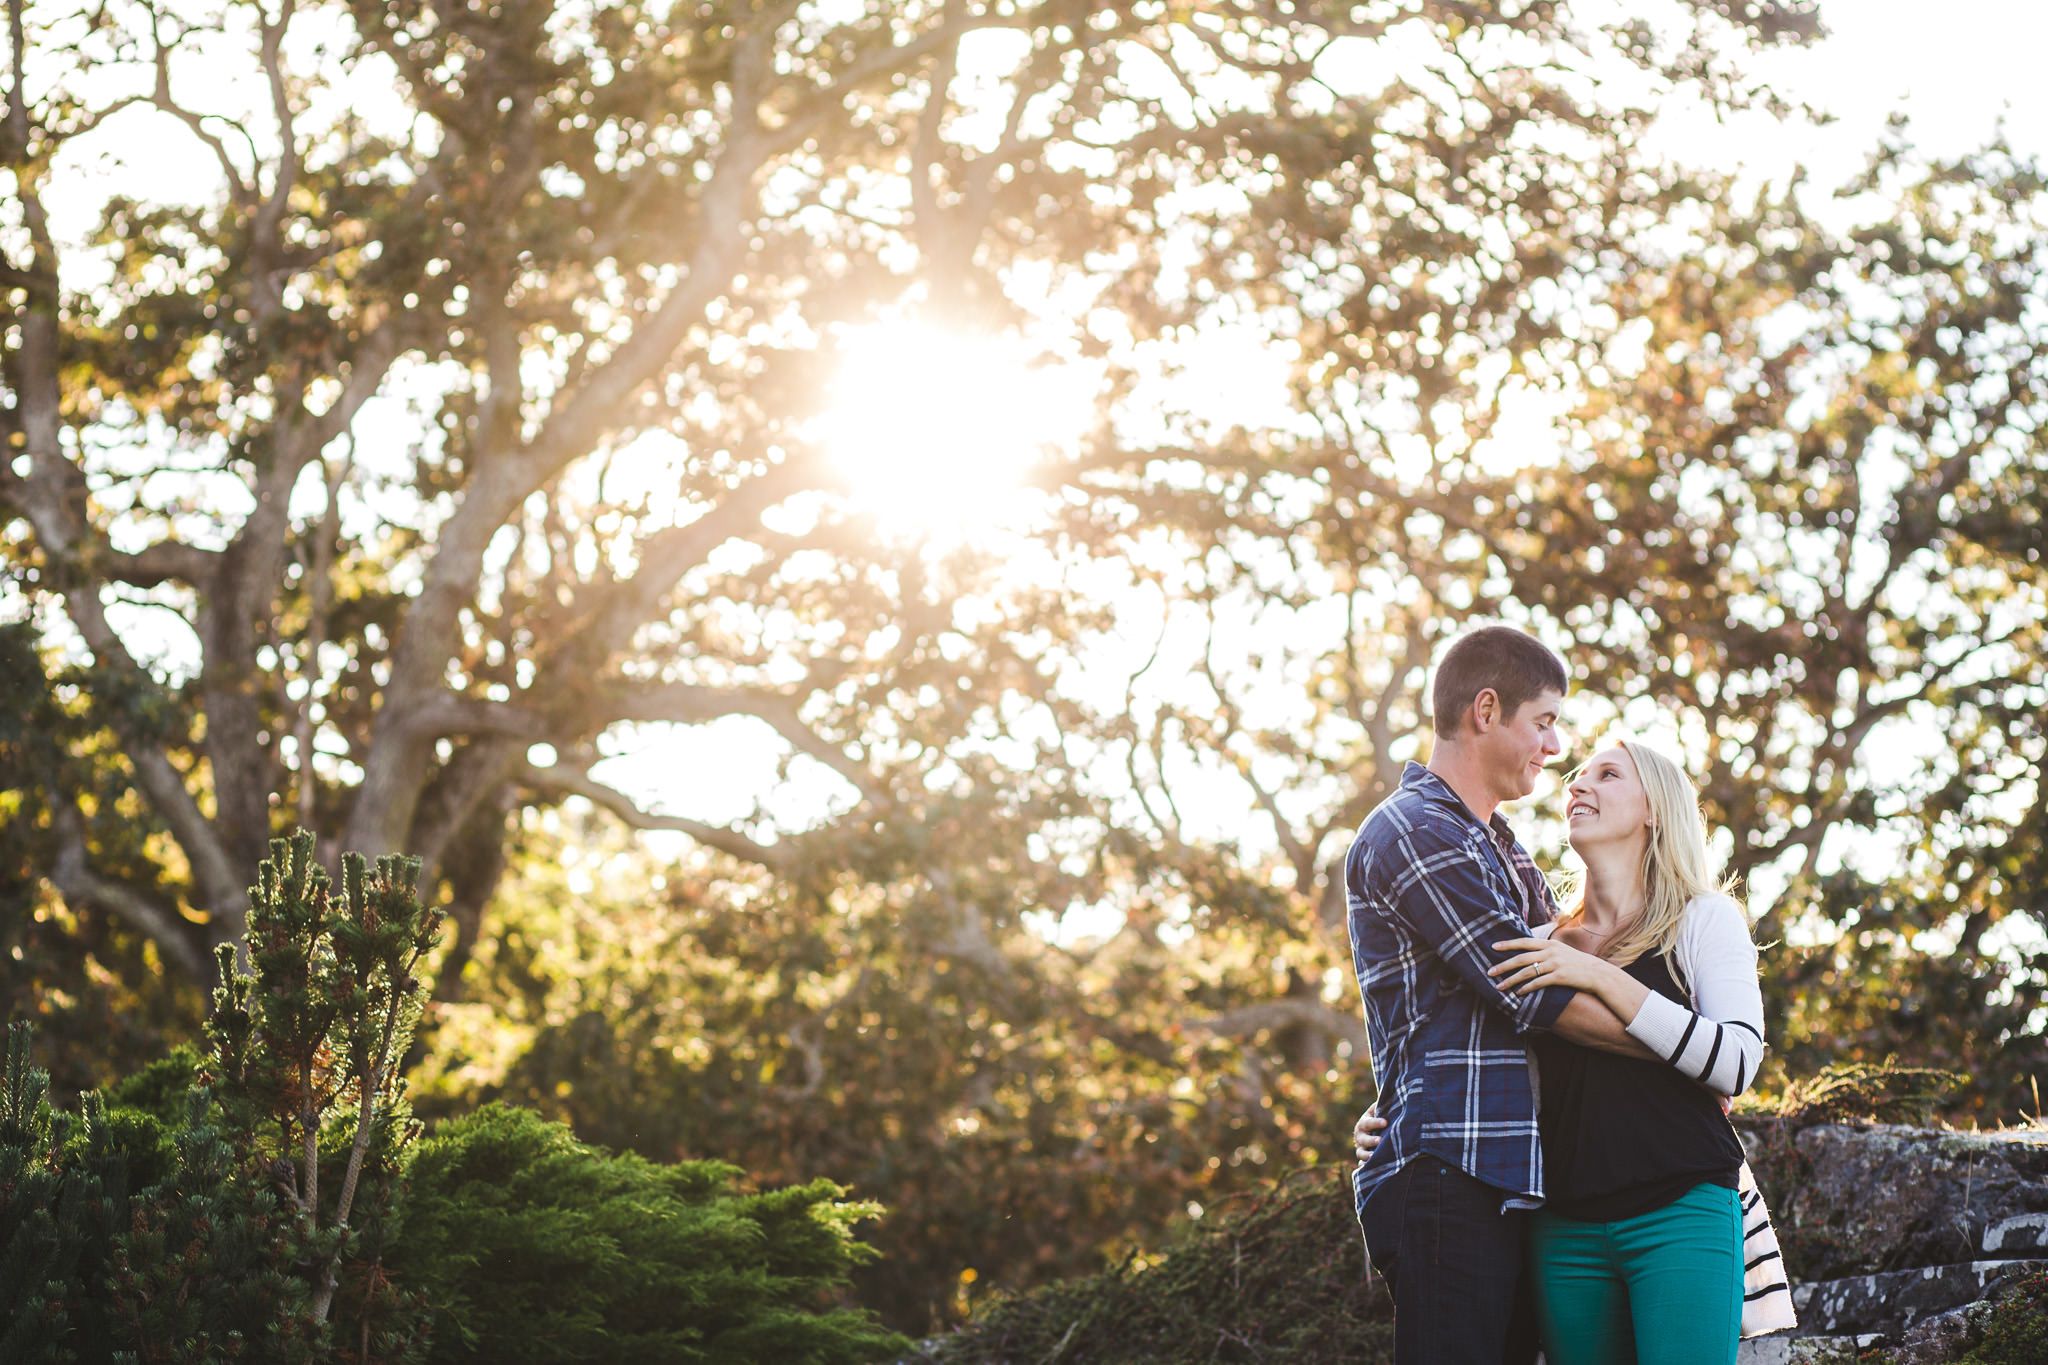
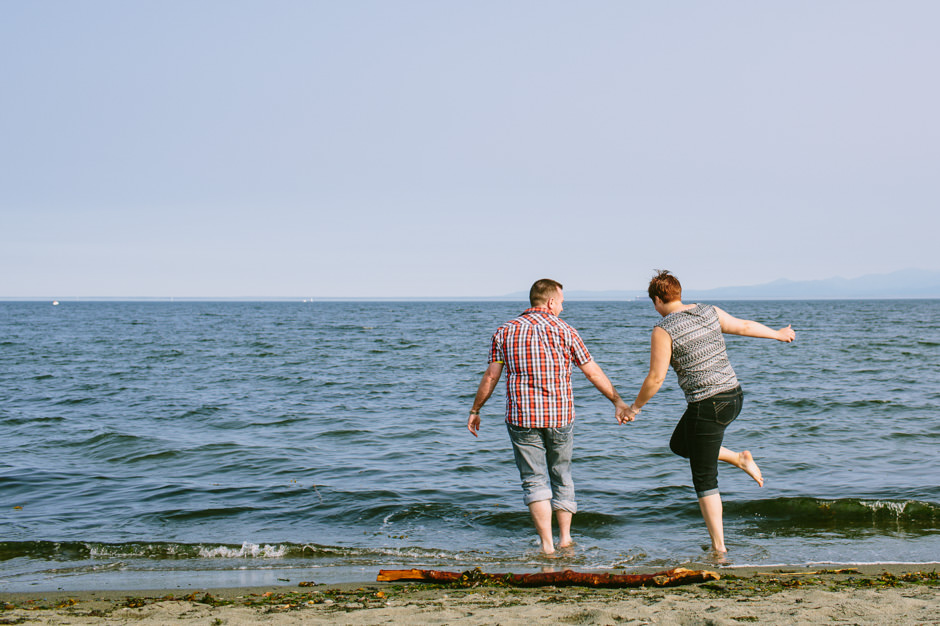
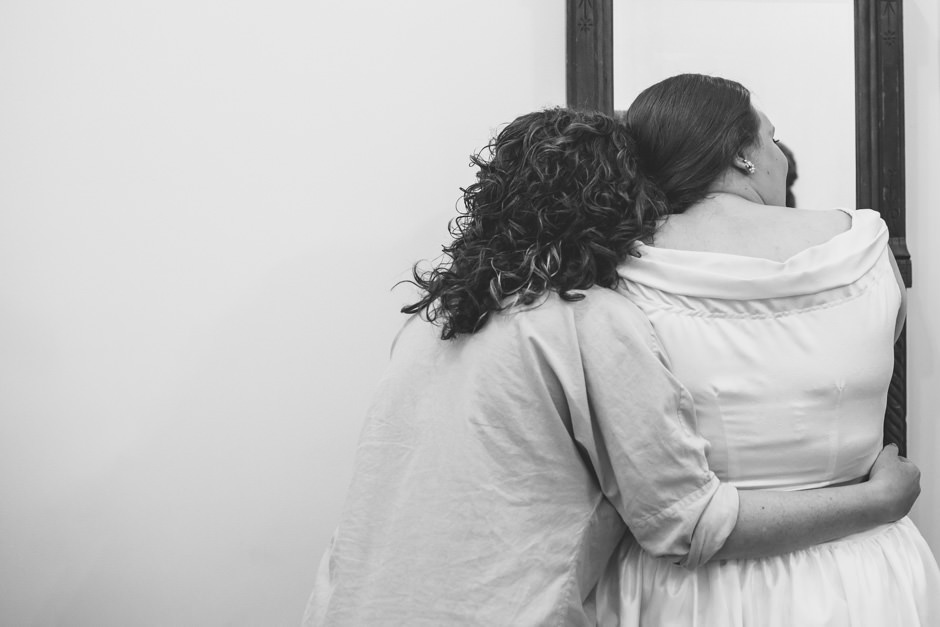
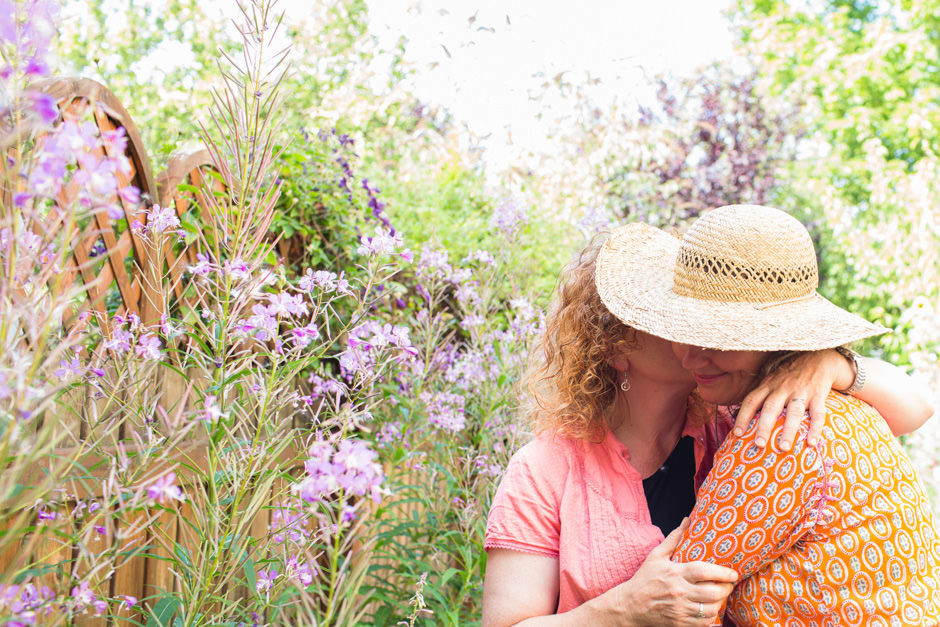
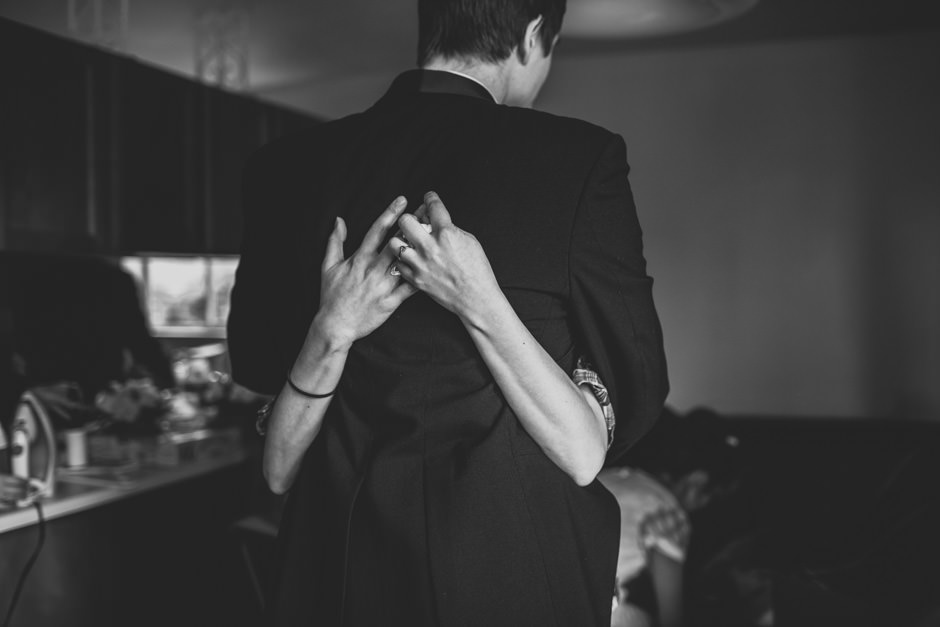
This week’s theme is a simple one, no explanation or advice needed: love. Photograph people/animals expressing love or even an inanimate object that symbolizes love to you. I mostly photograph people, so my favourite photos of love are of couples and families. I find body language does a good job of conveying love in a photo, as well as the way people look at each other (though I find eyes closed can be very expressive as well). Below are some images that scream love to me. Let’s see what says love to you!
If you have any questions, join us in the community. I’ll be checking in there daily to see your work and help you achieve the best results.
This week’s theme is macro photography. Macro photography is very close up photography, usually of small subjects and often produced at greater than or equal to 1:1 scale. You may have noticed your lenses can only focus at a certain distance from your subject, so you can’t get really close up photos with a normal lens. To get closer for macro photography, you can buy a macro lens or a lens with macro capability. The 18-55 kit lens that comes with Canon and Nikon DSLRs says it has macro capability, but it can’t get as close as a true macro lens.
There are alternatives to using a macro lens though and they can be a lot more affordable.
First, you can just turn your lens backwards and hold it in front of the camera opening. That’s what I did in the photo below. It can be a bit tricky to get focus while also trying to hold the lens in place and hold the aperture open (if needed). You can buy a reversing ring for pretty cheap to mount the lens on the body backwards instead.
50mm lens (I think) held backwards, 1/250 sec, ISO 1000 and unknown aperture held open with my fingers
Second, you can buy extension tubes, which can be fairly affordable. They go between the lens and the camera and get your front element closer to your subject. I had a cheap set years ago, which didn’t maintain the connection between the lens and body and so the aperture couldn’t be changed unless the lens had an aperture ring. There are more expensive ones that work like a normal lens though.
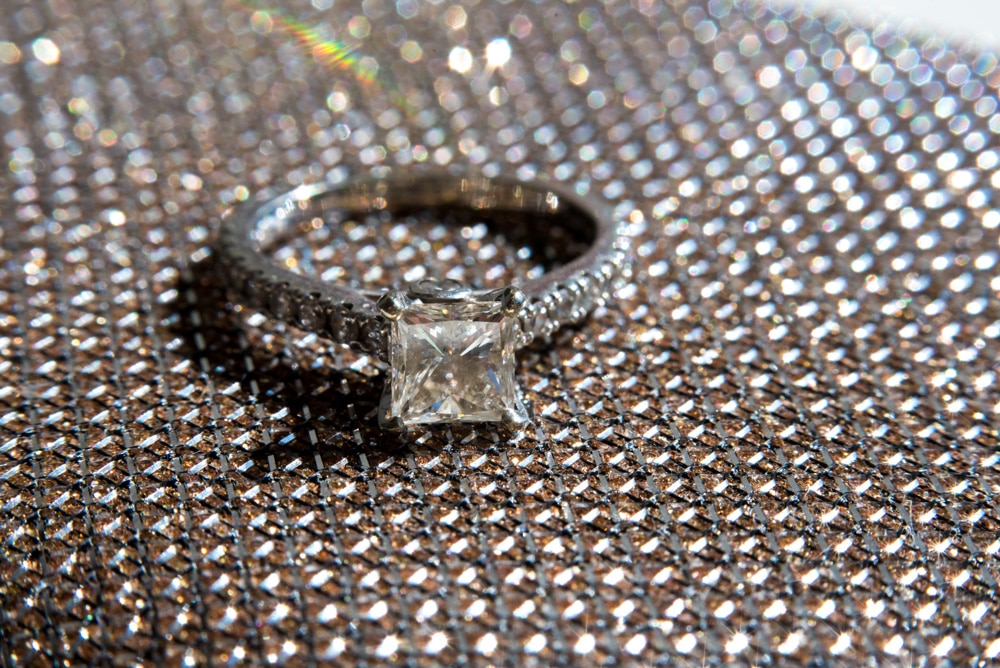
Third, and my current favourite, are close-up filters. I have a set from Polaroid that are pretty cheap and work great. They come in different magnifications and you can stack them. Make sure to buy the right size for your lens. You’ll want to look up the filter size or diameter for the lens you want to use them on. Below are a couple of examples I took with the close-up filters.
35mm, 1/200, f4, ISO 64035mm, 1/200, f4, ISO 1250
Here are some tips for capturing great macro photos:
Since you’re so close to your subject, the depth of field (area in focus) will be very small. You’ll probably want to use a higher aperture to ensure you get focus.
You can use autofocus if you want, though I find autofocusing once and then locking focus or using manual focus works best. Then I rock slightly back and forth and take several photos in order to get at least one in focus. I often do this in live view so I can see focus more clearly. The focusing difficulty comes from any slight hand shaking changing the distance from your lens to your subject, moving the plane of focus. You could also use a tripod to carefully obtain focus once and lock it.
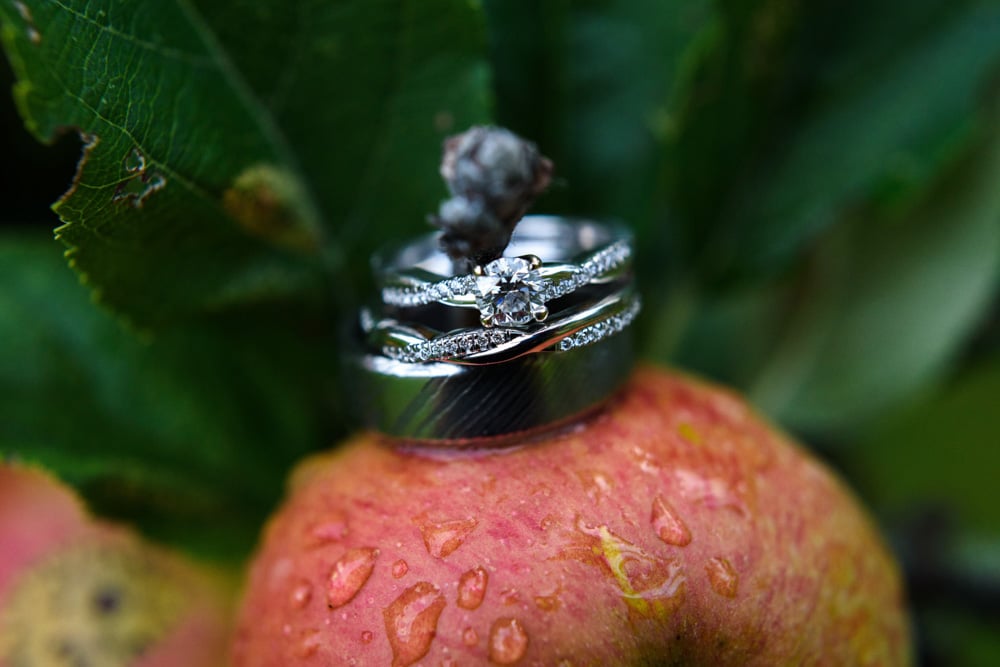
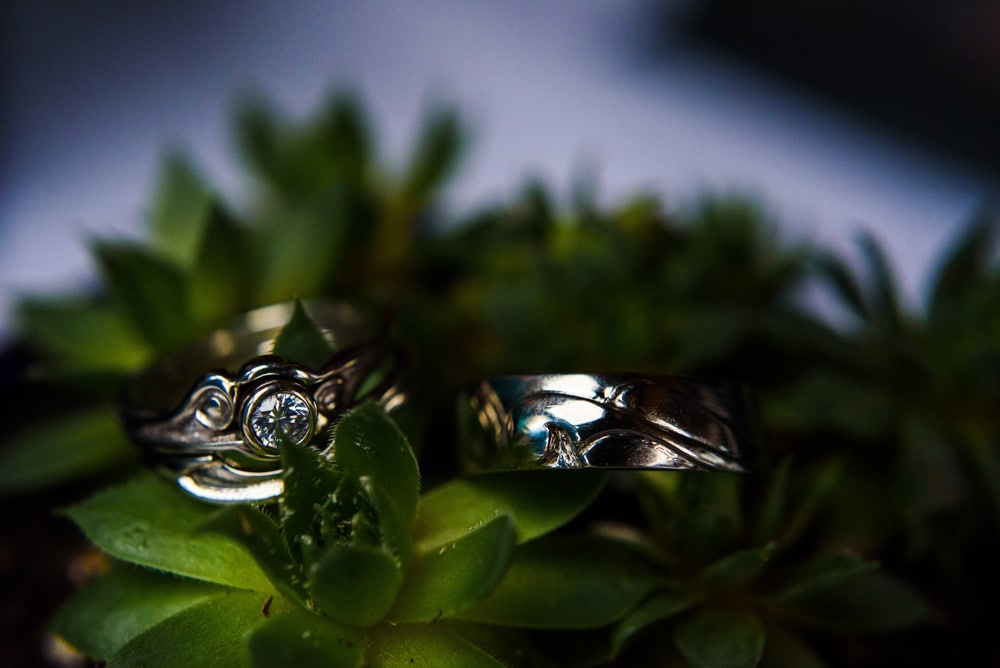
Think about your composition and context. In the above two ring photos, I included elements of the weddings they were taken at. I especially love the first one that shows it was a rainy day at an apple orchard wedding. Composition of the background is important when your subject takes up a lot of the frame.
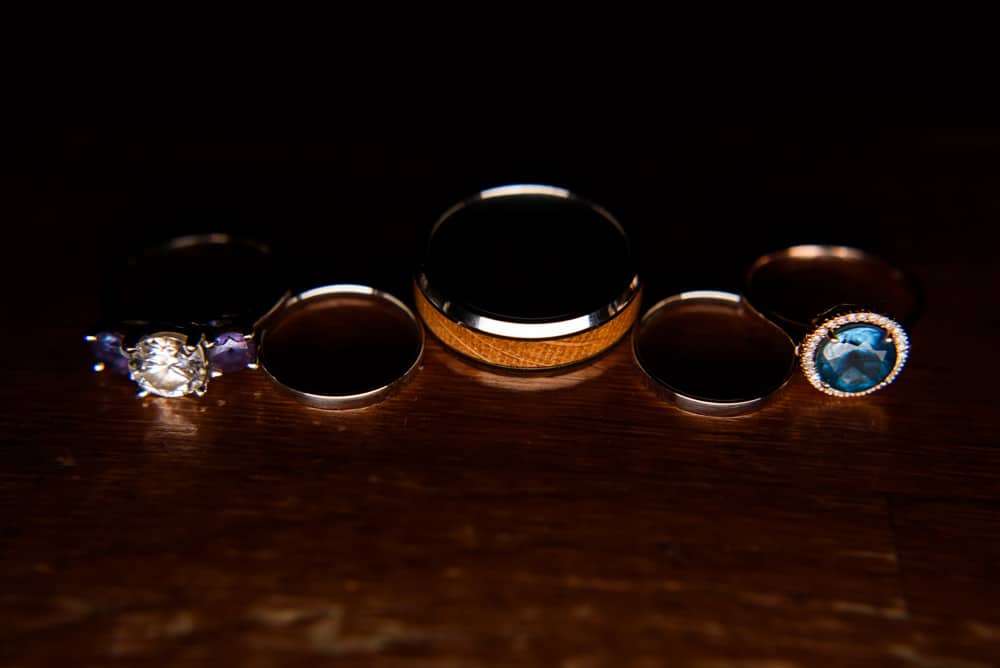
Make sure you have enough light. If you have low light, then you’ll either need to raise your ISO and get more noise or use a low aperture, which can make your depth of field too narrow and hard to get focus. You can use a tripod and a low shutter speed if possible or add some light. In the image below, I used a Polaroid BrightSaber video light to create a narrow beam of light across the rings. It was a pretty dark reception, so this helped me get more reasonable settings than I would have otherwise.
35mm lens with close-up filters, 1/200 sec, f4.5, ISO 1000
If you have any questions, join us in the community. I’ll be checking in there daily to see your work and help you achieve the best results.
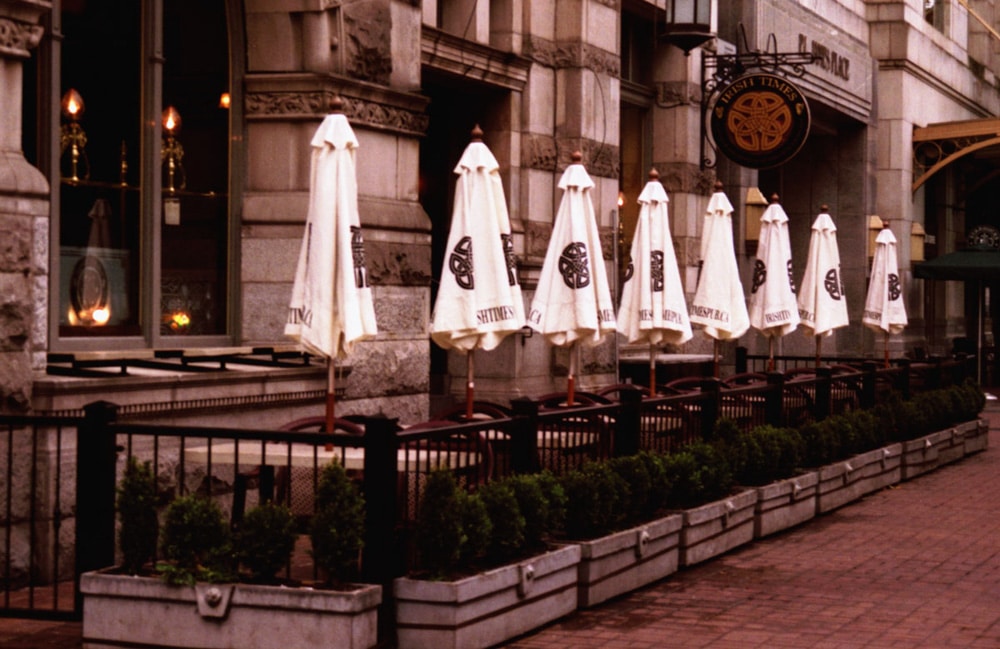
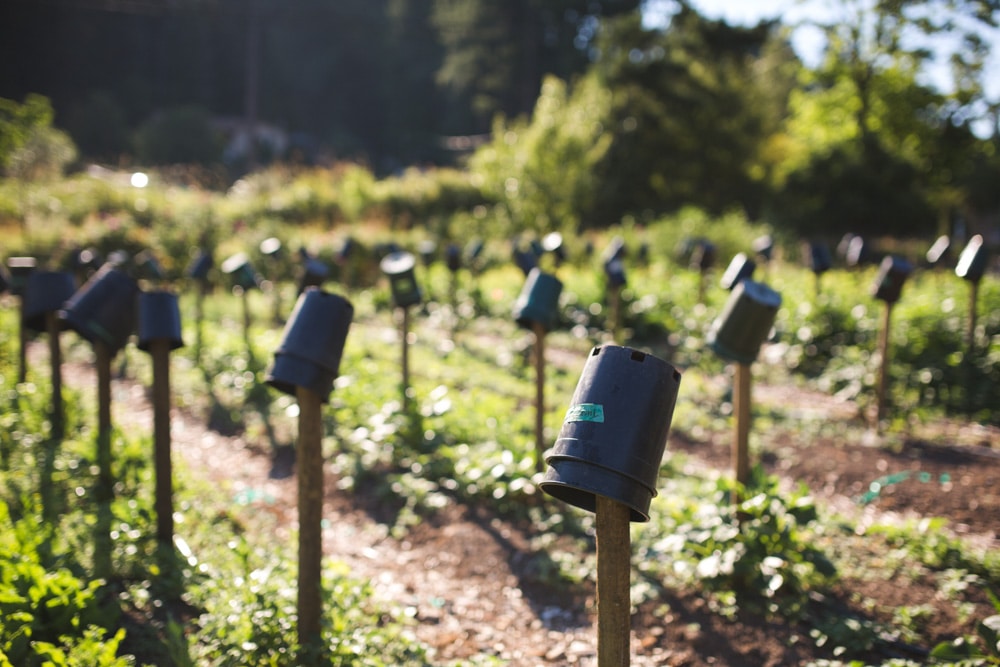
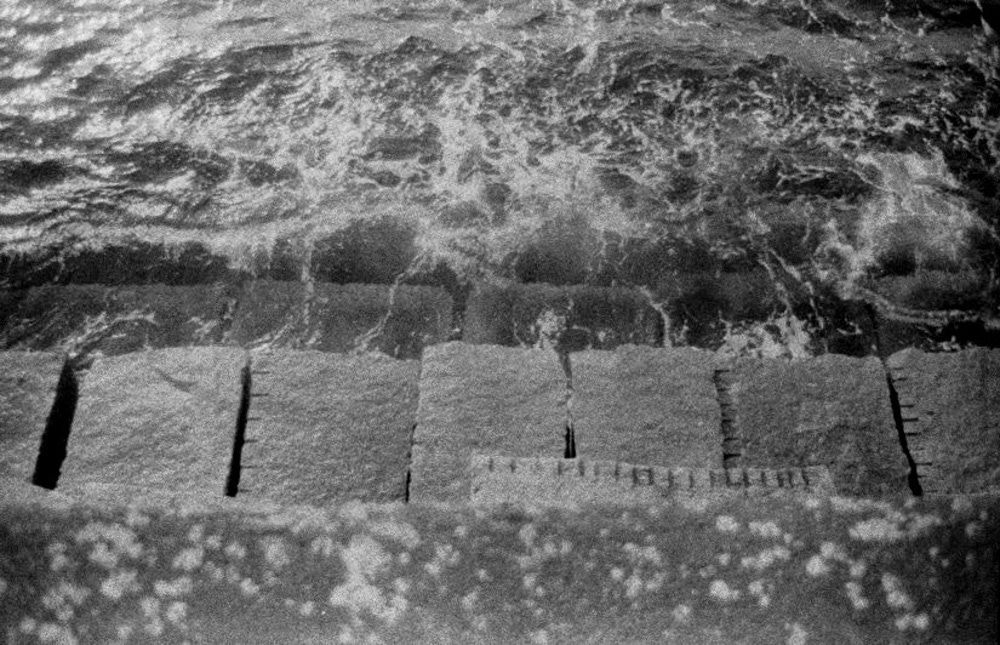
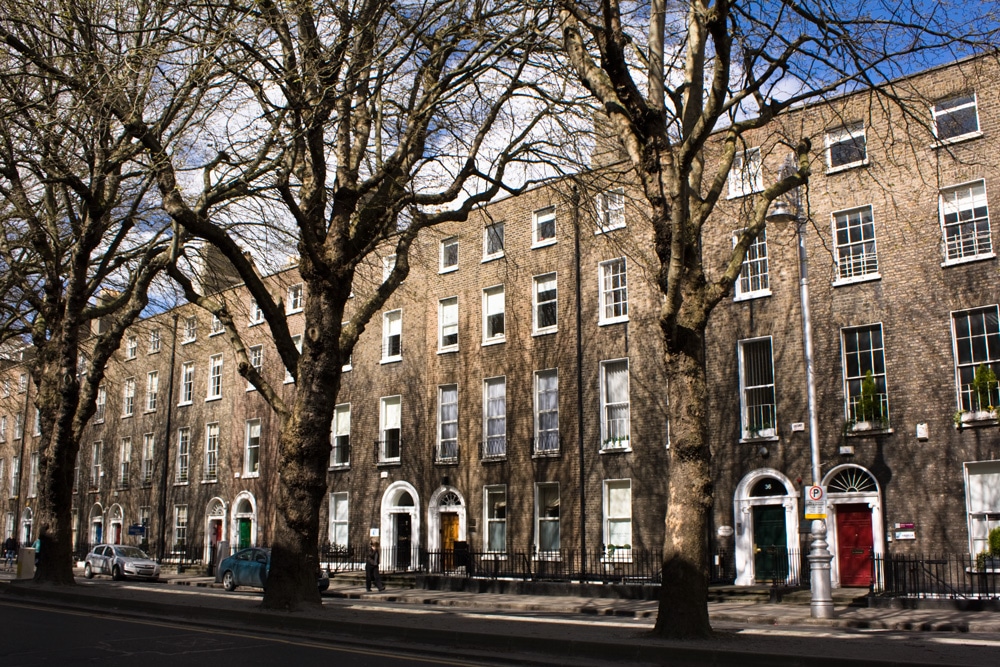
This week’s theme is repetition. I had a hard time finding many recent examples in my work, so I pulled a few old non-people photos from the archives. The left top and middle photos were taken on film prior to 2009. Even though I didn’t find many examples with people in them, repetition can be a great way to draw the viewer’s eye to your subject, like in the bottom two examples. Or just lead the eye through the frame if there is no particular subject, kind of similar to leading lines. Repetition can take the form of leading lines too, like in the top two examples.
Here are some tips on using repetition in your photos:
As I’ve said in other composition challenges, think about the way your eye moves around the frame. If you have a subject, you’ll probably want to use repeating shapes/objects to draw the viewer’s eye to them.
Think about breaking up the pattern with an object or person. Imagine your whole frame is a pattern, like a brick wall or a flower bed. If you put something in there that doesn’t fit in, that’s what the eye will be drawn to, so pay attention to your composition (think rule of thirds or symmetry). This works well with my bottom two photos that have subjects in them. It’s more of a distraction in the black and white photo of the ocean steps and I kind of wish that random element on the right middle step wasn’t there.
Keep an eye out for repetition in patterns or groups of objects in your daily life and you’ll get better at spotting it. Examples could be rows of trees, a patterned wall, a bunch of benches in a church, a line of people, a row of lockers, windows, etc.
Try zooming in on the repeated items, so other things don’t distract the viewer from the pattern (unless intentionally like with a subject or a well-composed different element).
If you have any questions, join us in the community. I’ll be checking in there daily to see your work and help you achieve the best results.
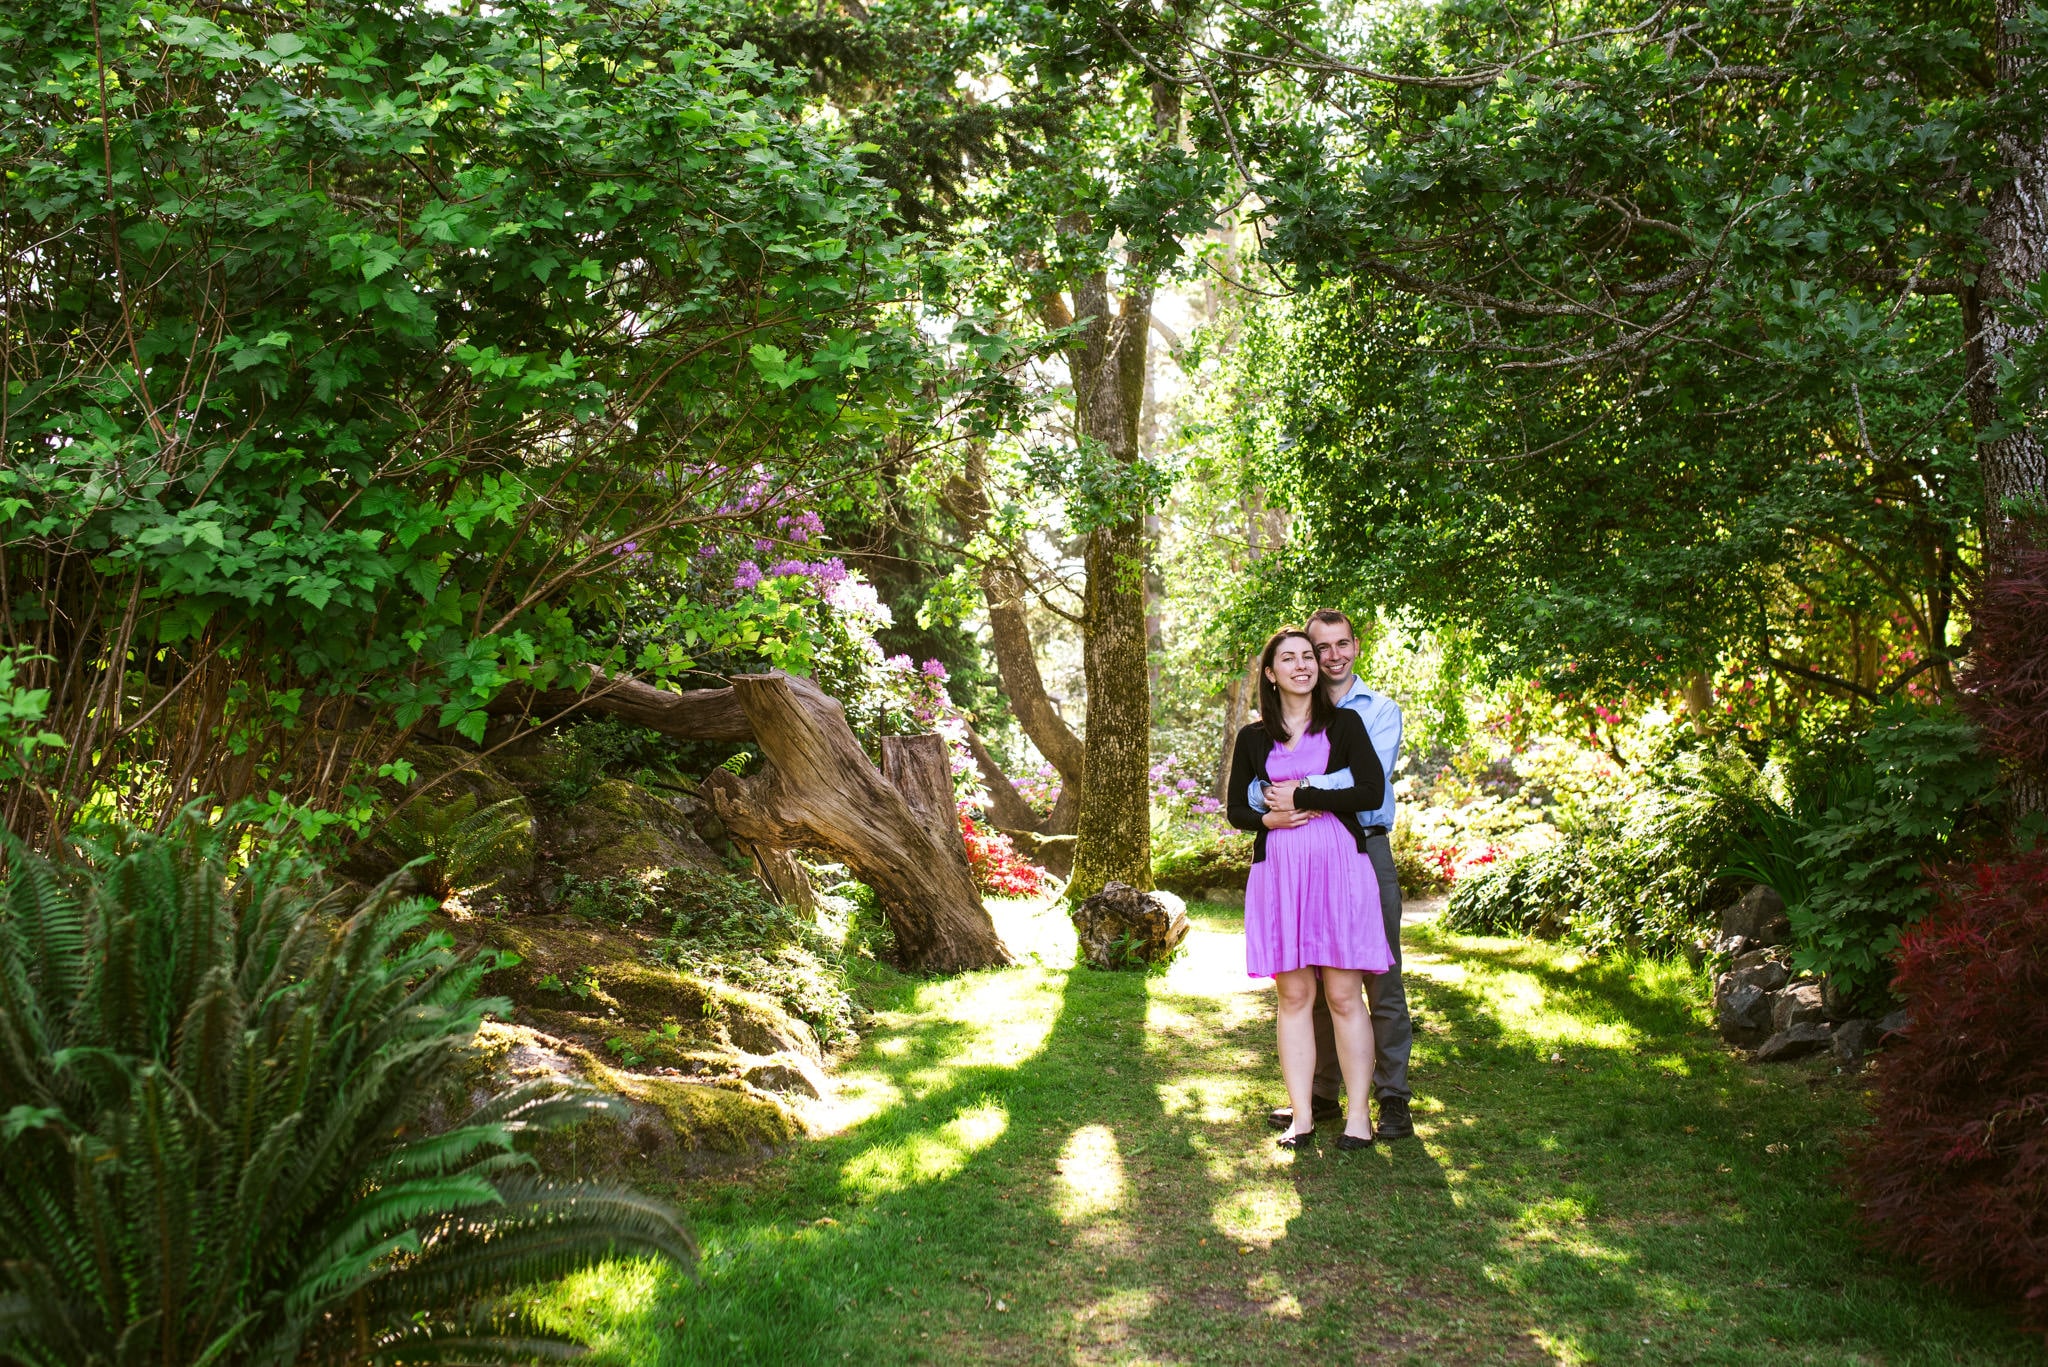
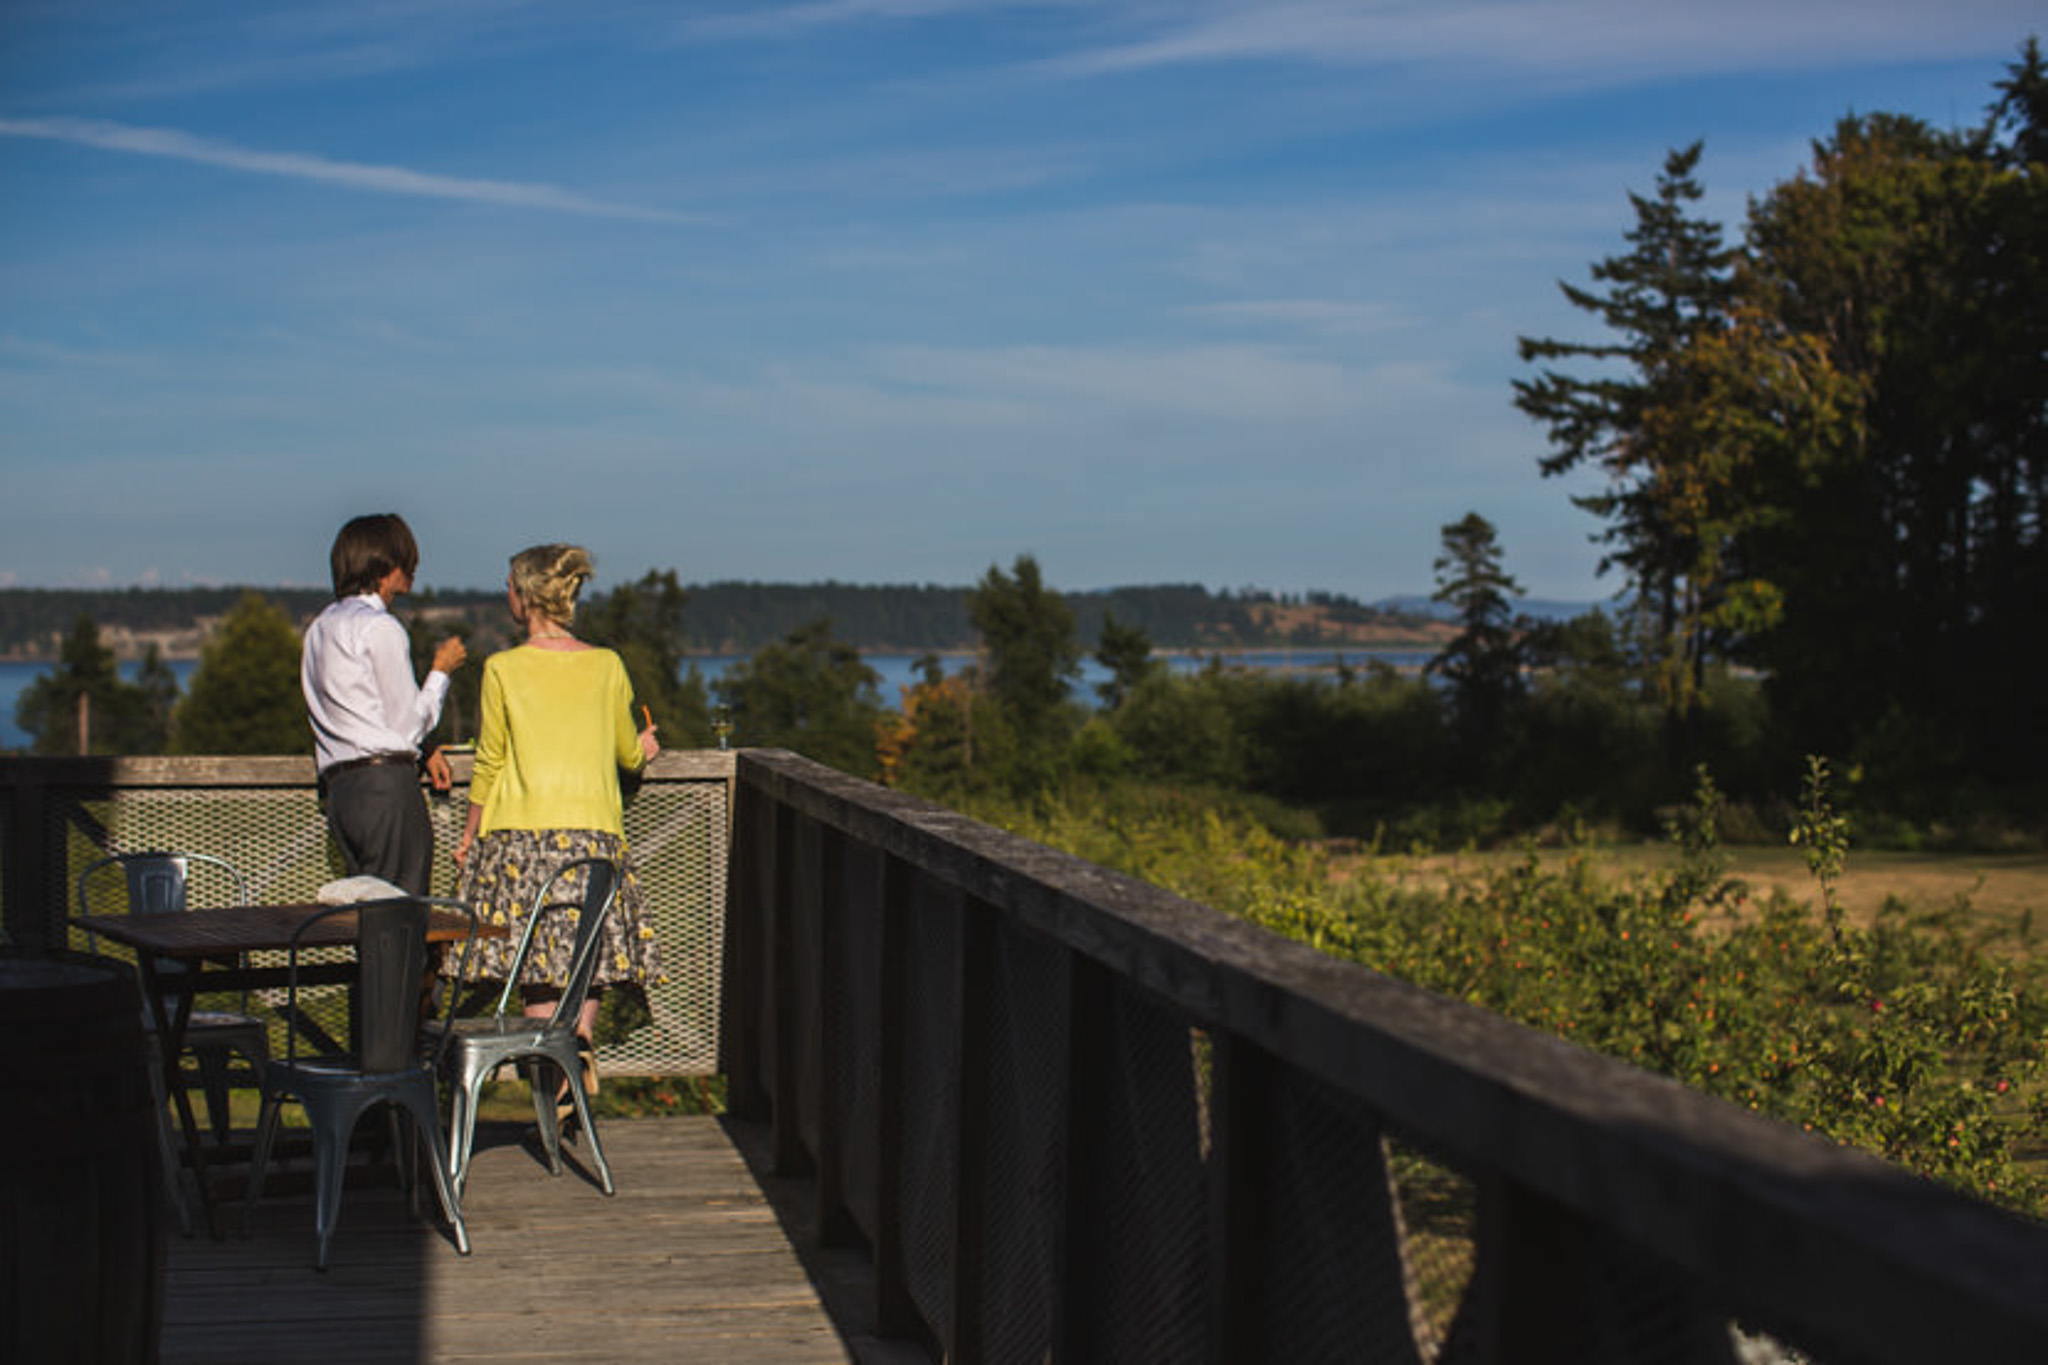
This week’s theme is dappled light. Something I often avoid, dappled light can create some interesting effects. Dappled light is when spots of light come through something like trees, leaving bright and dark spots on your subject.
Above is an example of unintentional dappled light, taken many years ago before I really learned to see light well. Notice that the bright and dark spots on people’s faces are random and unflattering. This would have been better taken from the other side with the sun behind them. These days, I usually try to avoid dappled light, but it can be used purposefully with interesting effect.
To avoid it, either try to find a solid patch of shade or put your subjects with the sun at their backs (backlight). I used backlight in the photo above, which prevented dappled light from hitting my subjects and left them in nice, even shade. Notice the dapple on the grass, which makes the space a bit more interesting.
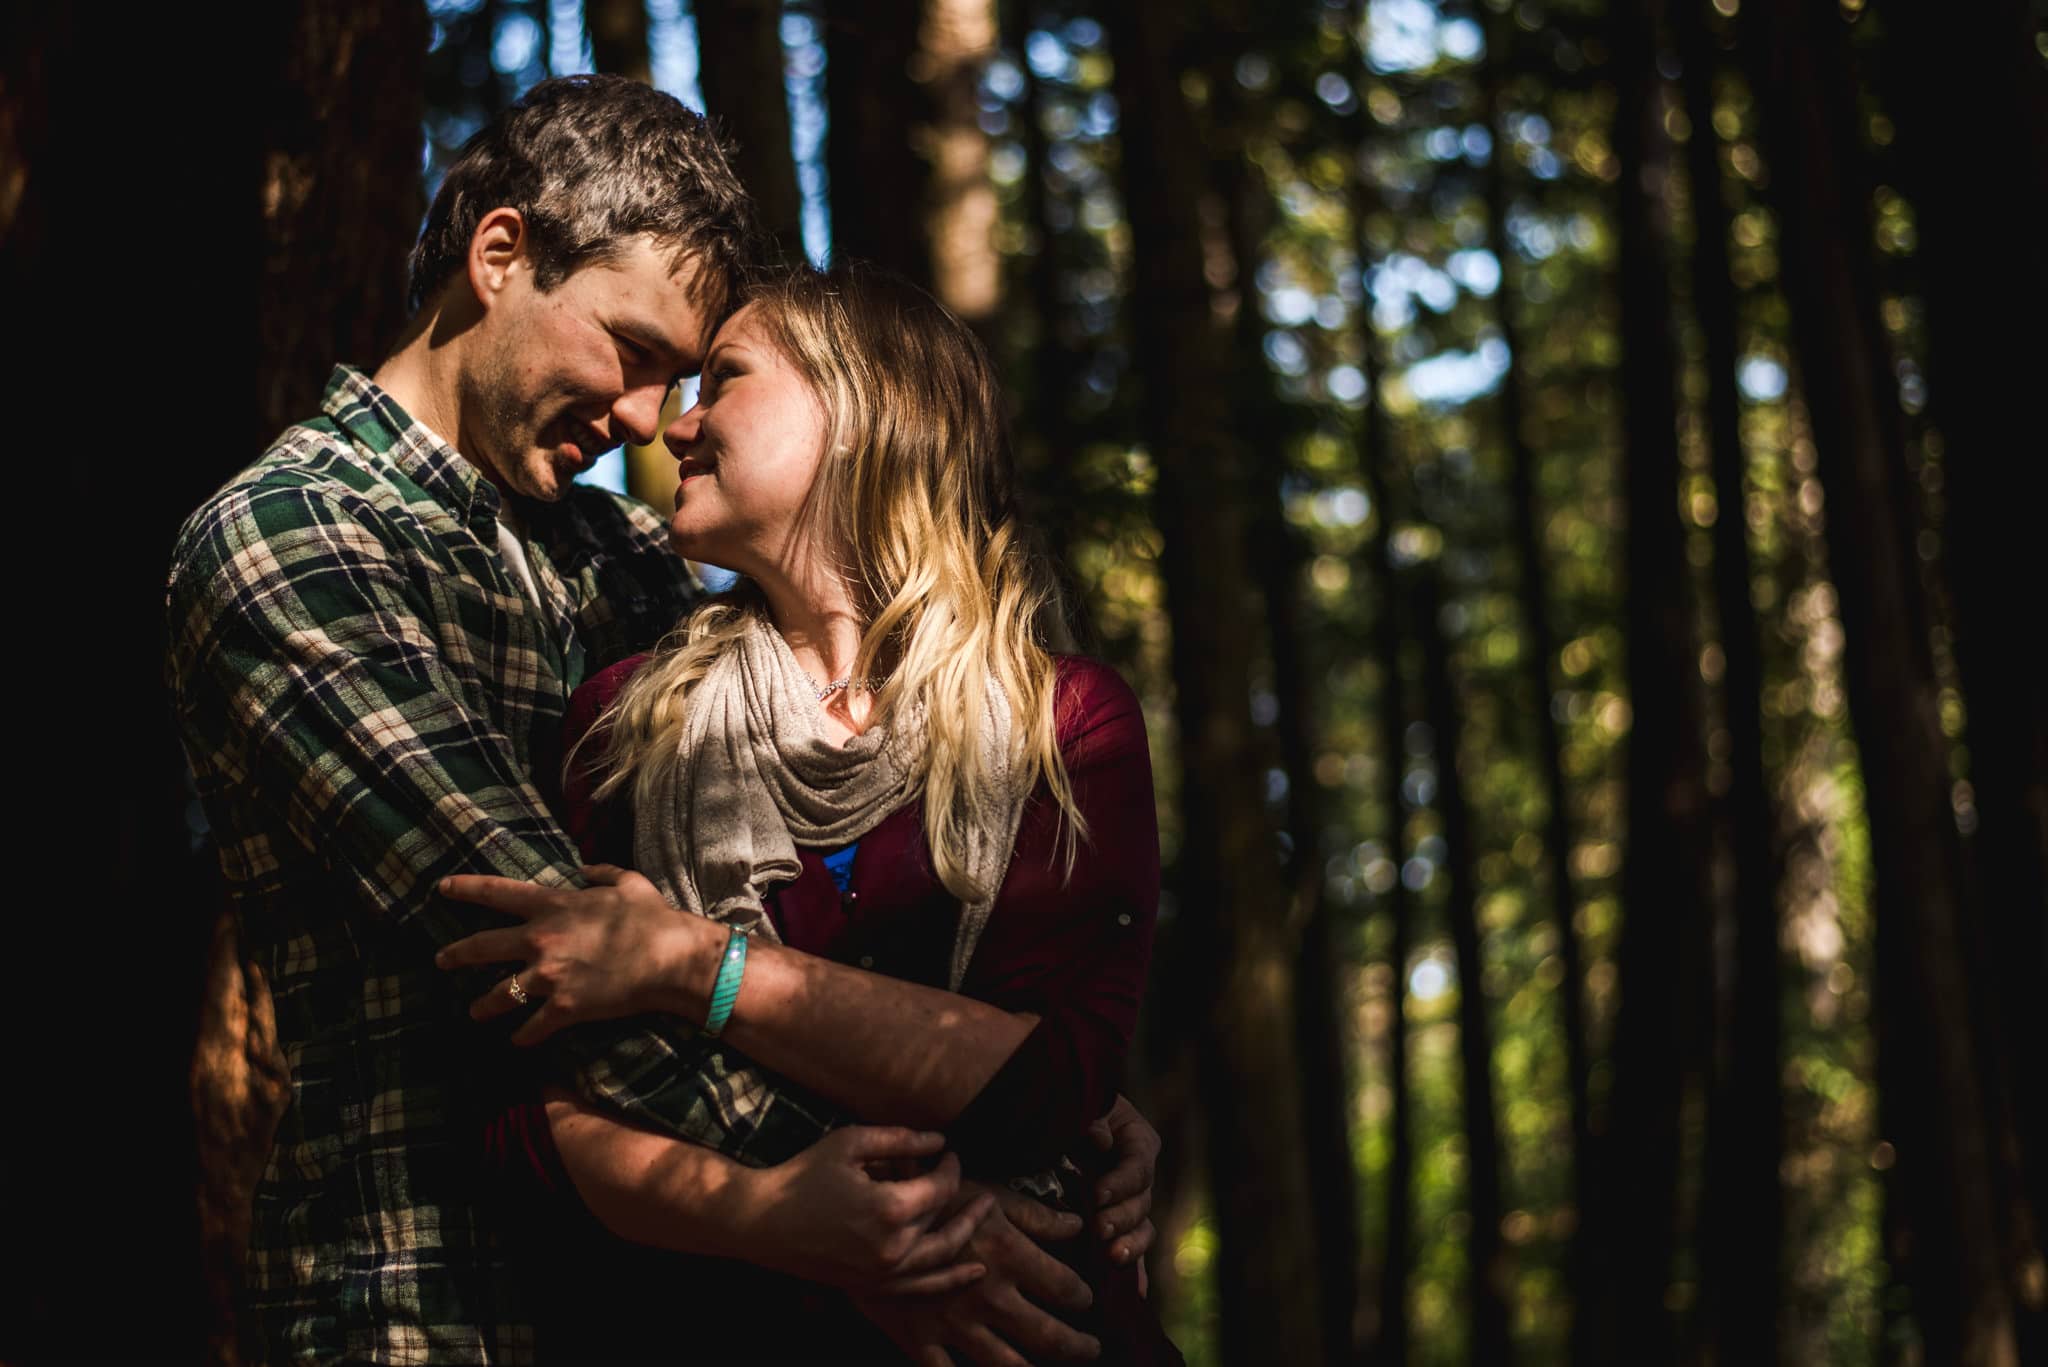
If you want to actually have dapple hit your subjects, try putting the light in front and let it hit them directly. From above or the side can work too. Above are some examples of intentional dappled light. It can create some pretty bokeh in the trees and create a moody feeling for your subjects. But you have to be careful where the light falls. Pay attention to the shadows on people’s faces to make sure it looks good. Another important thing to consider is your exposure. You’ll want to expose so your highlights don’t go pure white (ie. get blown out). To do this, try metering off the highlights.
You can create dapple in the usual way by using trees, but you can also create dapple by holding lace or a loosely knit/crochet blanket up between your light source and your subject. This will create a more artsy, dramatic dapple than the examples I showed above. I might try this myself this week.
If you have any questions, join us in the community. I’ll be checking in there daily to see your work and help you achieve the best results.
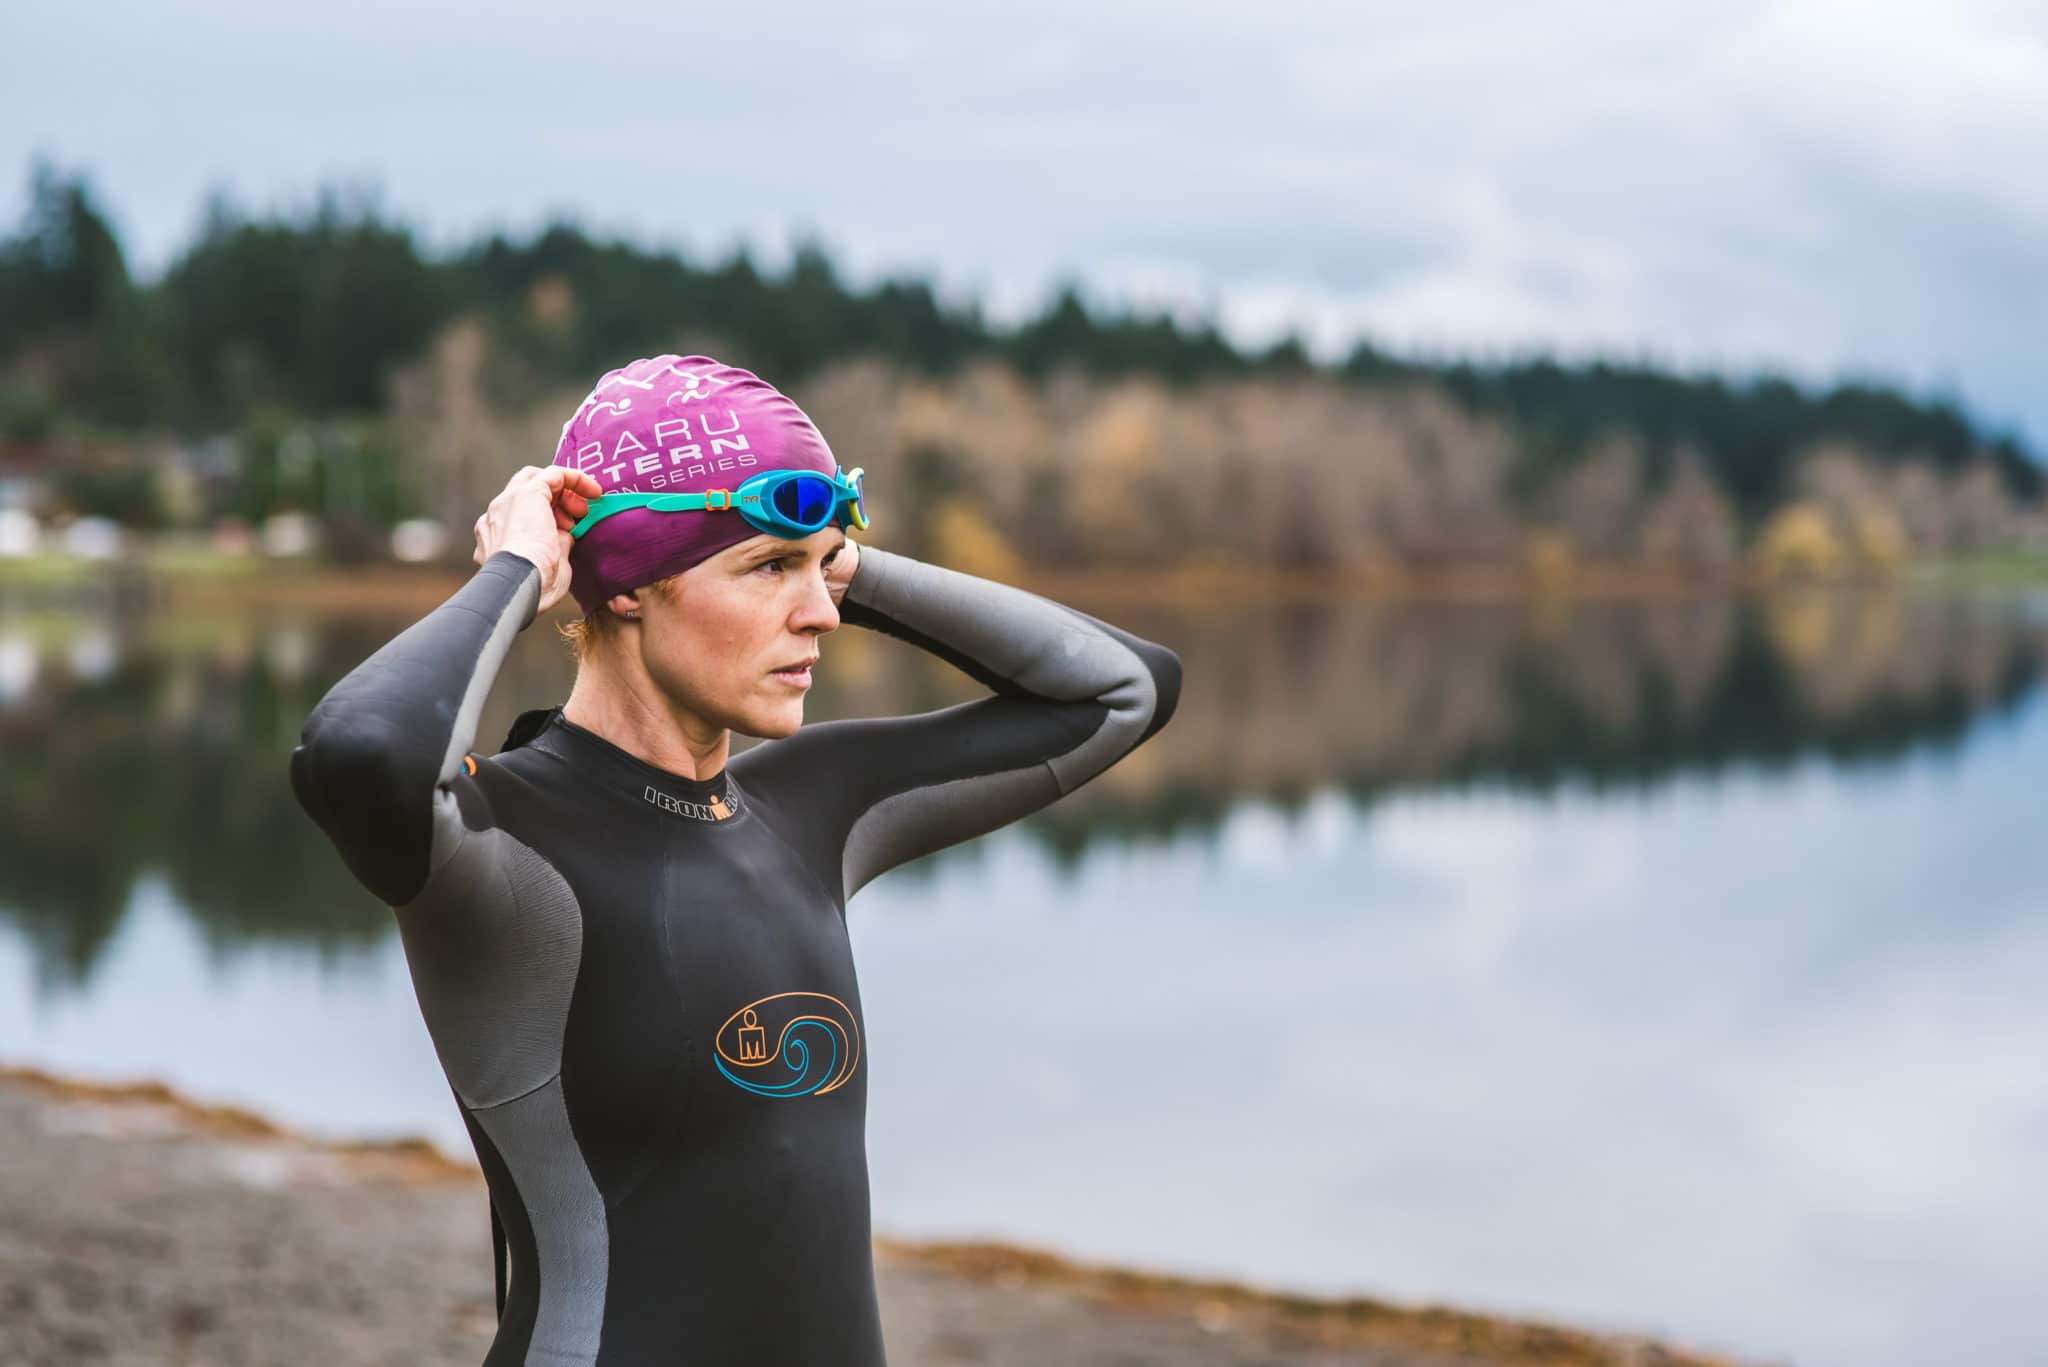
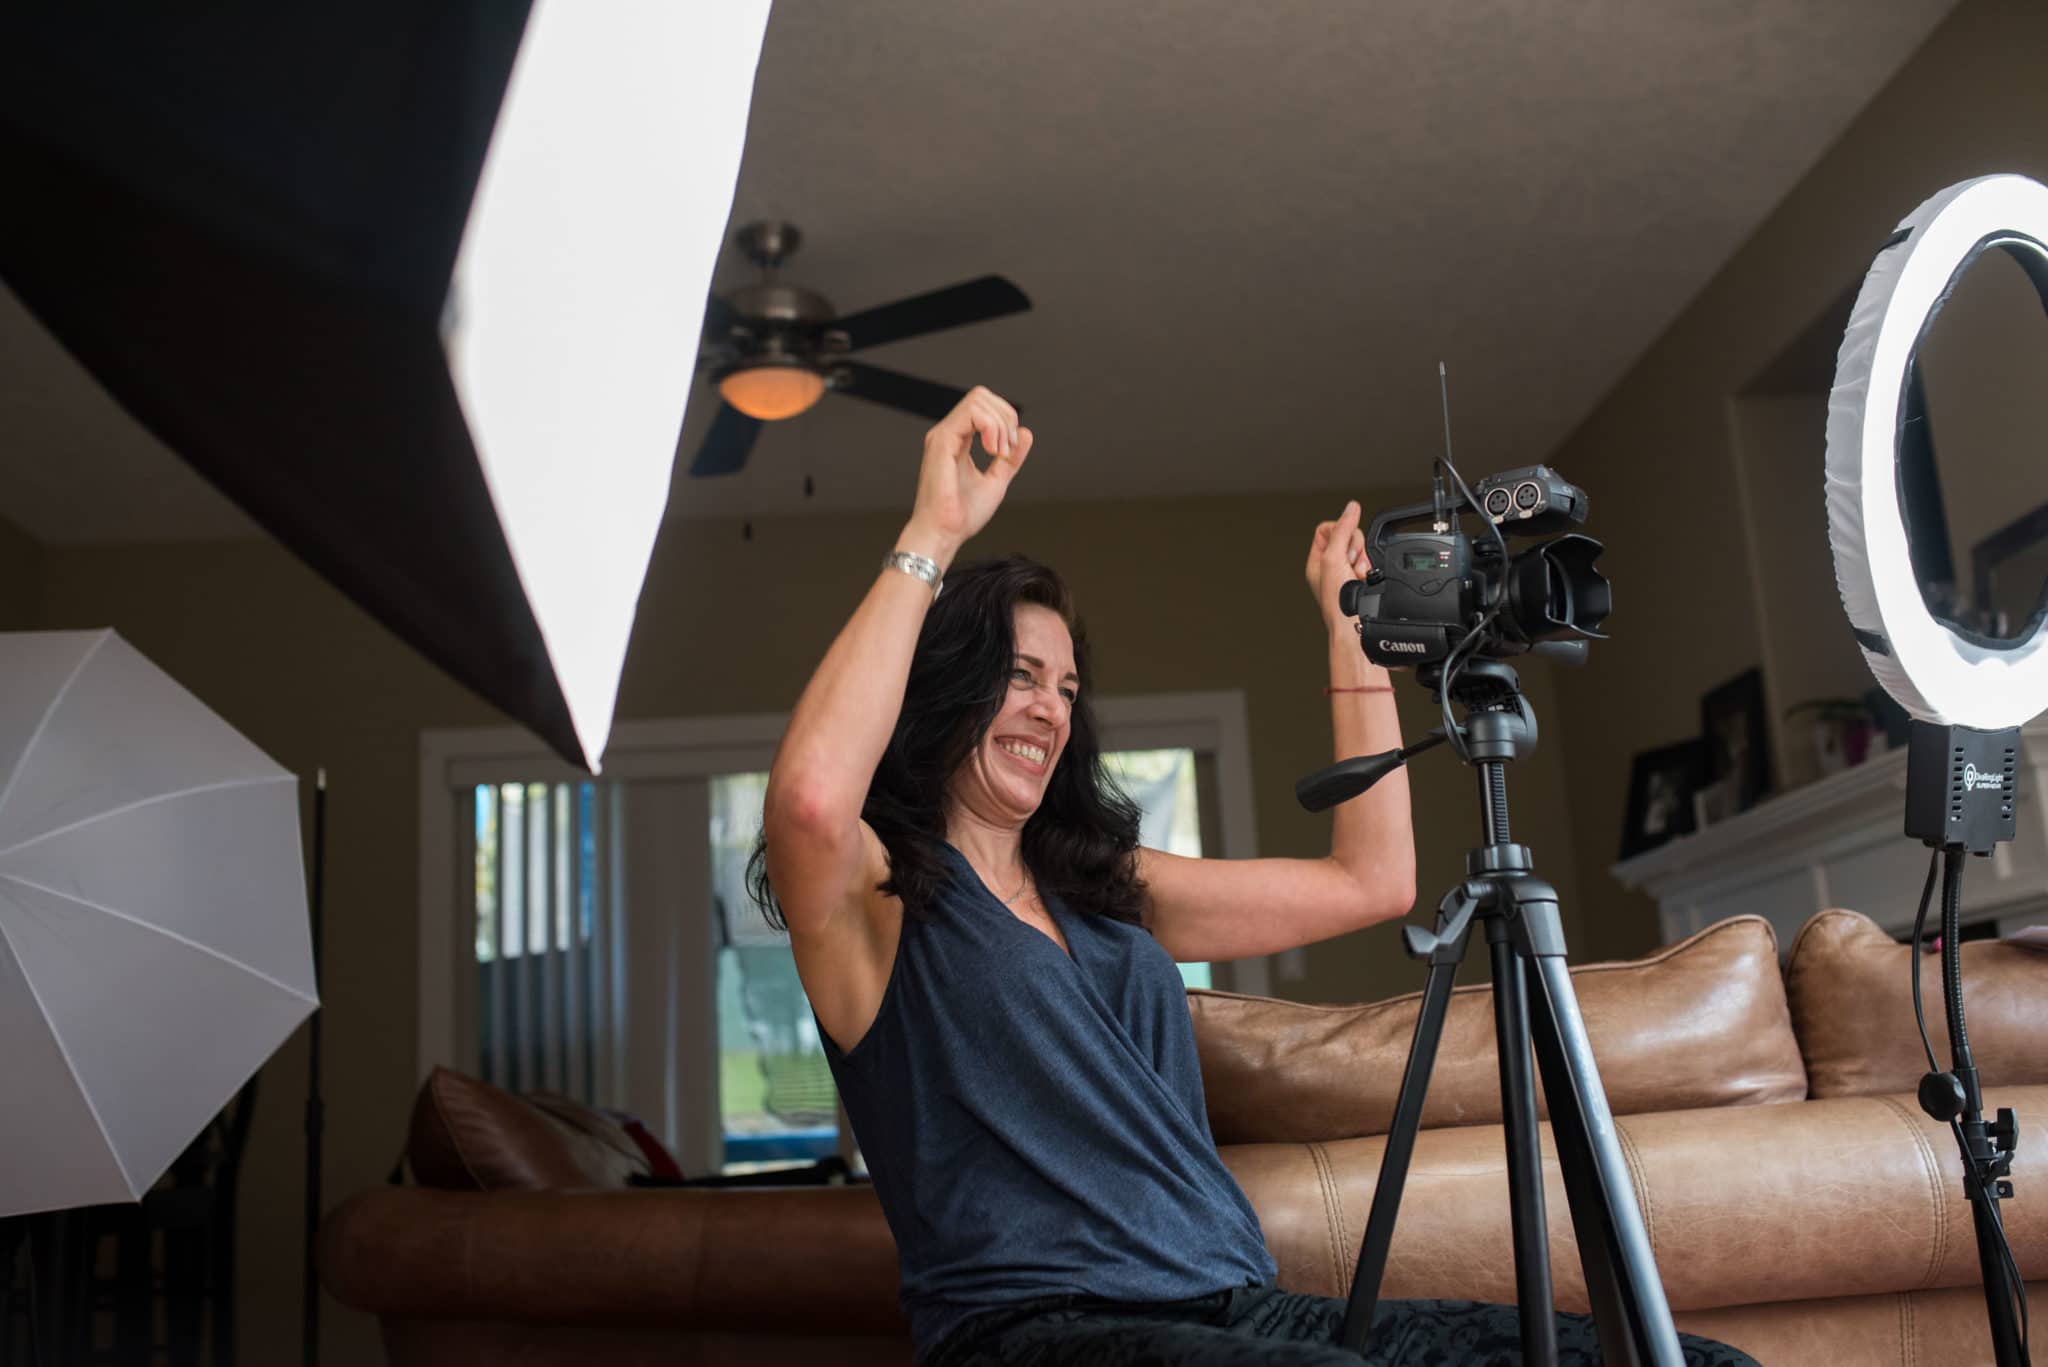
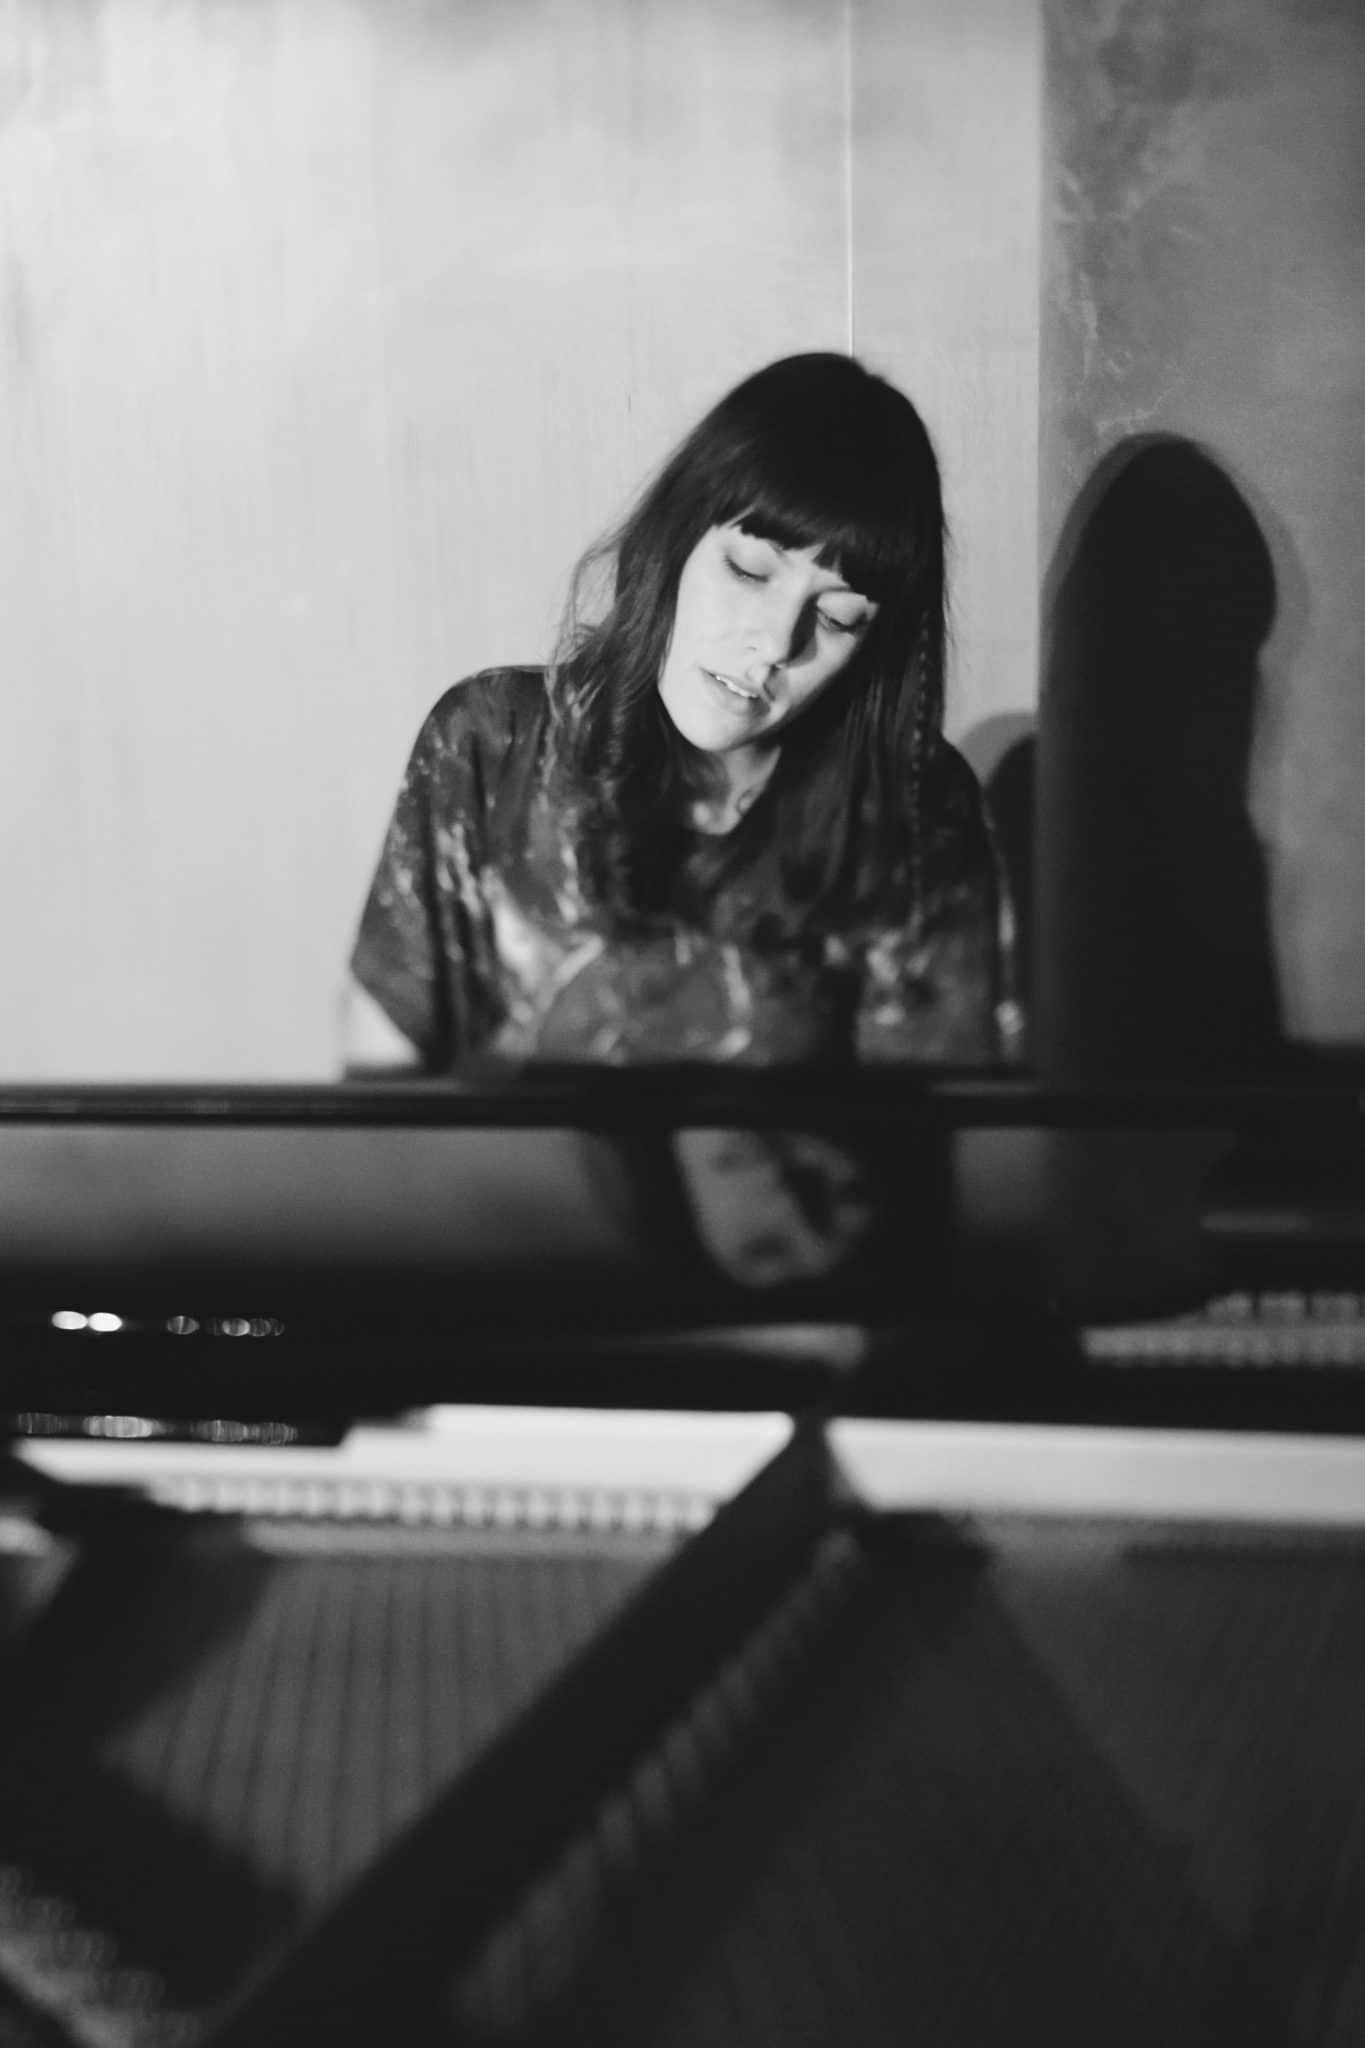
This week’s theme is to photograph a passion. It’s more of a relaxed theme with no technical guidelines, so just go take some photos of something you’re passionate about or photograph someone else engaging with whatever they’re passionate about. This can include hobbies, work, or whatever else inspires you. Check below for tips on getting a self-portrait if you want to try that this week.
In case you decide to document yourself pursuing your passion, here are some tips on taking self-portraits.
If you have a point-and-shoot or camera phone, you should be able to put it in timer mode, set it up on a tripod or table, and just press the shutter before you get in position.
For those of you with DSLRs:
Set up your exposure while looking at the area you want to photograph. You can use a stand-in object to focus the camera.
Use the self-timer:
I’ll let you look this one up in your manual or online, but typically you want to change the shooting mode to remote timer. If you go into your menu on some cameras, you can set it up to take a certain number of shots at a set interval, which can be great for getting more candid style photos.
Then press the shutter halfway down to focus on your stand-in and press all the way to initialize the timer. Go get in the photo!
Use a remote:
This is similar to the self-timer method, except you can hold the remote in your hand and trigger it as many times as you like. Wireless remotes can be picked up for about $20, like this one for Nikon or this for Canon. Make sure to check that it’s compatible with your camera model before buying. Put your camera in remote mode, set the exposure and focus (some remotes/cameras will let you focus remotely as well), and get in the shot.
If you have any questions, join us in the community. I’ll be checking in there daily to see your work and help you achieve the best results.
This week’s theme is everything in focus. This is actually a challenge for me as I tend to use a fairly shallow depth of field, meaning not a lot is in focus. I had a hard time finding some examples from my work and some of these are slightly out of focus in the foreground or background, but they get the general idea across. Trying to control where the viewer’s eye goes without using focus (or out of focus areas) as a way of doing so is quite a challenge for many portrait photographers. Check out some examples below followed by some tech and artistic tips.
Here are some tips on getting everything in focus without totally confusing your viewer:
In terms of the technical side of getting everything pretty much in focus, do some combination of these things: use a wide angle lens (less than 50mm), don’t get too close to your subject, don’t have anything very close to your lens as it will tend to go out of focus, use a higher/narrower aperture (f8 or higher). Experiment to see what works best for you.
Since everything is in focus, you can’t rely on blurring certain parts of the image to draw the eye to your subject or blurring out distractions and messes. You should pay extra close attention to the background to make sure it doesn’t distract from what you want people to see. Be careful of things intersecting your subject. If you can, include only things that add to the story you’re trying to tell.
Use compositional techniques to control where the eye goes. Some to try that we’ve already discussed: symmetry and leading lines. One we haven’t discussed is framing, which is using a window, door, mirror, or any other objects to create a “frame” around your subject.
You can also draw the eye to your subject with lighting or colour. For example, having the subject lit by a spot light or a subject in bright clothing in front of a dull background.
Landscape photographers often have everything in focus in wide angle photos, but should still be conscious of the entire contents of the frame, especially anything that may stand out due to colour, size, or lighting.
If you have any questions, join us in the community. I’ll be checking in there daily to see your work and help you achieve the best results.
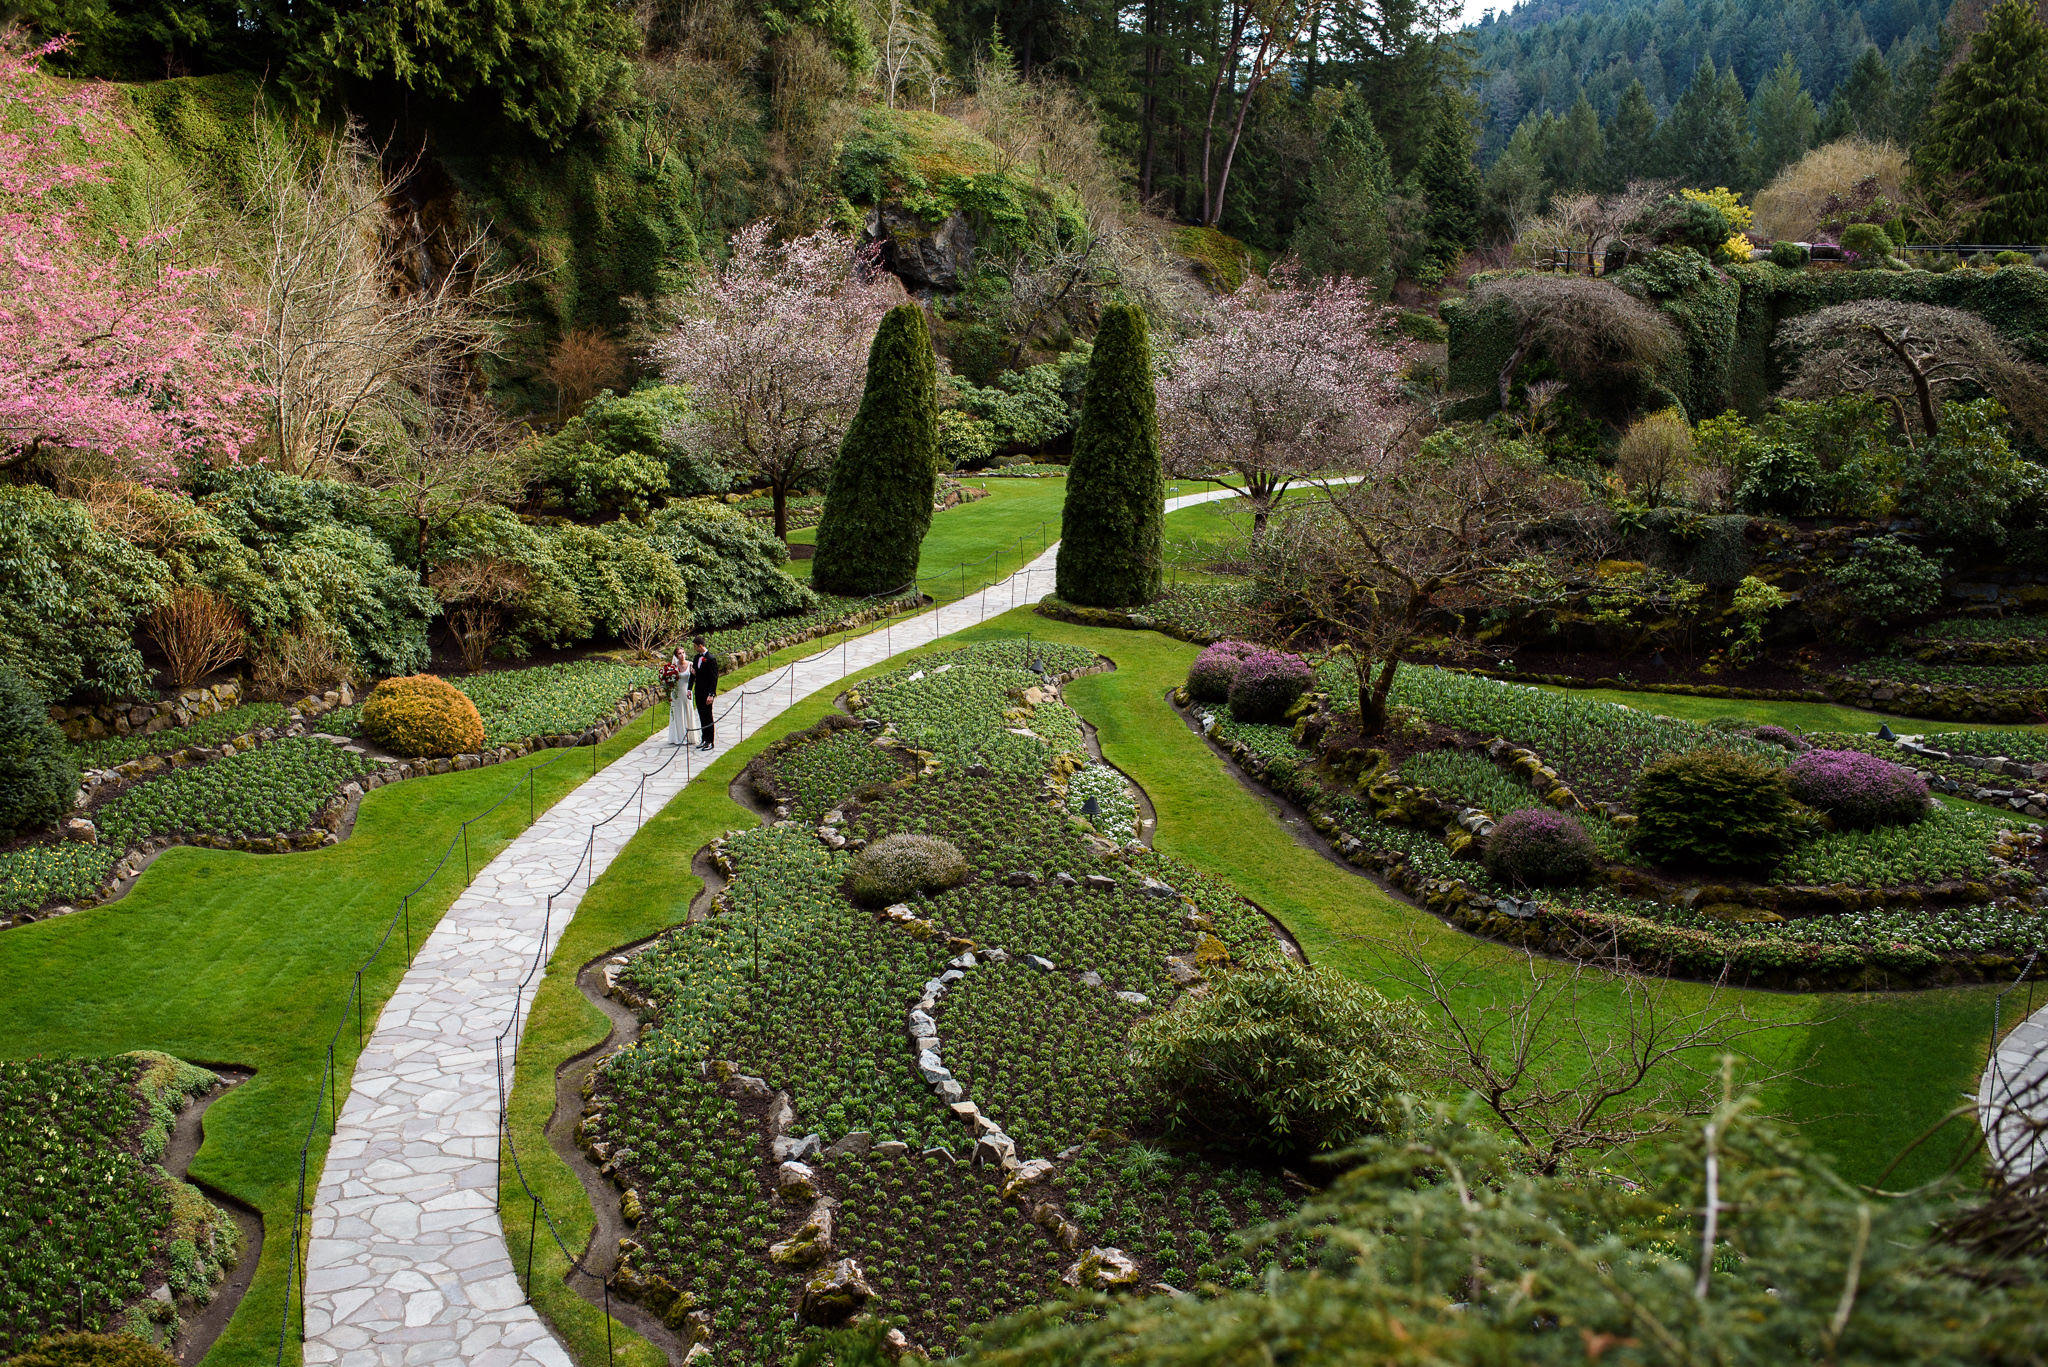
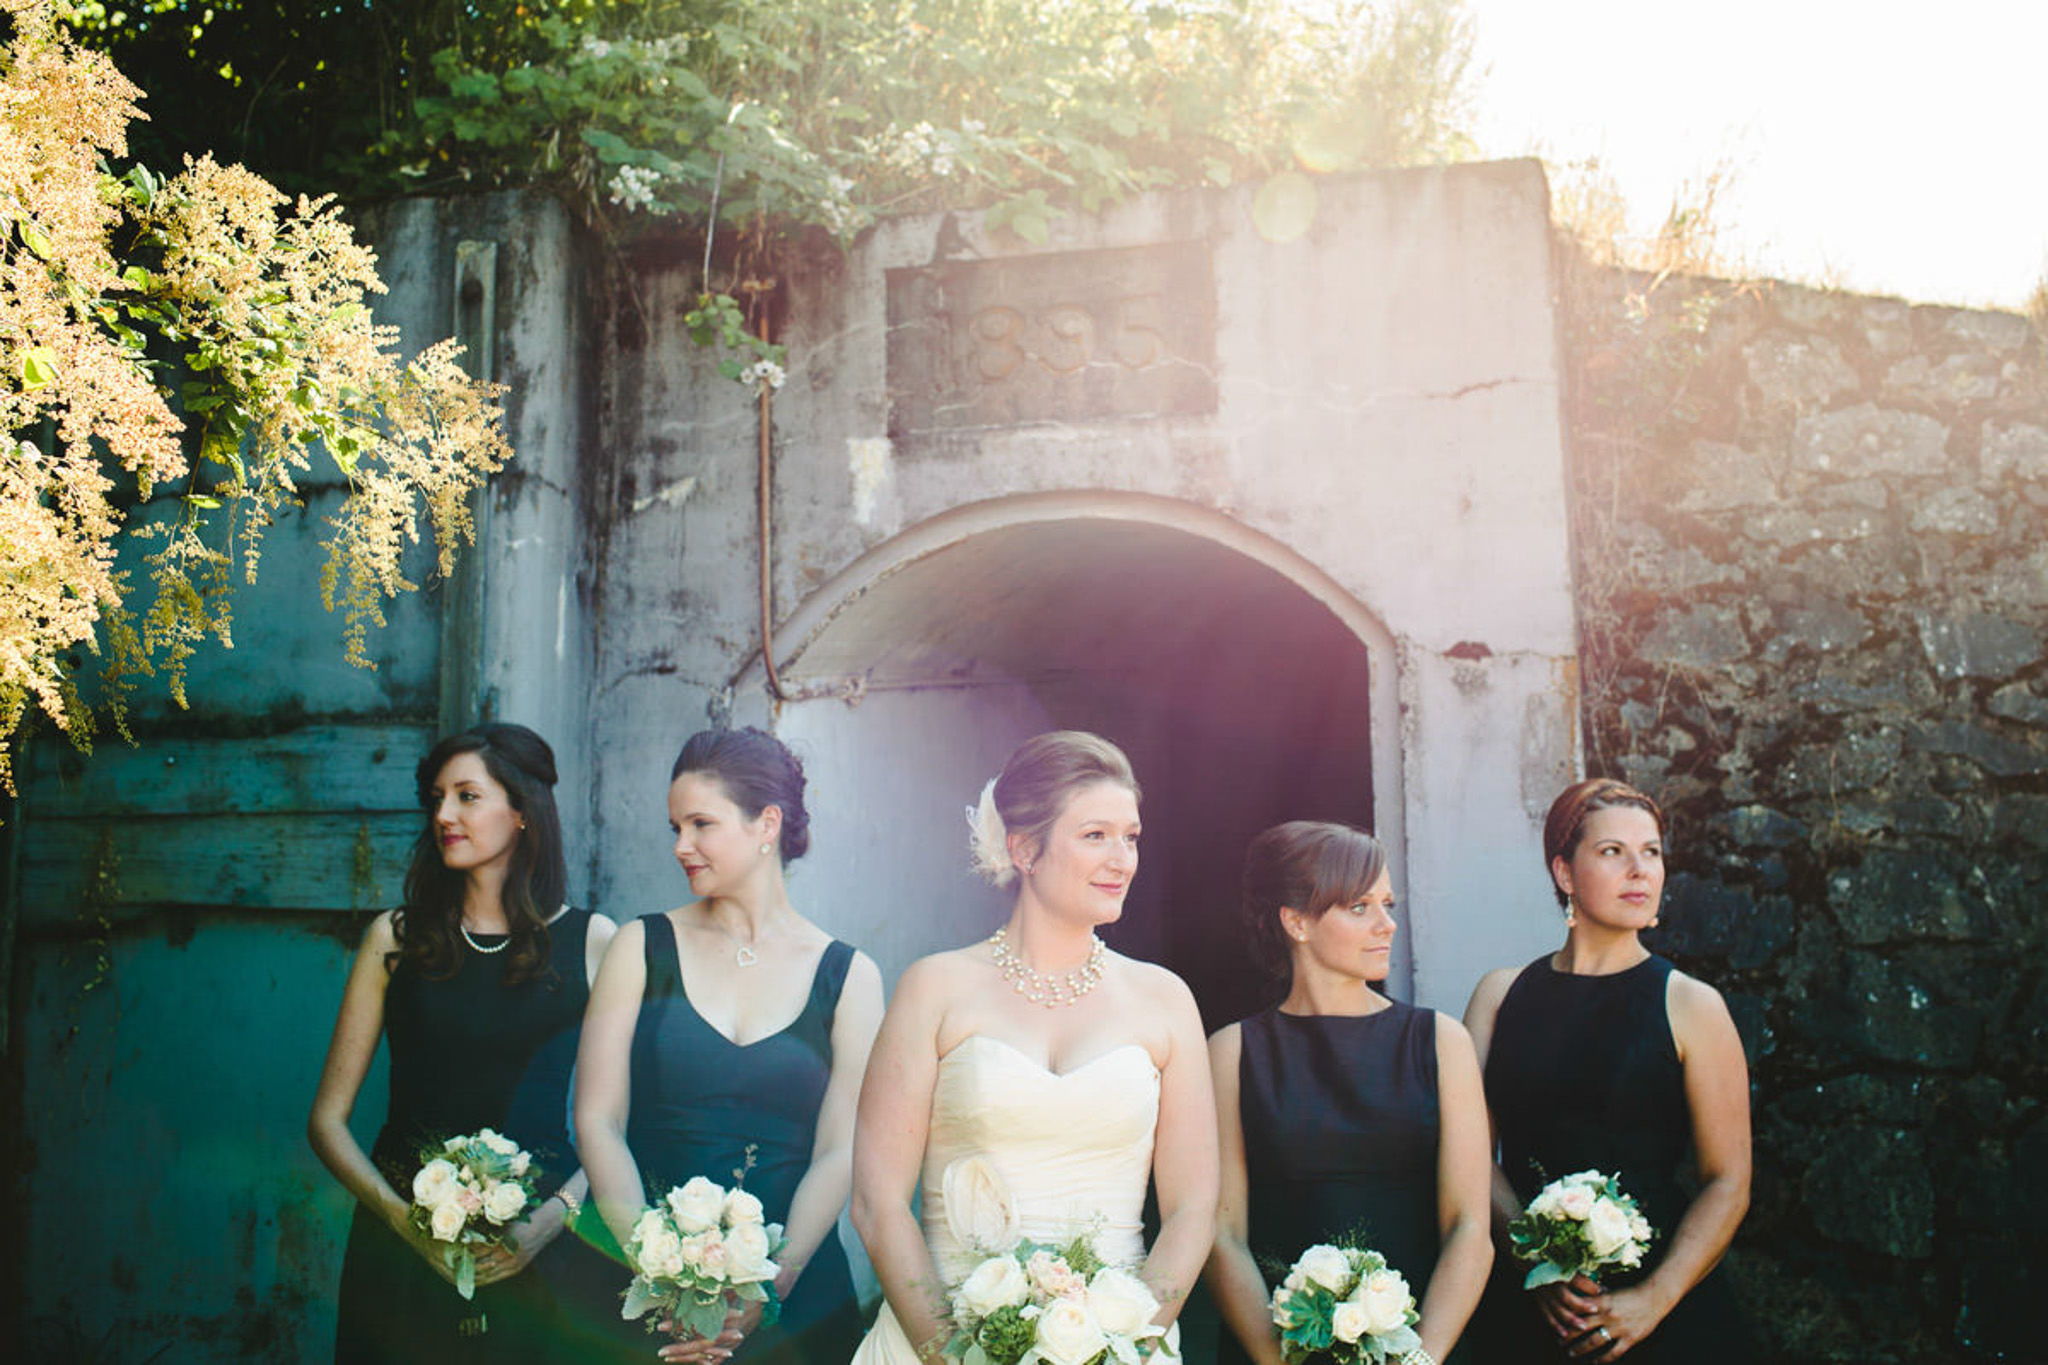
This week’s theme is leading lines. Leading lines are a way of drawing the viewer’s attention into the photo and towards the subject of the image.
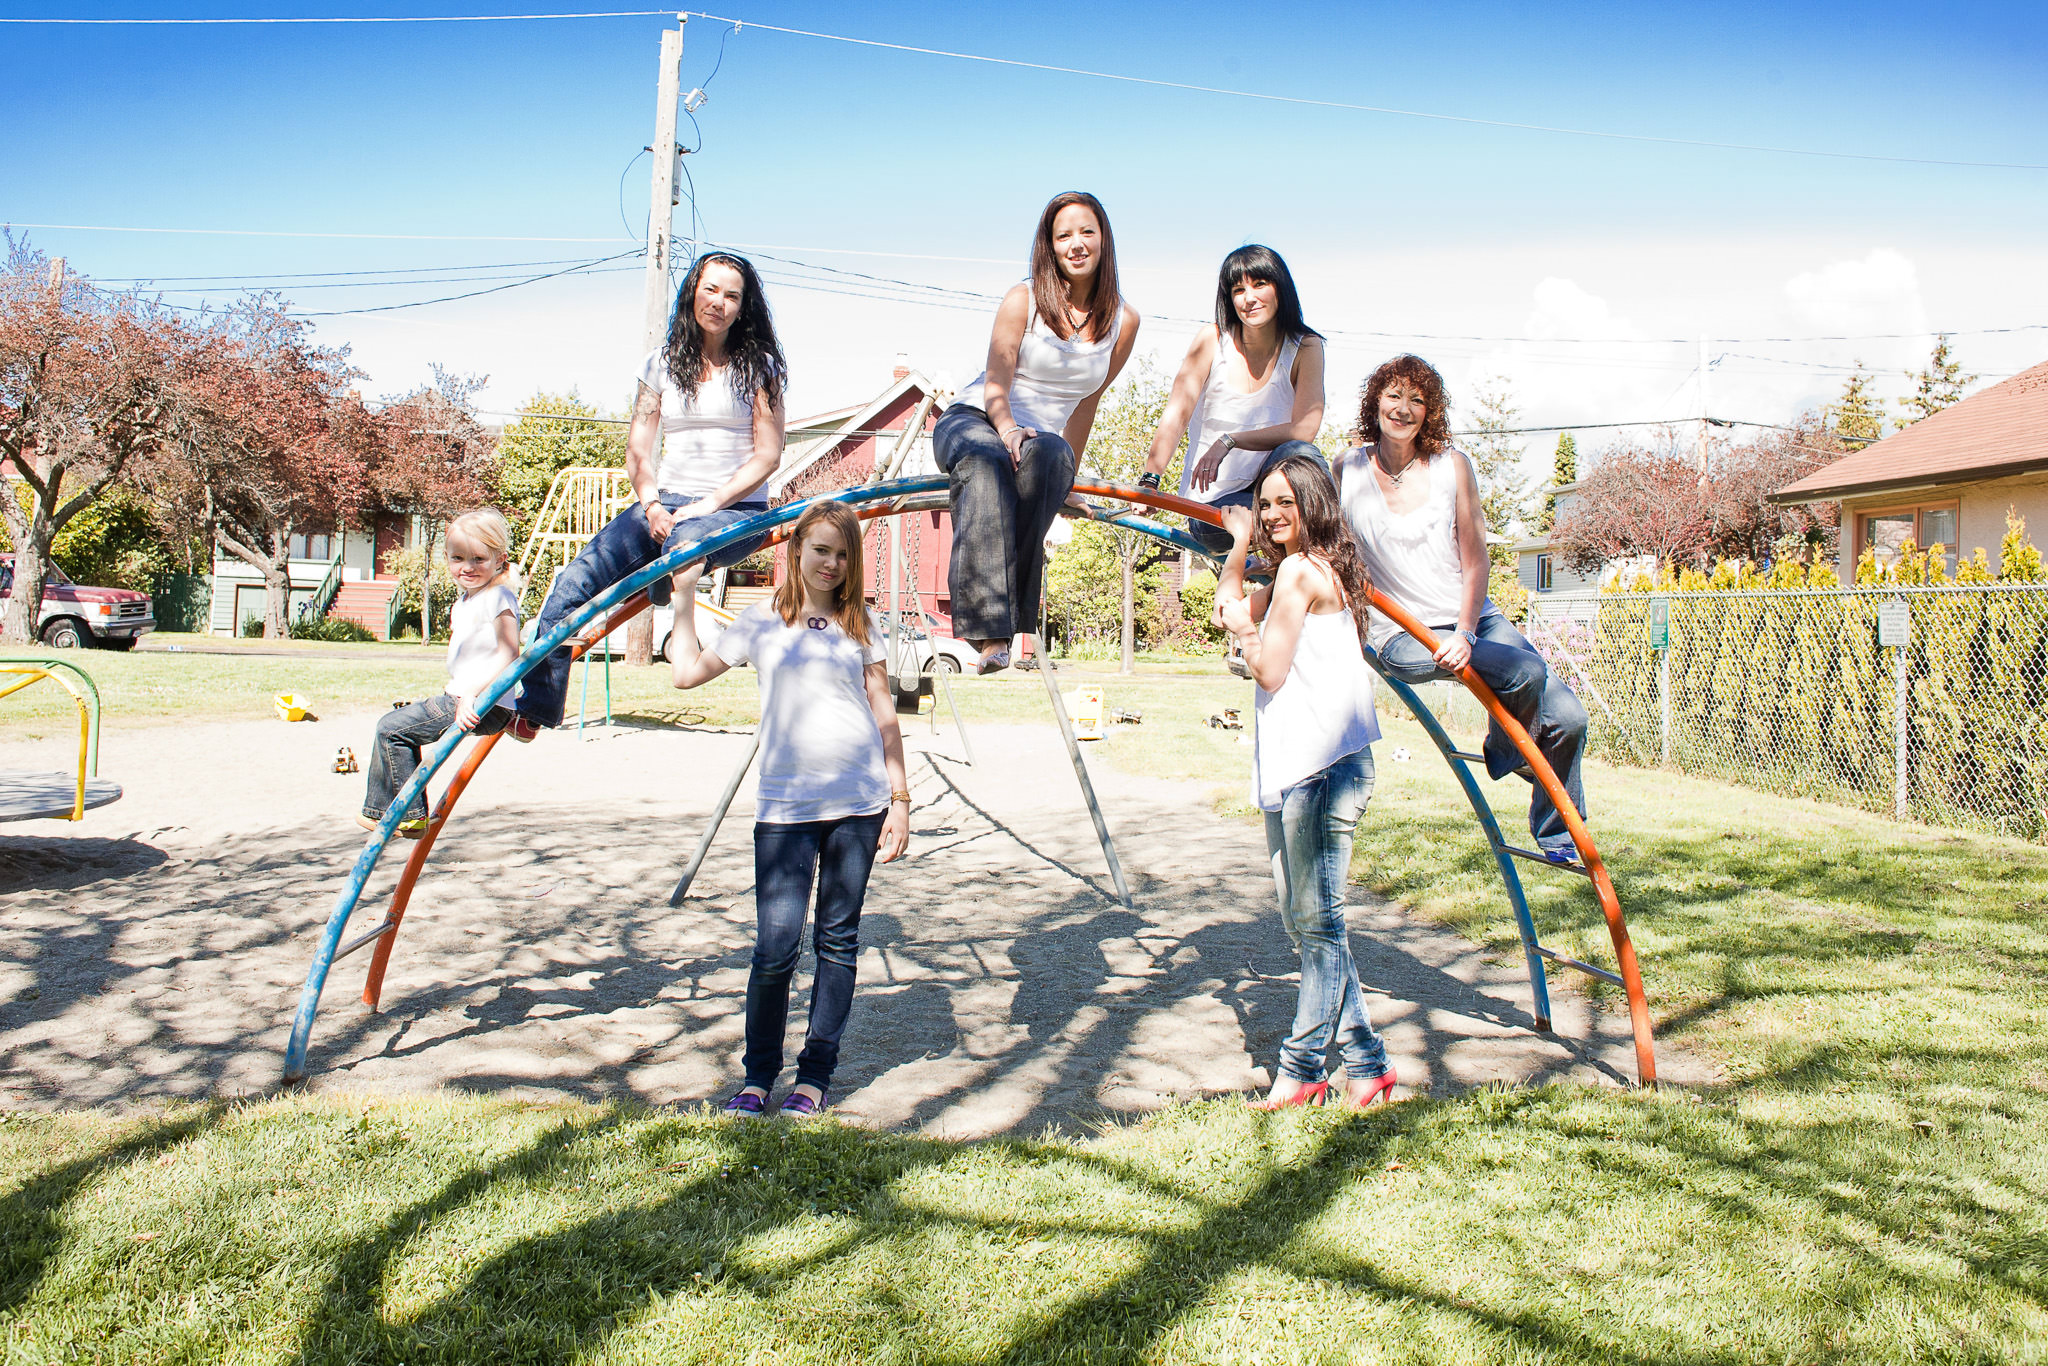
Easy places to find leading lines are roads, walls, fences, rows of trees, or shorelines. Sometimes they lead towards a specific subject and sometimes they converge at a point. Below are a few examples (mine always lead to a subject because I love photographing people). Even if they don’t lead to anything in particular, they can create depth in your image and encourage the viewer to keep looking for longer.
Here are some tips on using leading lines in your photos:
Look for strong lines created by nature or the built environment. You may have to adjust your angle to get them to lead somewhere interesting.
Think about the way you want your viewer’s eye to move through your image. Lines can lead from an edge towards anywhere in the frame, but they let you control the way the viewer tends to move through the image.
Place your subject where the lines converge (or adjust your angle to make the lines lead to it) to create an emphasis on the subject.
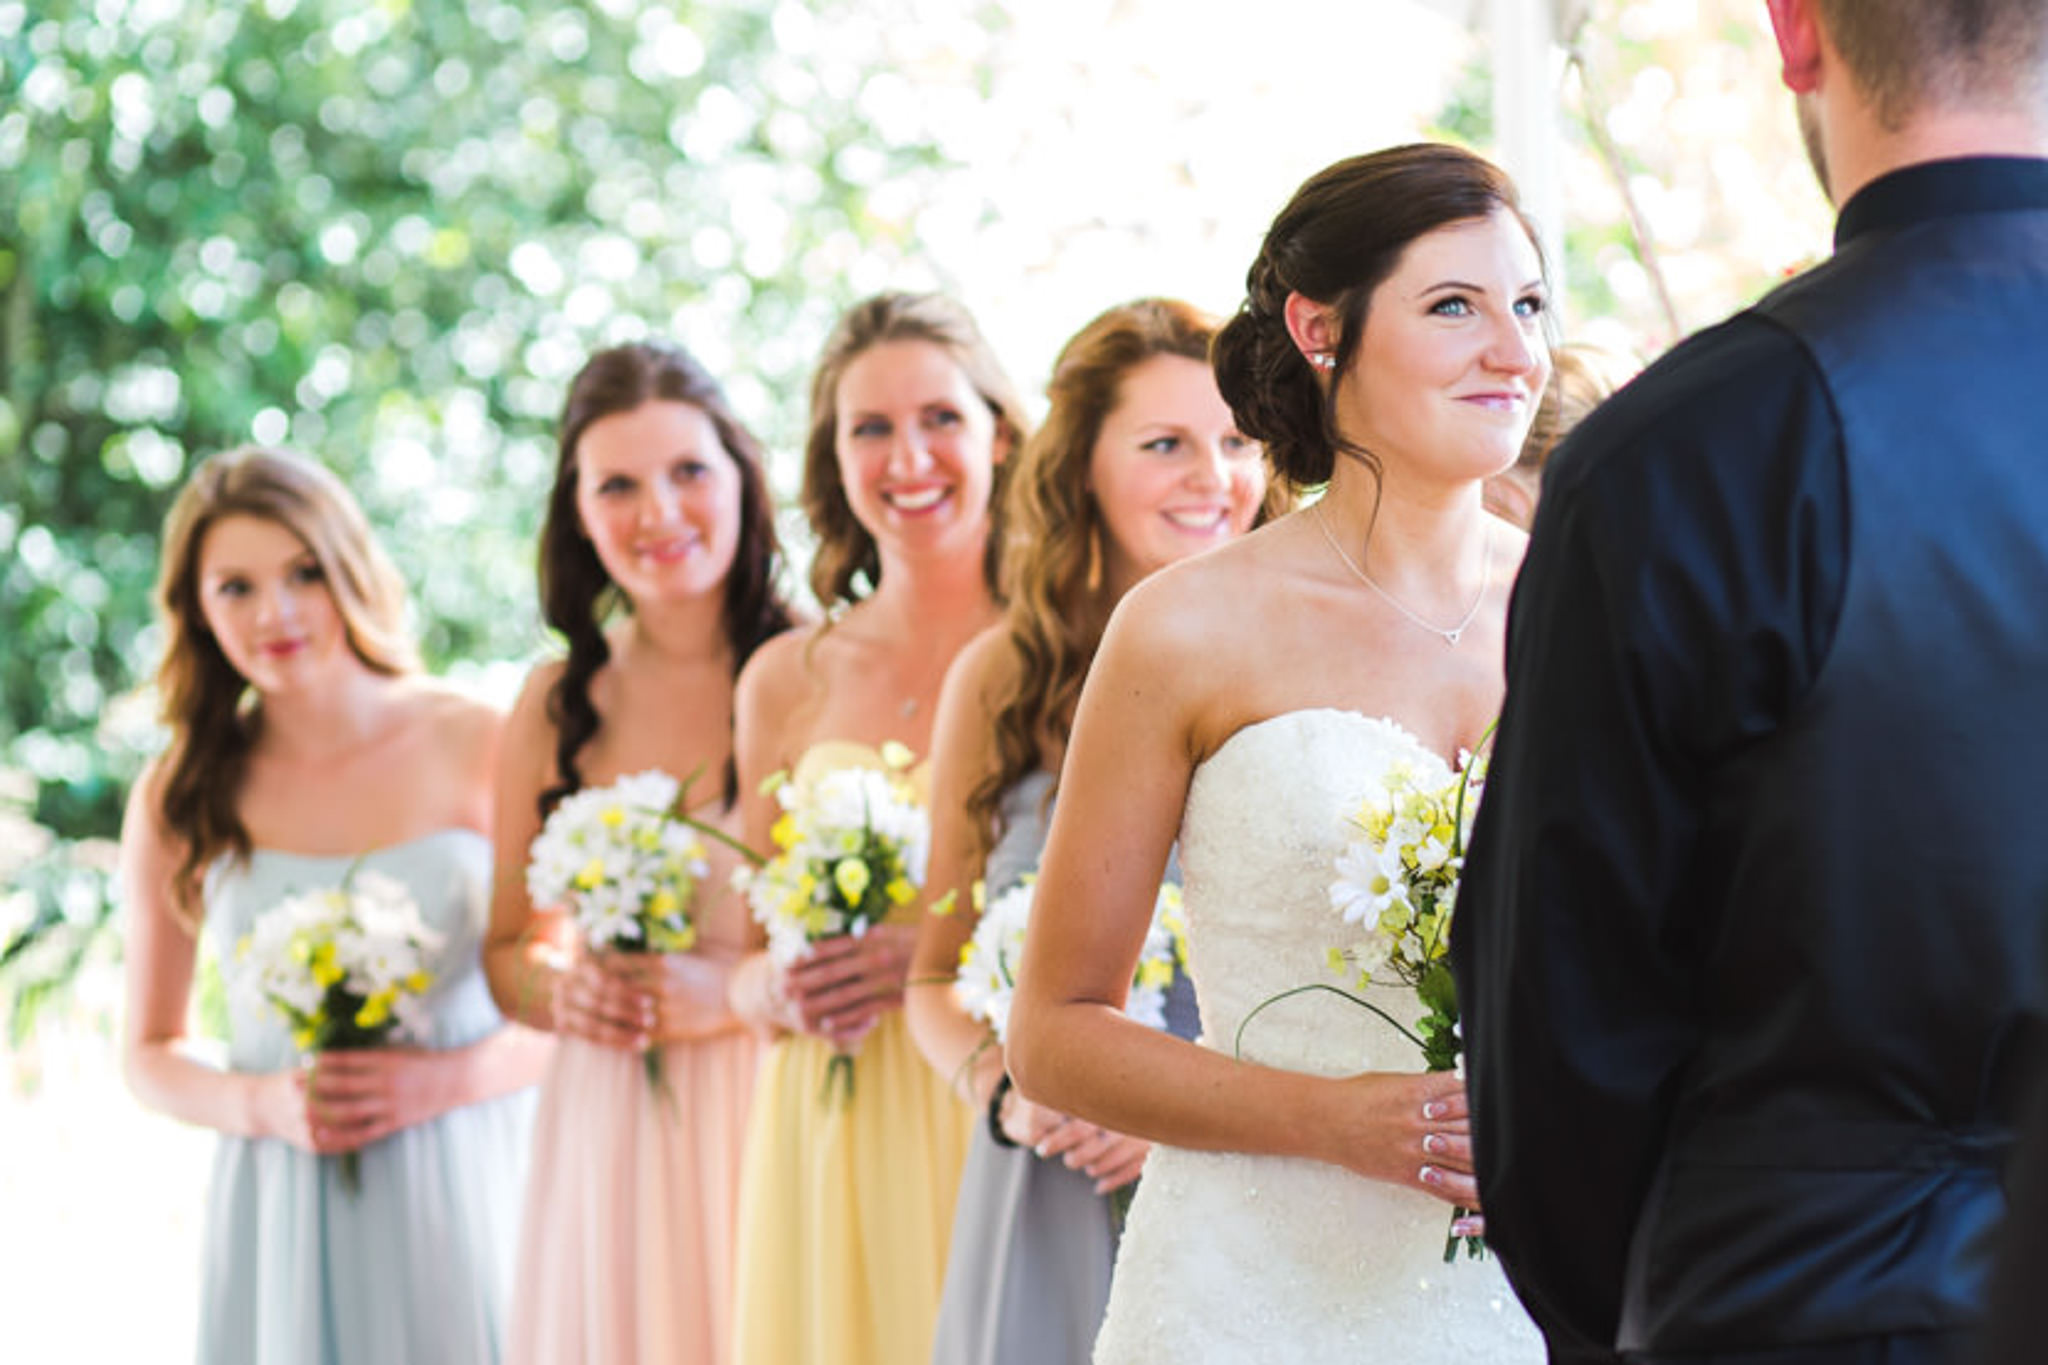
A leading line doesn’t have to be straight. It can be curved or it can be less defined, like the edges of a flower bed. I included an example above where the bridesmaids create a leading line towards the bride.
Be careful with strong lines that aren’t leading where you want them to. If you want the viewer’s eye to go to a subject, but there’s also a strong line that doesn’t lead towards the subject, it’ll create confusion and can draw the eye away from the subject.
If you have any questions, join us in the community. I’ll be checking in there daily to see your work and help you achieve the best results.
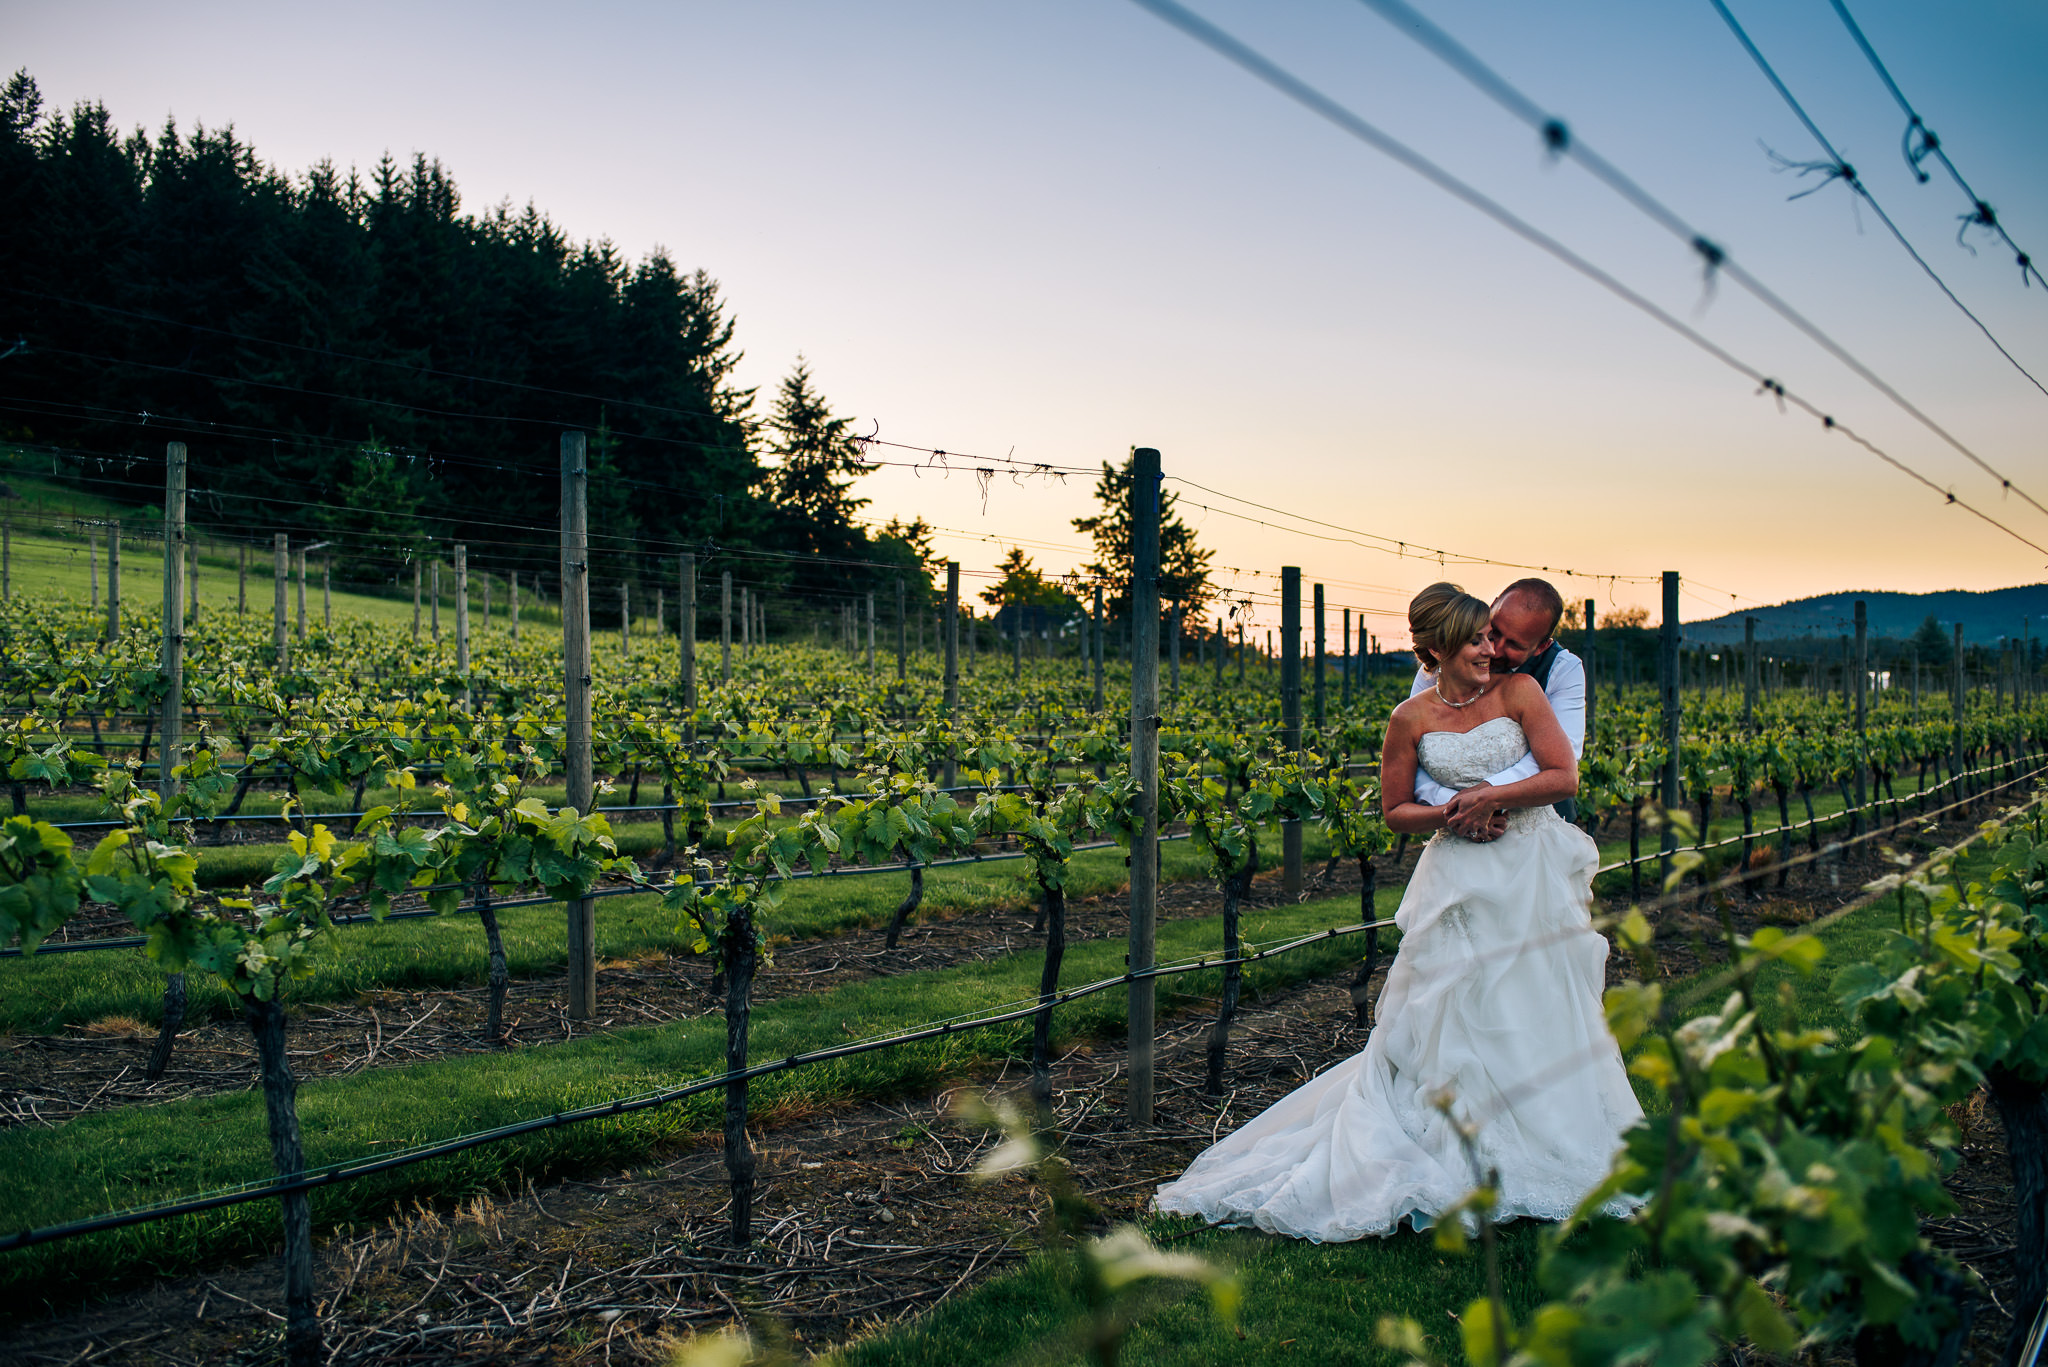
This week’s theme is sun flare or lens flare. Sun flare usually happens when the sun hits the front of your lens, creating effects including starbursts, colourful lens flare shapes or streaks, and haze. Below are some examples of each of these, followed by some tips on how to achieve it.
Here are some tips on getting sun flare in your images:
Place your subject with their back to the sun (i.e. have the sun in front of your camera). I’d recommend aiming at something in front of the sun, not at the sun itself. Looking at the sun through your camera can be very bad for your eyes.
Watch the flare through your viewfinder or LCD while composing your image. You should be able to see it, especially the colourful shapes created by it. Move your camera around to change the location and effect of the flare.
If you want flare, you need to let the sun hit the lens. Things that can prevent this are lens hoods (the plastic cylinder that you can remove from the front of your lens – they come with some lenses), standing under an overhang, or blocking the sun with trees or other objects. So, of course, if you want flare, avoid those things.
Lens flare is often considered undesirable, so more expensive and modern lenses are designed to avoid it. You may get more flare using an older or cheaper lens. A cheap filter that screws onto the front of the lens can also cause flare.
If you want a starburst effect, try using a higher aperture. The top left image here was taken at f13. It also helps to hide the sun partly behind something, so the rays are more obvious against the background.
It can be tough to focus with a lot of light coming into the lens. You can block the sun temporarily by holding your hand up in front of and above the lens to get your focus, the remove it before taking the photo. Once you’ve focused once, you can lock focus by switching to manual focus or using autofocus lock (look up AF lock or AF-on in the manual or Google) so you don’t have to keep refocusing, assuming you’re keeping the same distance from your subject for multiple photos.
Golden hour is a good time to get this effect because the sun is lower in the sky, so you can aim at the sun without crazy angles.
If you have any questions, join us in the community. I’ll be checking in there daily to see your work and help you achieve the best results.
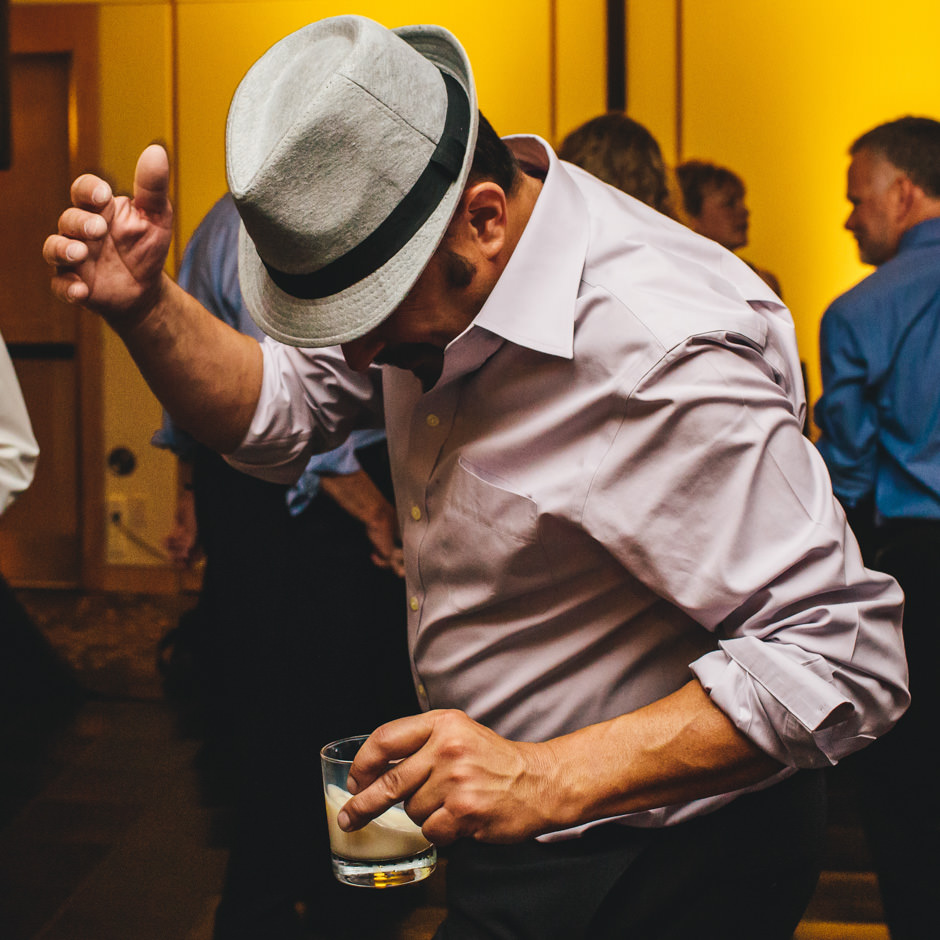
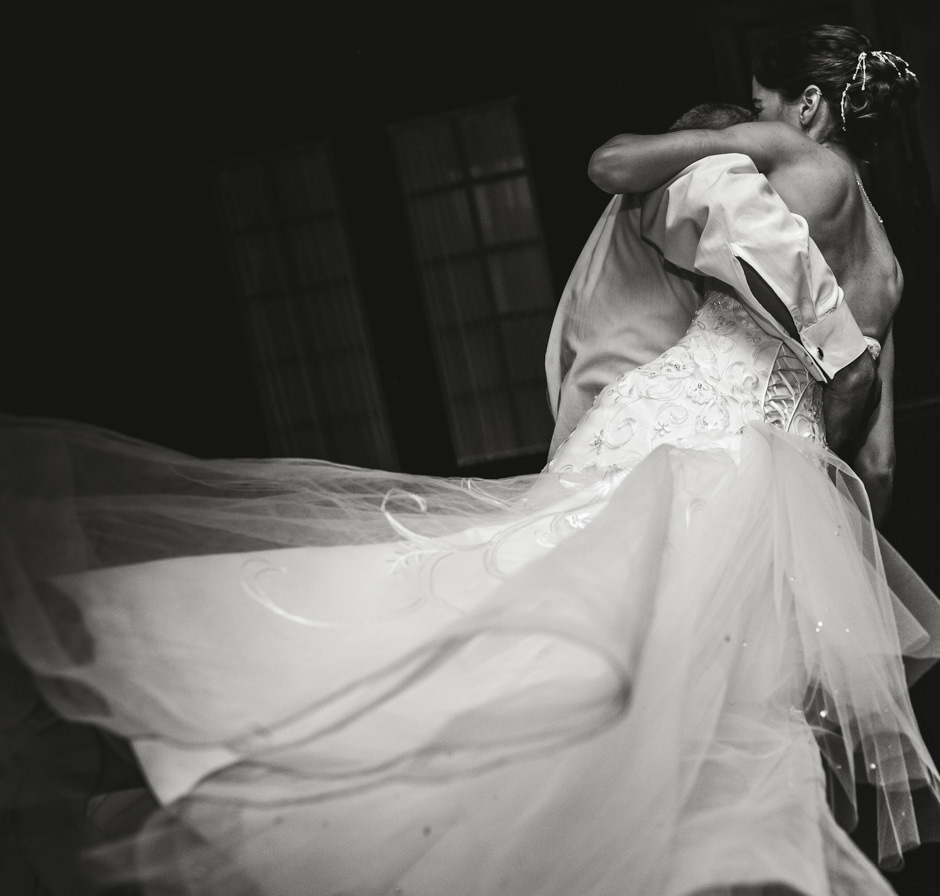
This week’s theme is emotion without a face (i.e. conveying emotion without including someone’s face). This is primarily about body language and I’ve included some examples below. Some of them show parts of faces, but the focus is on the rest of their bodies, not their faces. I’ll let you interpret the emotions yourself. This is pretty simple, so I don’t have any tips this week. Good luck finding (or creating) some expressive body language!
If you have any questions, join us in the community. I’ll be checking in there daily to see your work and help you achieve the best results.
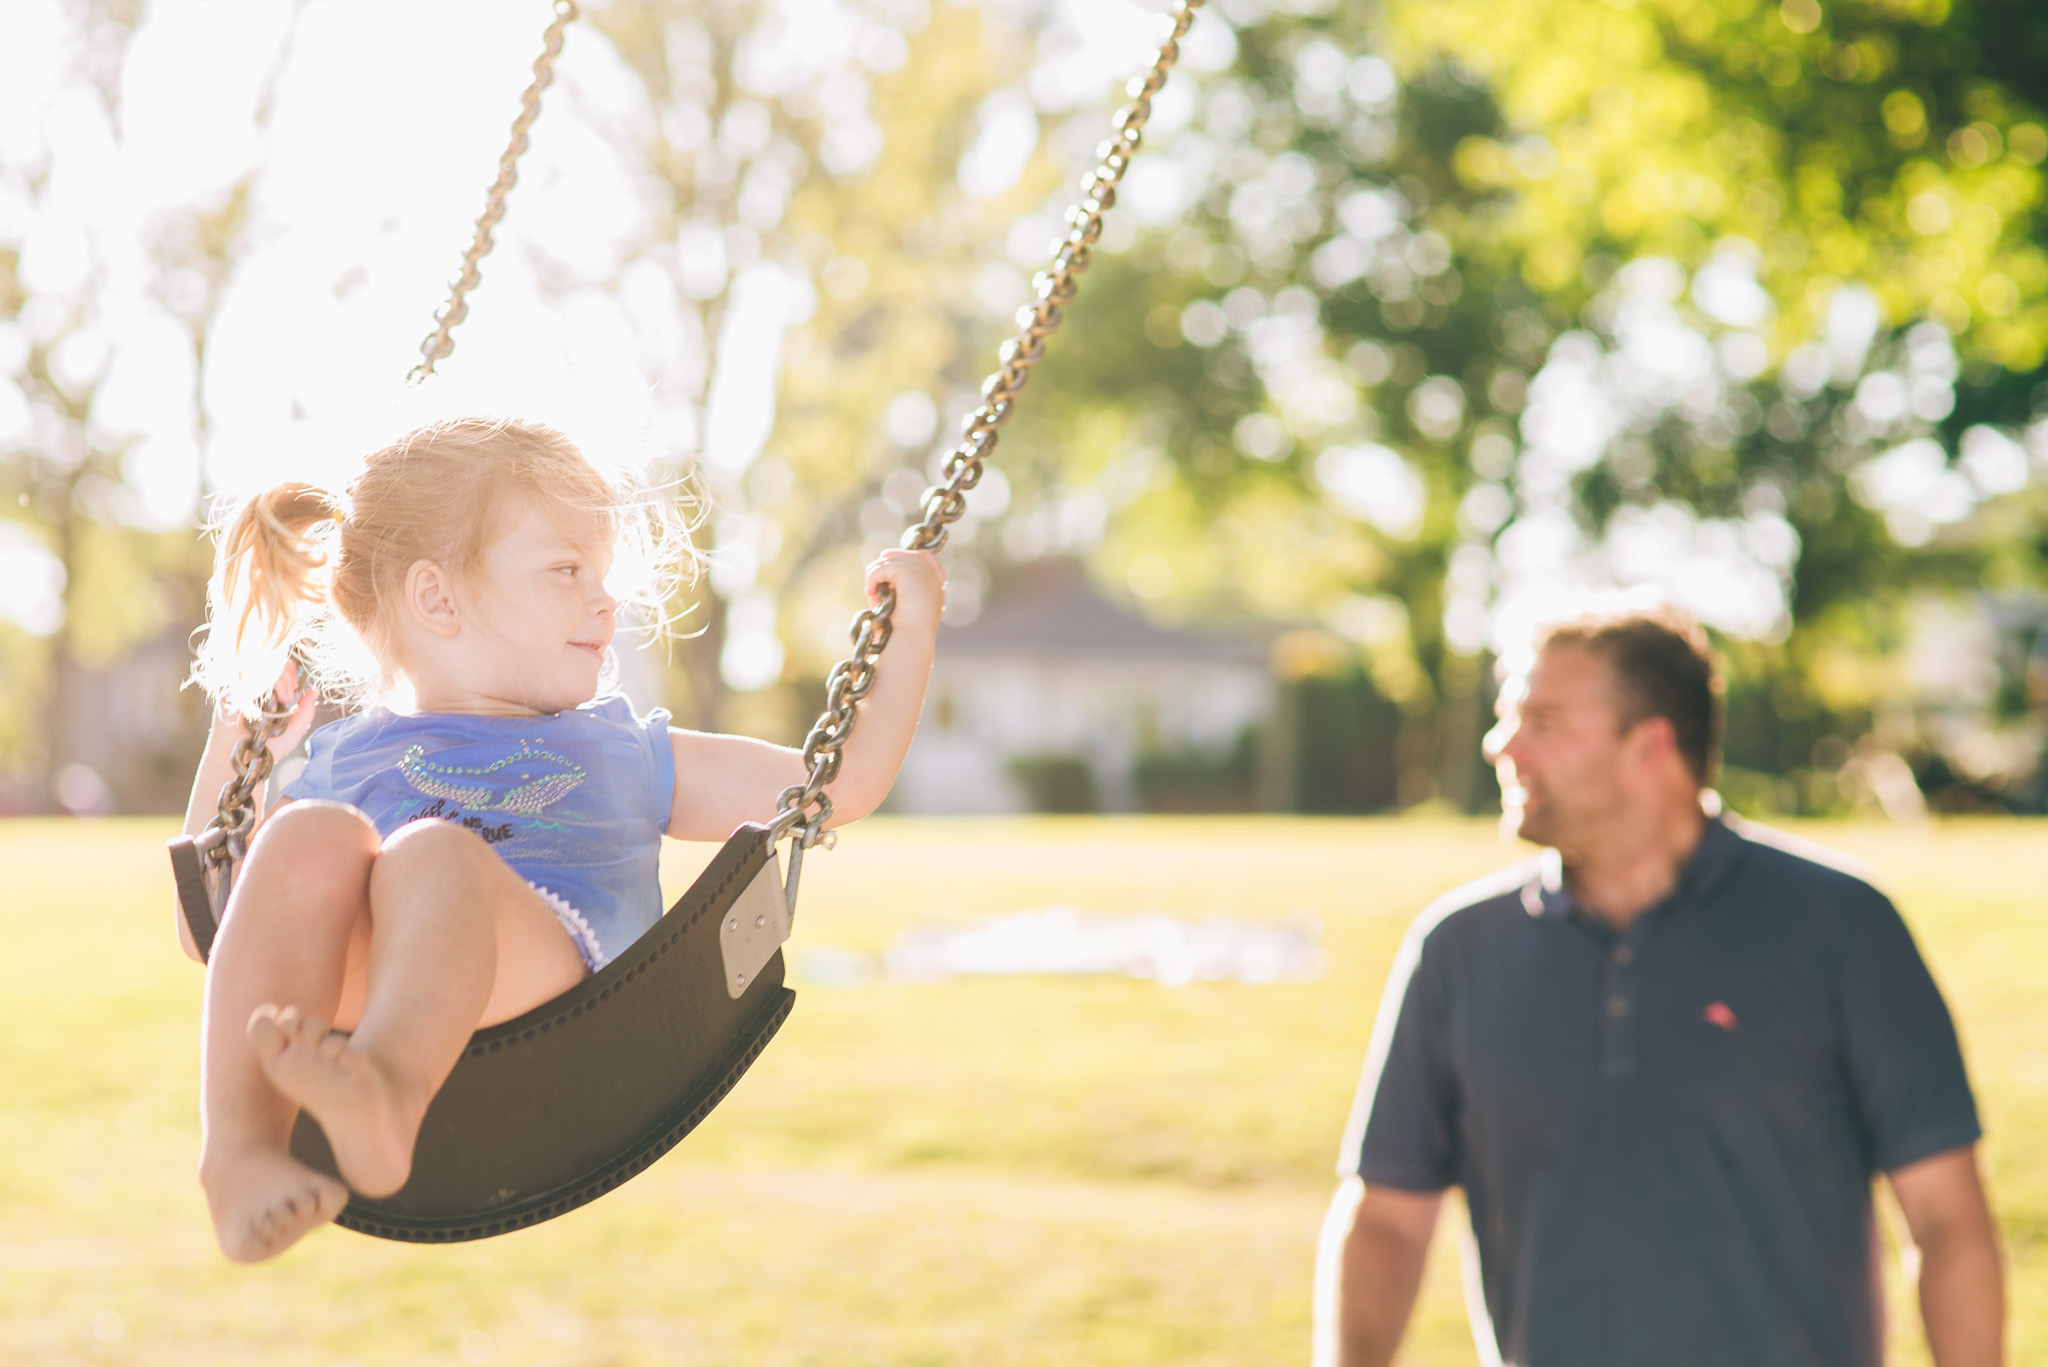
This week’s theme is foreground focus. What I mean by that is focusing on something that isn’t the main subject of the image or story. Or focusing on one of two subjects/elements of your image while the other is blurred. This could also work with the foreground element blurred and there’s an example of this at the end.
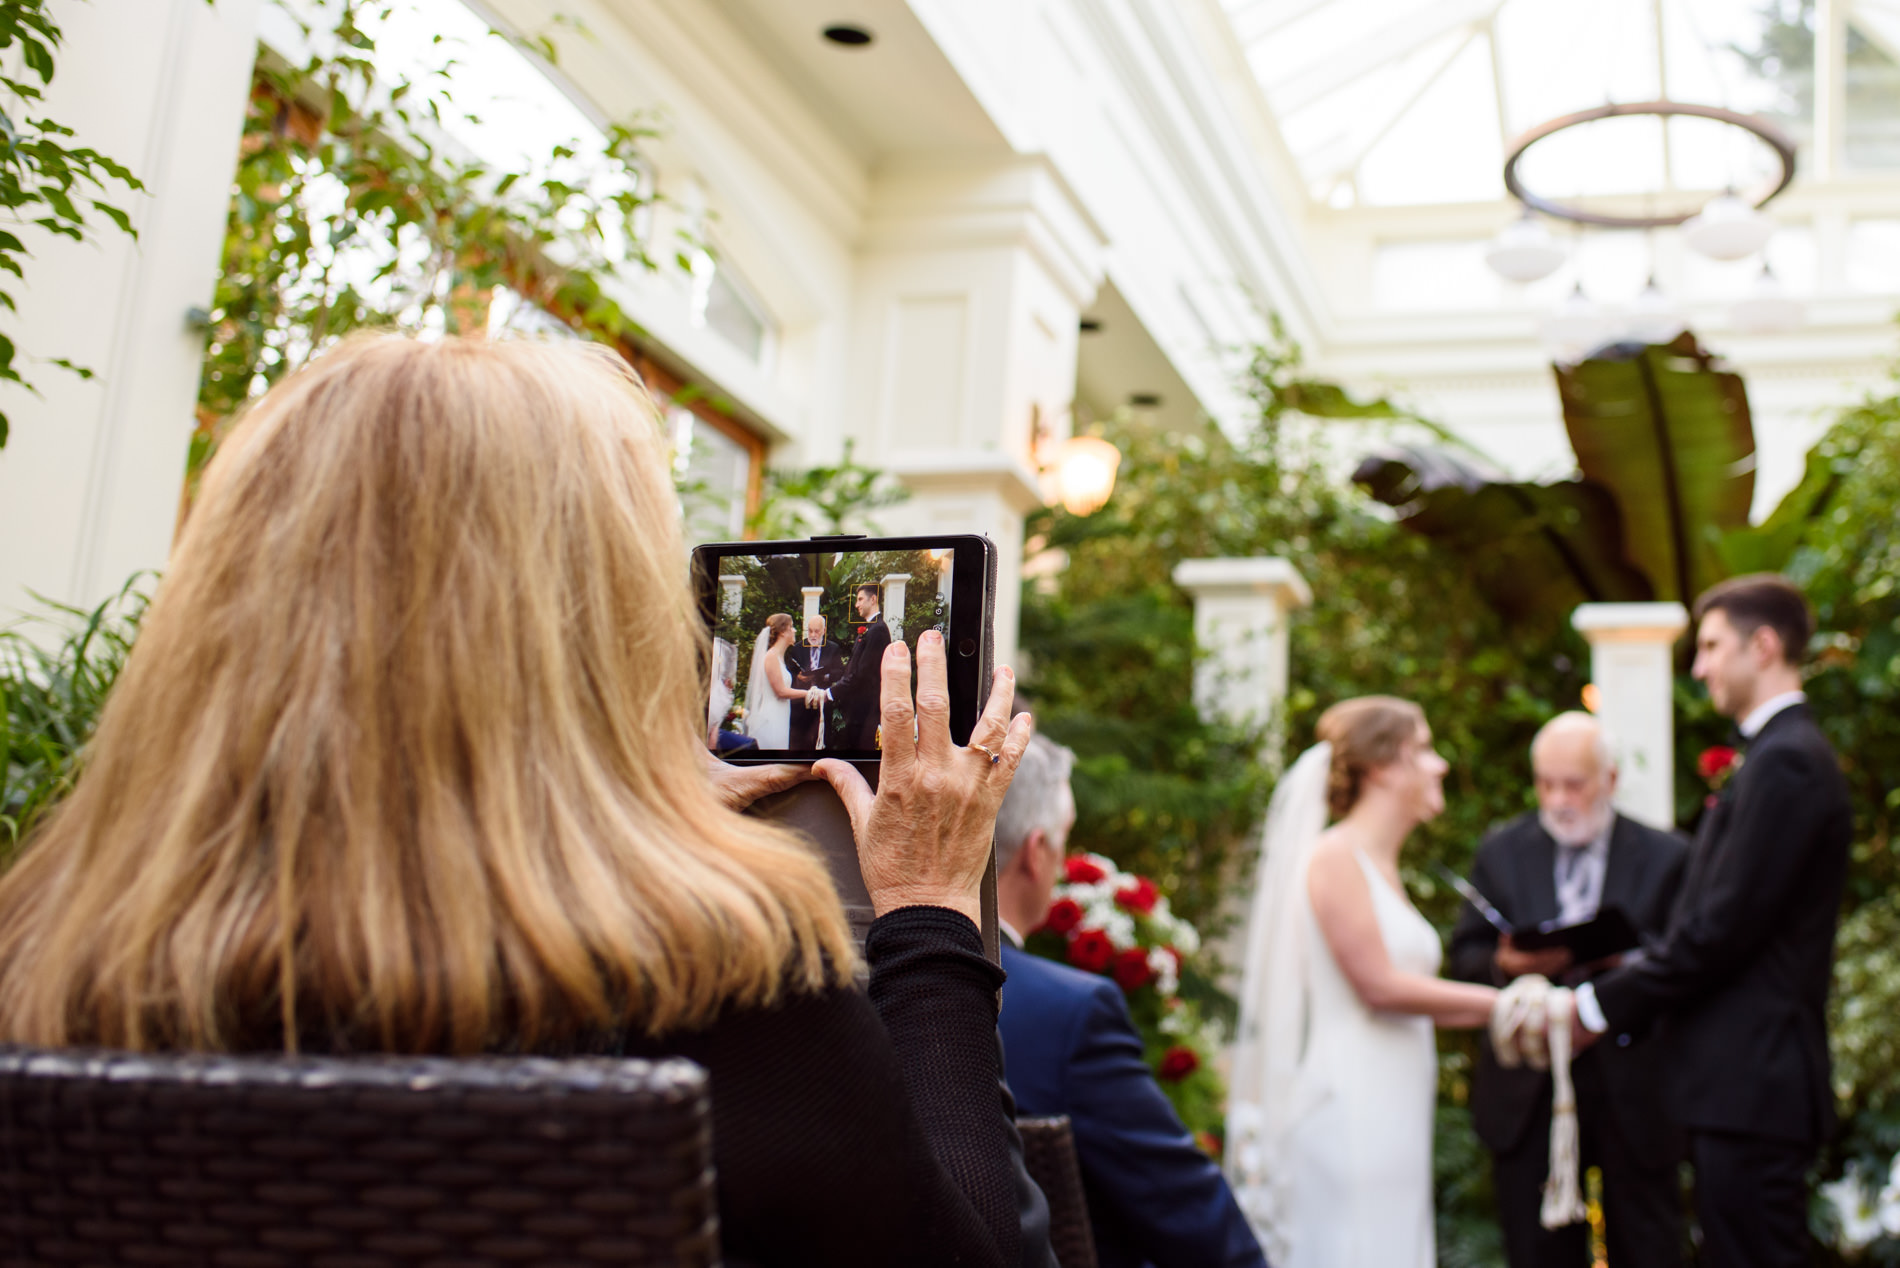
I actually don’t have a lot of examples of this (or at least couldn’t find many because I didn’t have time to go through hundreds of thousands of photos to find more). I’m going to do my best to explain it with a few examples. Below is a good example of one thing happening while another closely-related thing happens in the background. The story of the image is this relative taking photos of the wedding ceremony and the focus is on that. The couple in the background provides balance to the composition and a mirror image of her LCD.
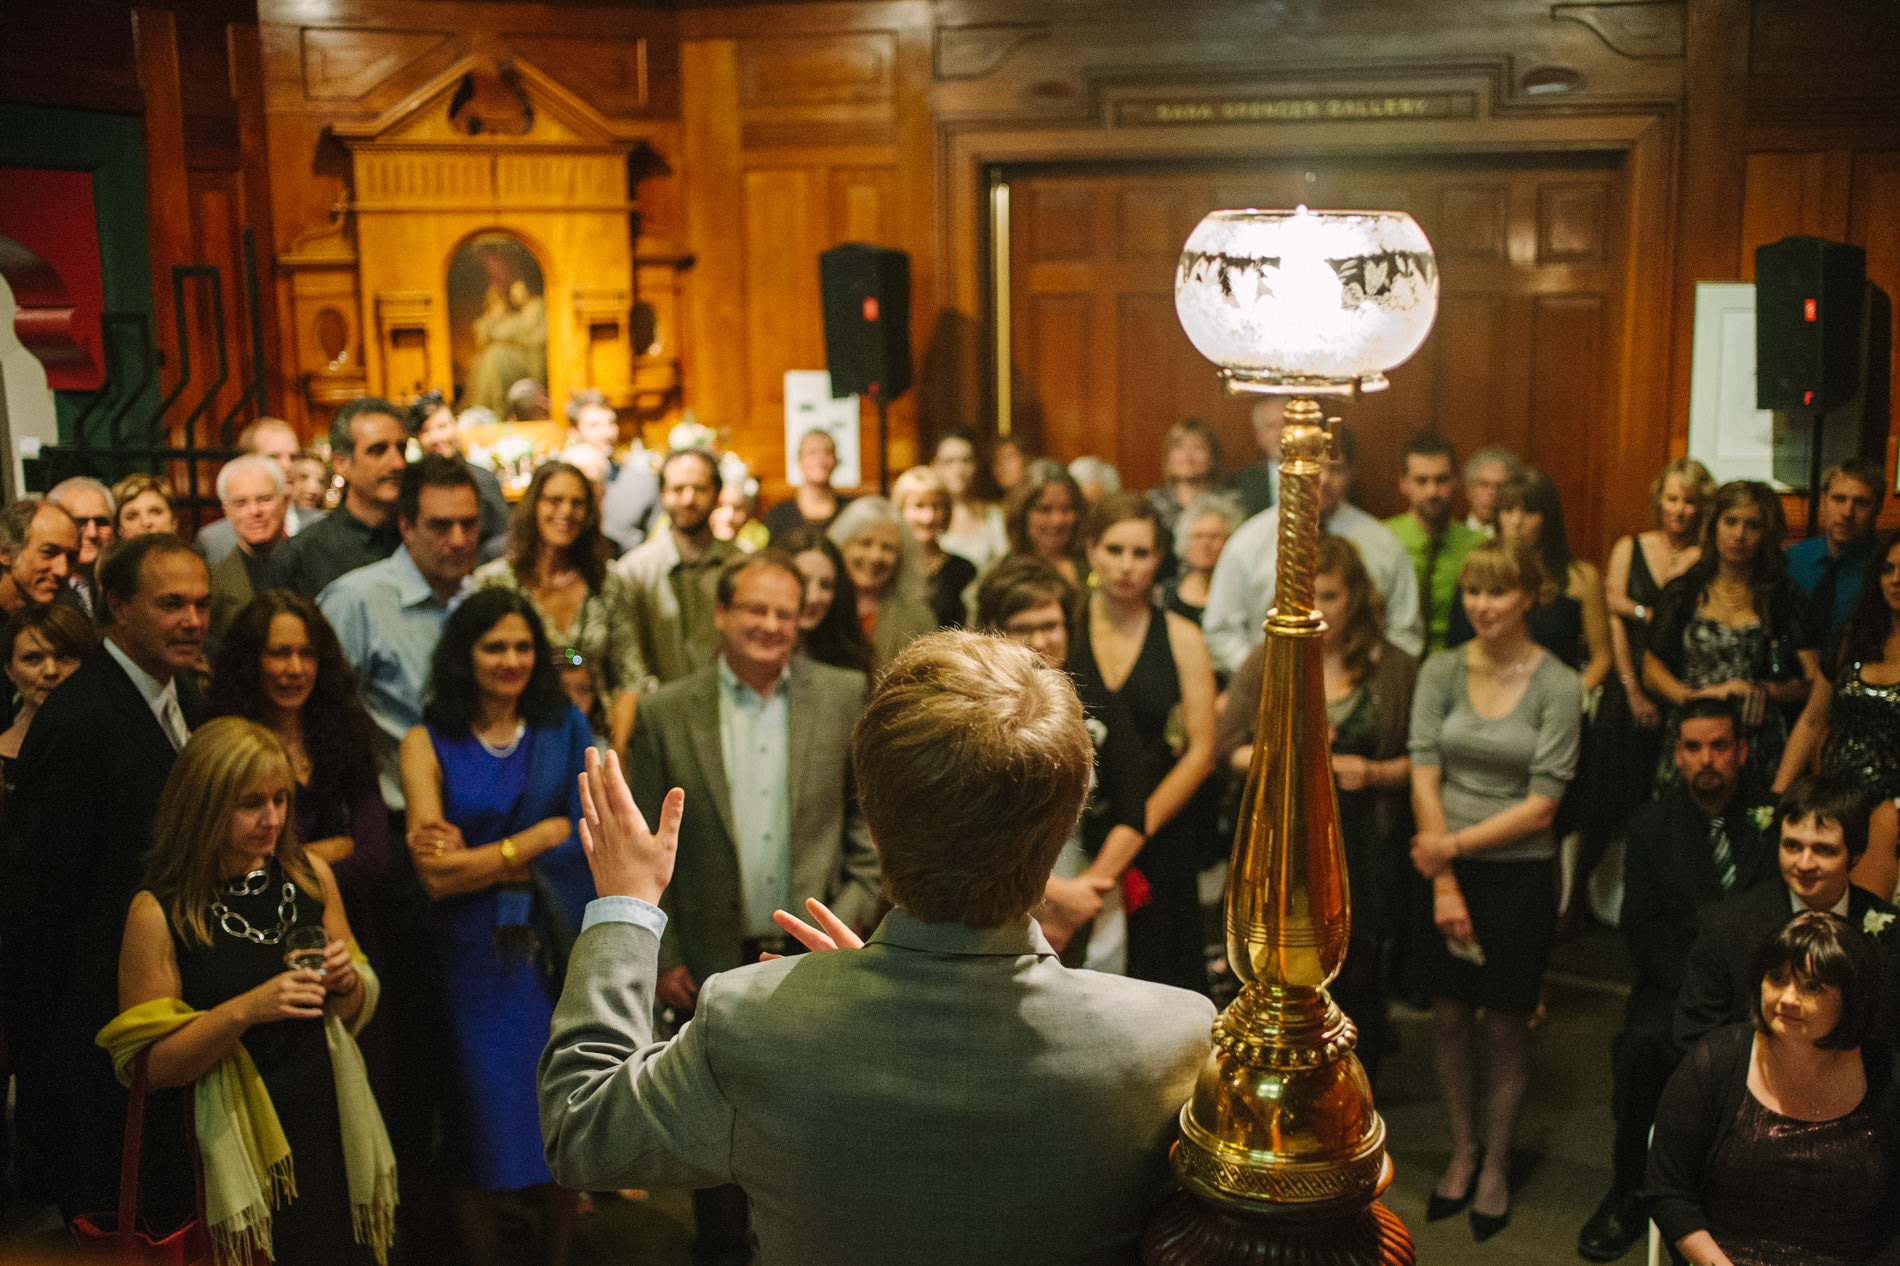
The below image is focused on the speaker, whose face you can’t see. He becomes the most important thing here because he’s the most in focus, but the crowd listening is also a part of the story.
The below image is a bit different because it’s the same group of subjects in focus and out of focus, but putting the focus on the child’s feet creates a more visually interesting image than the reverse. You can also get a clearer idea of what they’re reading with this focus and angle than you would if I tried to get their faces sharp and in full view. Plus, her toes are super cute.
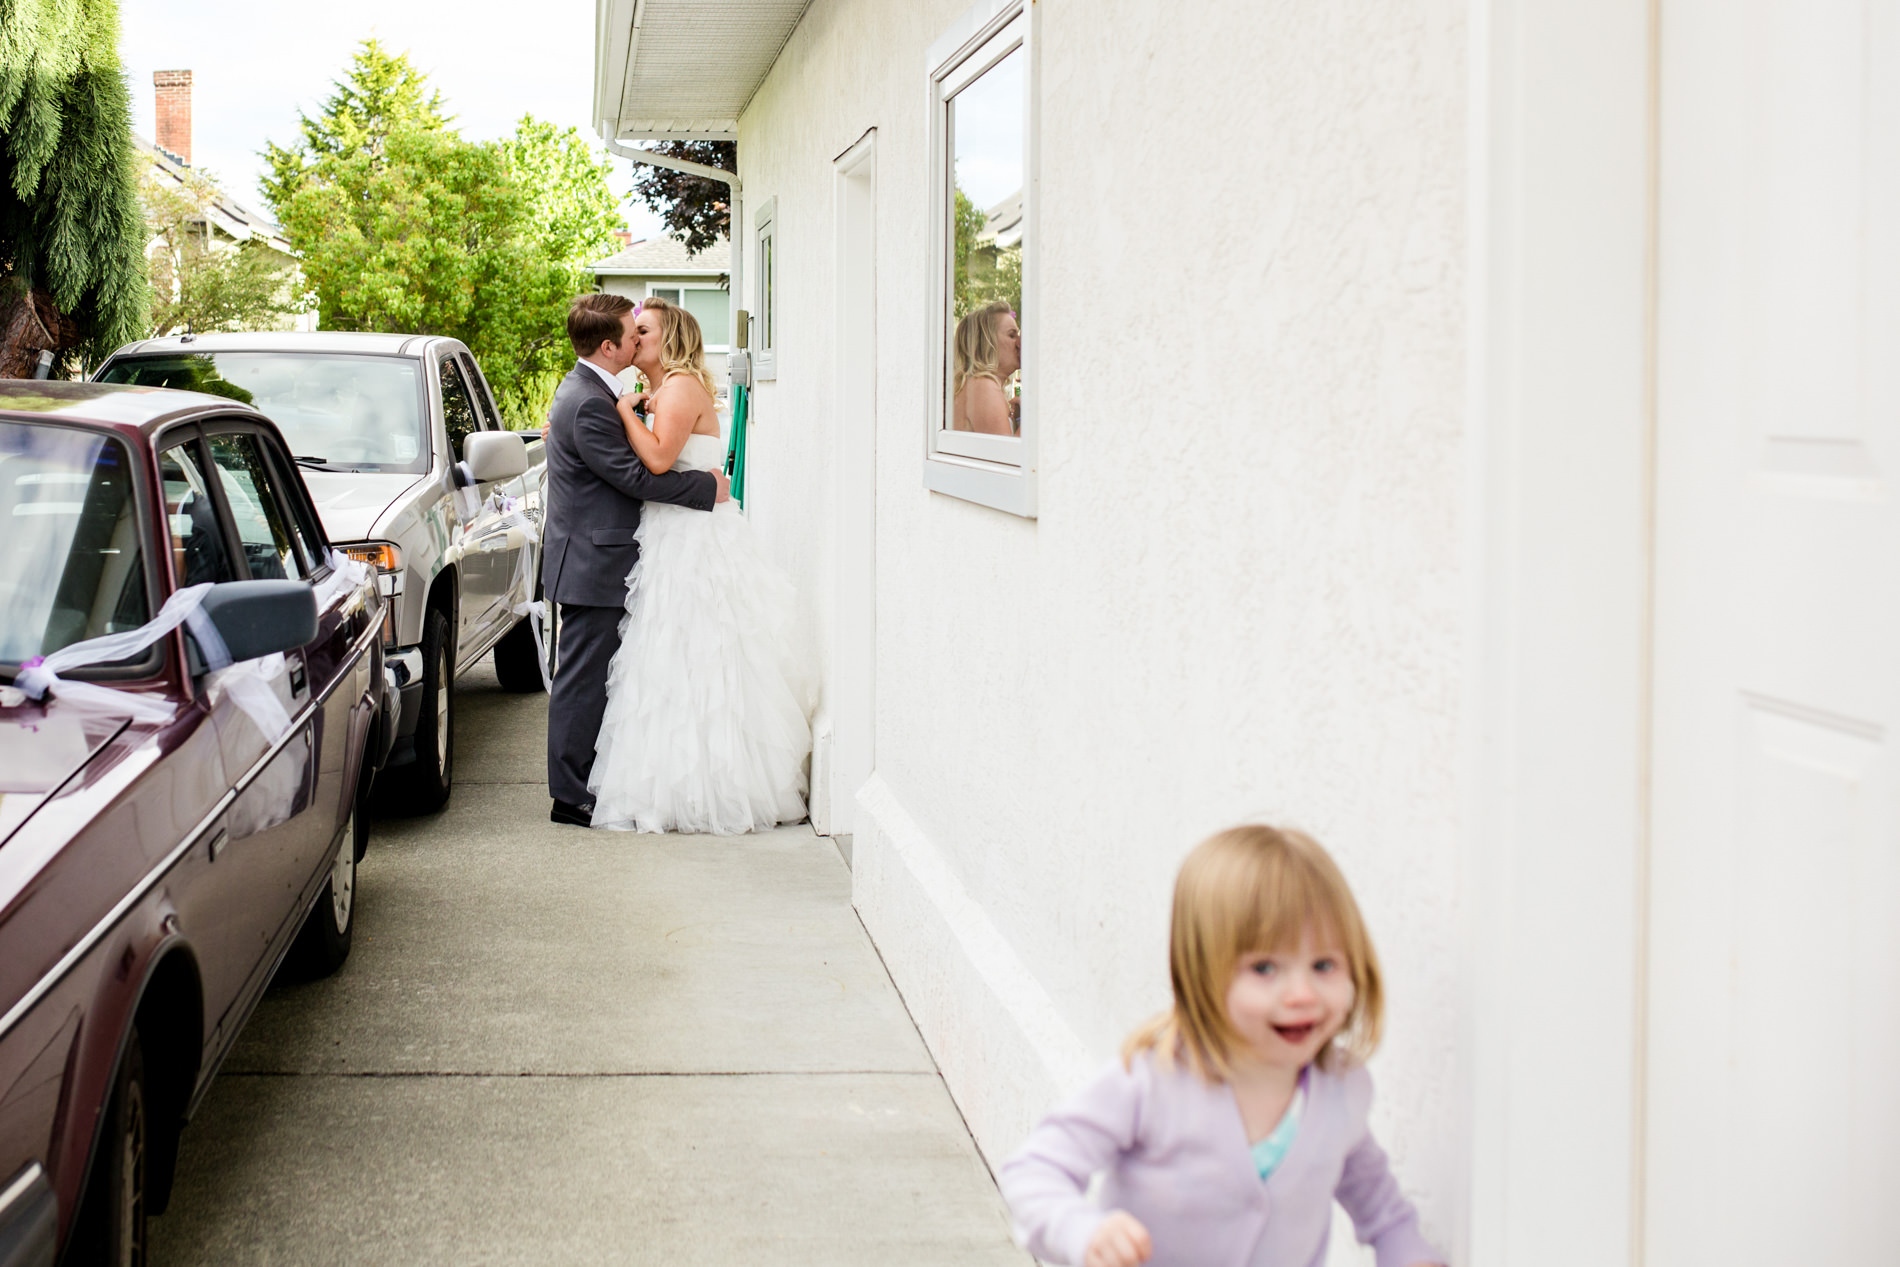
Here’s an example where in hindsight, I think focusing on the foreground would have been better. I just wasn’t quick enough. This kid ran by the couple and past me as we were taking some portraits. You can still make out her expression, but I kind of wish she was the focus of the photo.
So the main idea is to start telling stories with multiple components. Try photographing a scene where you could get a good photo by focusing on the background instead, but changing the focus changes what the viewer sees as important.
If you have any questions, join us in the community. I’ll be checking in there daily to see your work and help you achieve the best results.