This week’s theme is night photography. You can take photos outdoors or just practice your low light photography inside, like using a streetlight shining through your window, string lights, or a bedside lamp.

Here are some tips on night photography:
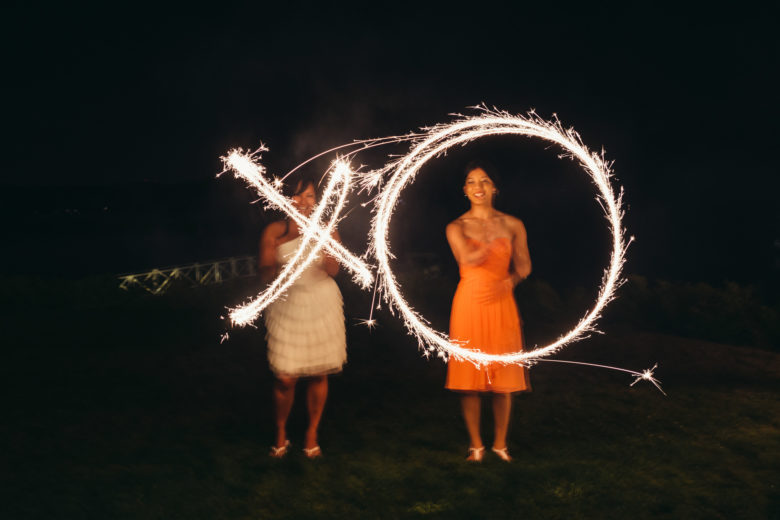
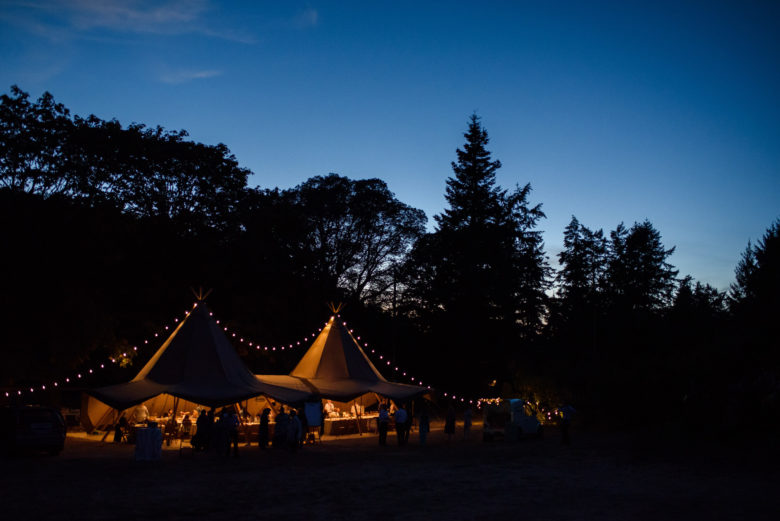
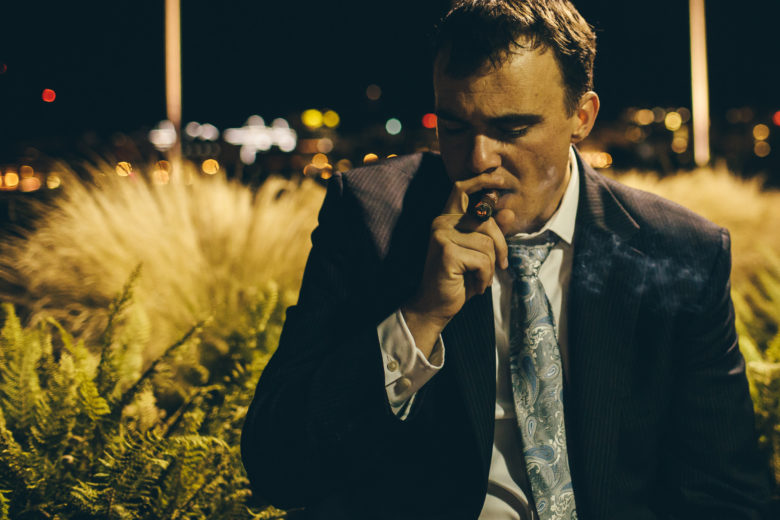
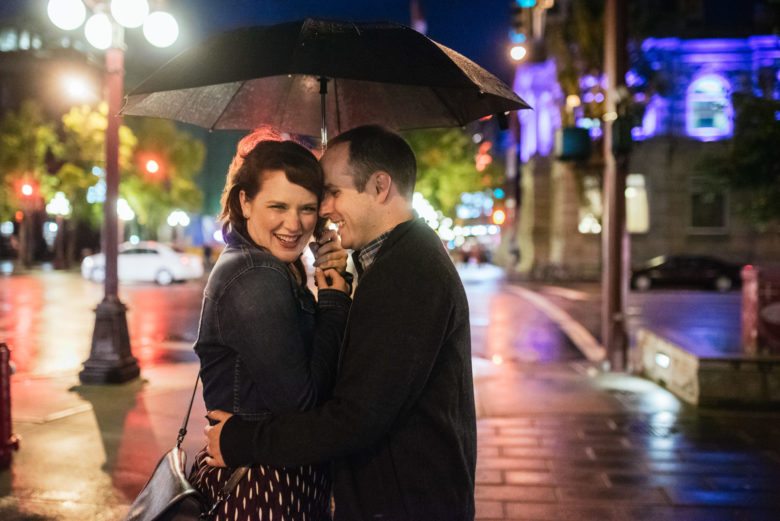
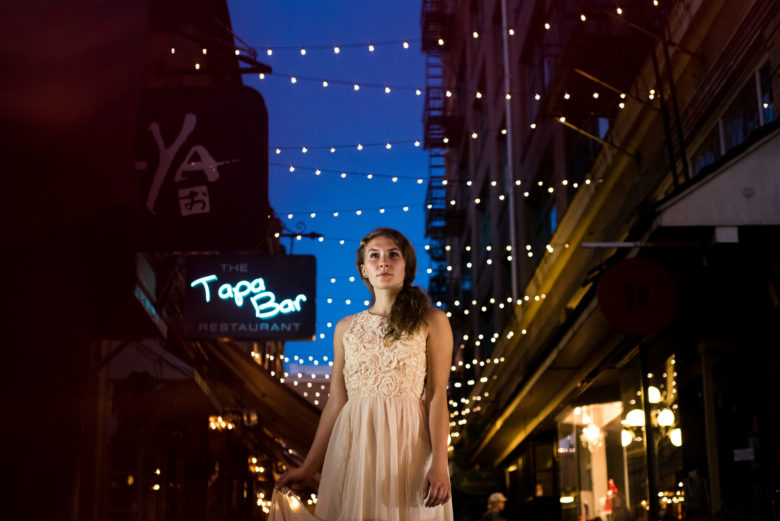
- Find a light source. For the above photos, from left to right and then down the rows, my light source was: sparklers held by wedding guests, sparklers, lighting in the tent and a bit of recently set sun, a streetlight, general ambient light on the street, a video light held to the left. You can also use a flashlight, portable string lights, your phone’s screen or flashlight, or a camera flash of course.
- Don’t be afraid to use high ISO. This will let you have a higher shutter speed. It’s better to have a grainy/noisy photo than a blurry one, unless you like blurry.
- Try playing with light painting. Light painting, like in the top right image of the girls with the sparklers, is done by using a slow shutter speed (experiment starting at 1/2 a second or lower) and a moving light source. You can move sparklers or a flashlight or use something that’s already moving like cars driving by. I highly recommend a tripod or monopod for that slow of a shutter speed. I didn’t use one in the sparkler painting photo, which is why the people are blurry. The light will probably still be sharp, but everything else will be blurry if you don’t use a tripod (or put your camera on a table or something).
If you have any questions, join us in the community. I’ll be checking in there daily to see your work and help you achieve the best results.
If you’re just finding this now, you can check out the full list and more information on the challenge here. You can follow me on Instagram at @documentyourdaytoday and use the hashtag #dtd52weeks so others doing the challenge can see your work.